Money Lei with Kukui Nuts

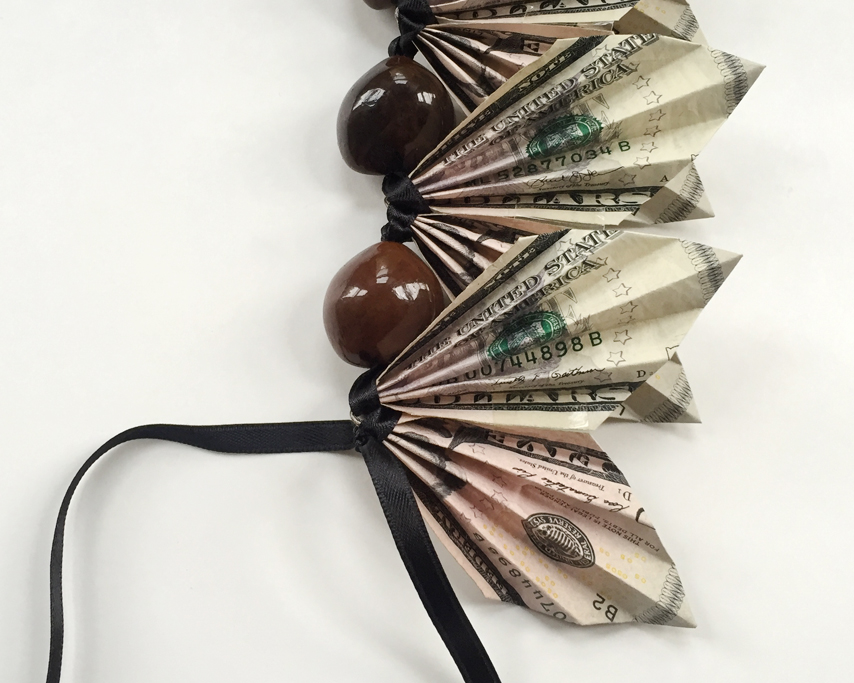
A family friend's daughter graduated from high school last month and I was inspired to create a money lei with kukui nuts for her. I remember being so excited to wear beautiful orchid and candy leis for my high school graduation and thought that this would be the perfect gift that would paid homage to Hawaii, a state that has a special place in her heart.

ThenComesColor_DIY_Money_Lei_Nuts.jpg

THINGS YOU WILL NEED:

  • 2 60" of black ribbon

  • 20 5 dollars bills (dollar denomination and amount is up to you)

  • tape (removable tape would be best)

  • scissors

  • 28 kukui nuts

  • embroidery needle

ThenComesColor_DIY_Money_Lei_Materials.jpg

You will first need to fold all the dollar bills. This process can be a bit nerve-wrecking as the folding can really wear on the bills. So be as gentle as you can while still creating crisp folds.

To begin, fold the bill in half lengthwise with the front facing down. Open the bill up and using the newly creased center line as a guide fold the four corners inward to create two triangles on each side (below right).

ThenComesColor_DIY_Money_Lei_Folding1.jpg
ThenComesColor_DIY_Money_Lei_Folding2.jpg

Next, fold the top and bottom ends to the center line. (below left). Then fold these flaps back so they are aligned to the top and bottom ends respectively (below right). 

ThenComesColor_DIY_Money_Lei_Folding3.jpg
ThenComesColor_DIY_Money_Lei_Folding4.jpg

Flip the entire bill over so that the front is facing you. (Hi Mr. Abe Lincoln!) Fold the bottom flap to the center line (below left) and fold the top flap to the same line (below right).

ThenComesColor_DIY_Money_Lei_Folding5.jpg
ThenComesColor_DIY_Money_Lei_Folding6.jpg

Then fold the center line again so that you are left with a zig-zagged dollar bill with pointed edges.

ThenComesColor_DIY_Money_Lei_Folding7.jpg

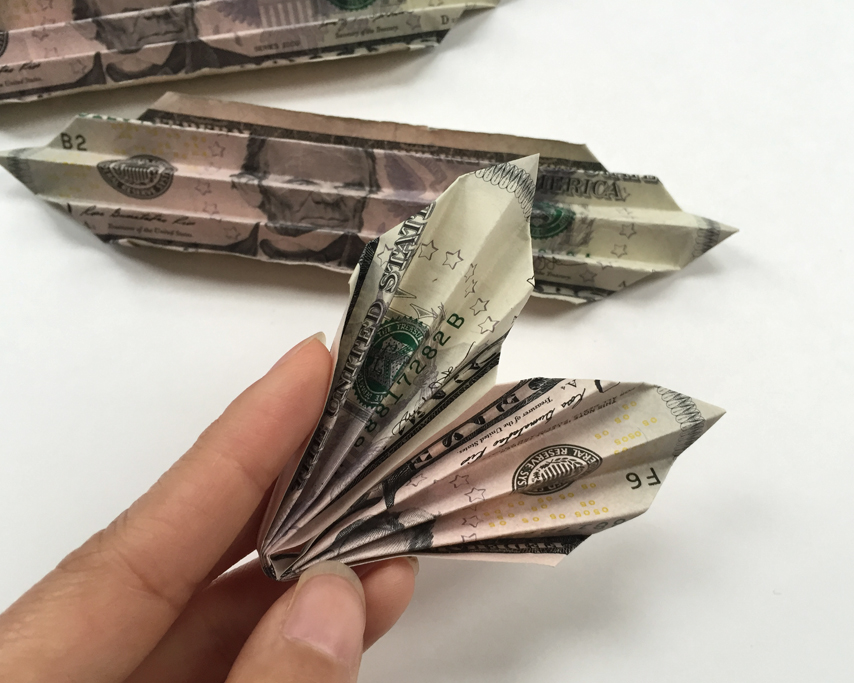
Next, you will need to fold each bill in half to create something that almost looks like a butterfly. You will want to make sure the president's image is facing you to have the prettiest result. 

ThenComesColor_DIY_Money_Lei_Folding7.jpg
ThenComesColor_DIY_Money_Lei_Folding8.jpg

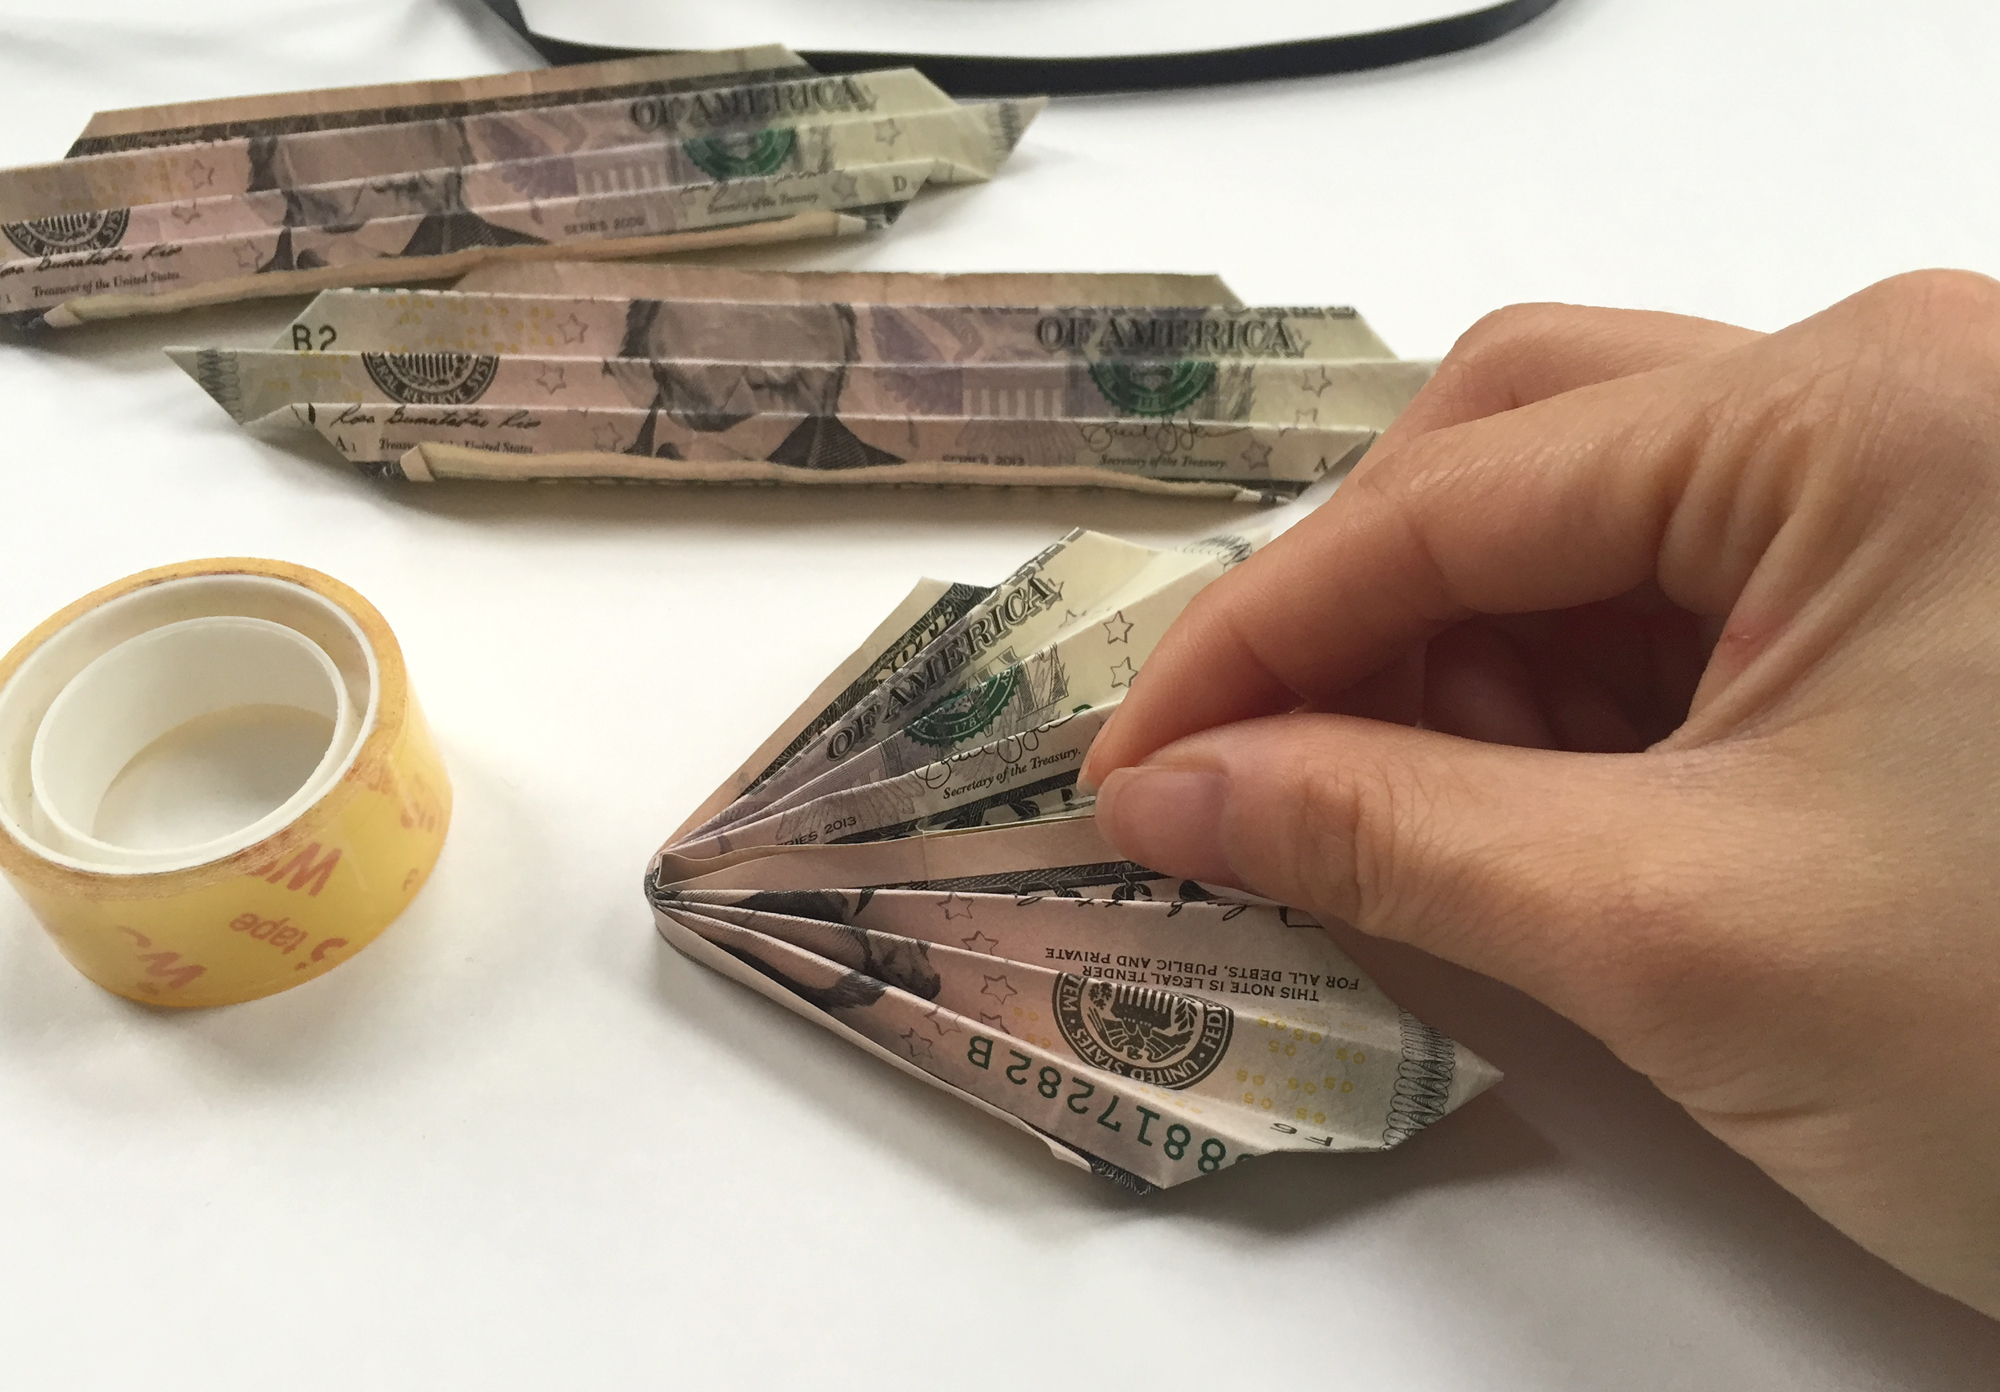
Secure the two flaps together with a piece of tape. Try to use as little tape as possible while still being secure. Removable tape works best. The last thing you want is for your graduate to rip his or her celebratory loot. 

ThenComesColor_DIY_Money_Lei_Threading.jpg

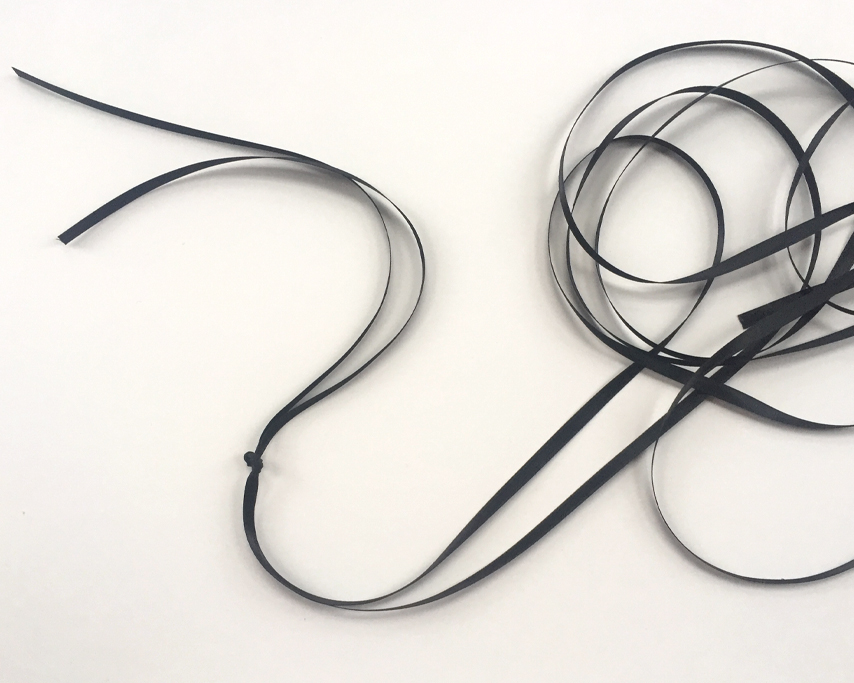
Now you are ready to string everything together. Take the two pieces of ribbon and tie a double knot about 9-11" from one end. String both ribbons through your embroidery needle, then string one kukui nut and knot. Repeat this until you have strung four nuts. You can also double knot in between each nut if you want them to look more spaced out.

ThenComesColor_DIY_Money_Lei_Knot.jpg
ThenComesColor_DIY_Money_Lei_Needle.jpg

At this point, you are ready to string the folded dollar bills. Make sure the two ribbons are separated. 

ThenComesColor_DIY_Money_Lei_Threading.jpg

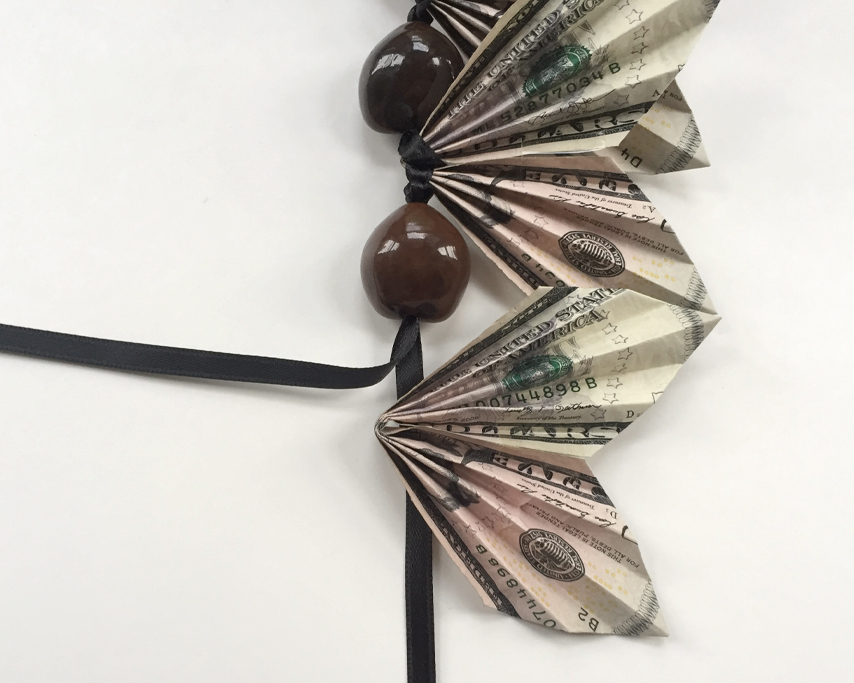
Please one bill on top of the bottommost ribbon (below left) then string that ribbon through the middle of the bill (below right). Be as gentle as you can.

ThenComesColor_DIY_Money_Lei_Threading2.jpg
ThenComesColor_DIY_Money_Lei_Threading3.jpg

String the topmost ribbon through the middle of the dollar (below left) and pull both ribbons gently until the ribbons are taut but not so tight that the dollar bill is being scrunched. Tie a gentle knot. 

ThenComesColor_DIY_Money_Lei_Threading4.jpg
ThenComesColor_DIY_Money_Lei_Threading5.jpg

String another kukui nut and repeat this process until all the dollar bills have been strung. Then finish with four nuts with knots in between each to match the other end of the lei. Tie each end together and trim off any excess ribbon.

ThenComesColor_DIY_Money_Lei_Threading6.jpg

And there you have it! A simple but very beautiful lei that will make your graduate gleam with pride. You can change the amount of dollar bills you use and there are a wide variety of painted nuts available online that will add a personalized touch to your lei. 
ThenComesColor_DIY_Money_Lei_Complete.jpg

Congratulations to all this year's graduates!

ThenComesColor_DIY_Money_Lei_Complete2.jpg

DIY Macrame Bracelet

I feel the greatest joy when I make things to give to others. Seeing my friends' reaction when they receive a handmade item is priceless. Plus, my brother's tiny studio that I am staying at does not have anymore space for my random crafting supplies and DIY projects so it is best I make things to give away.

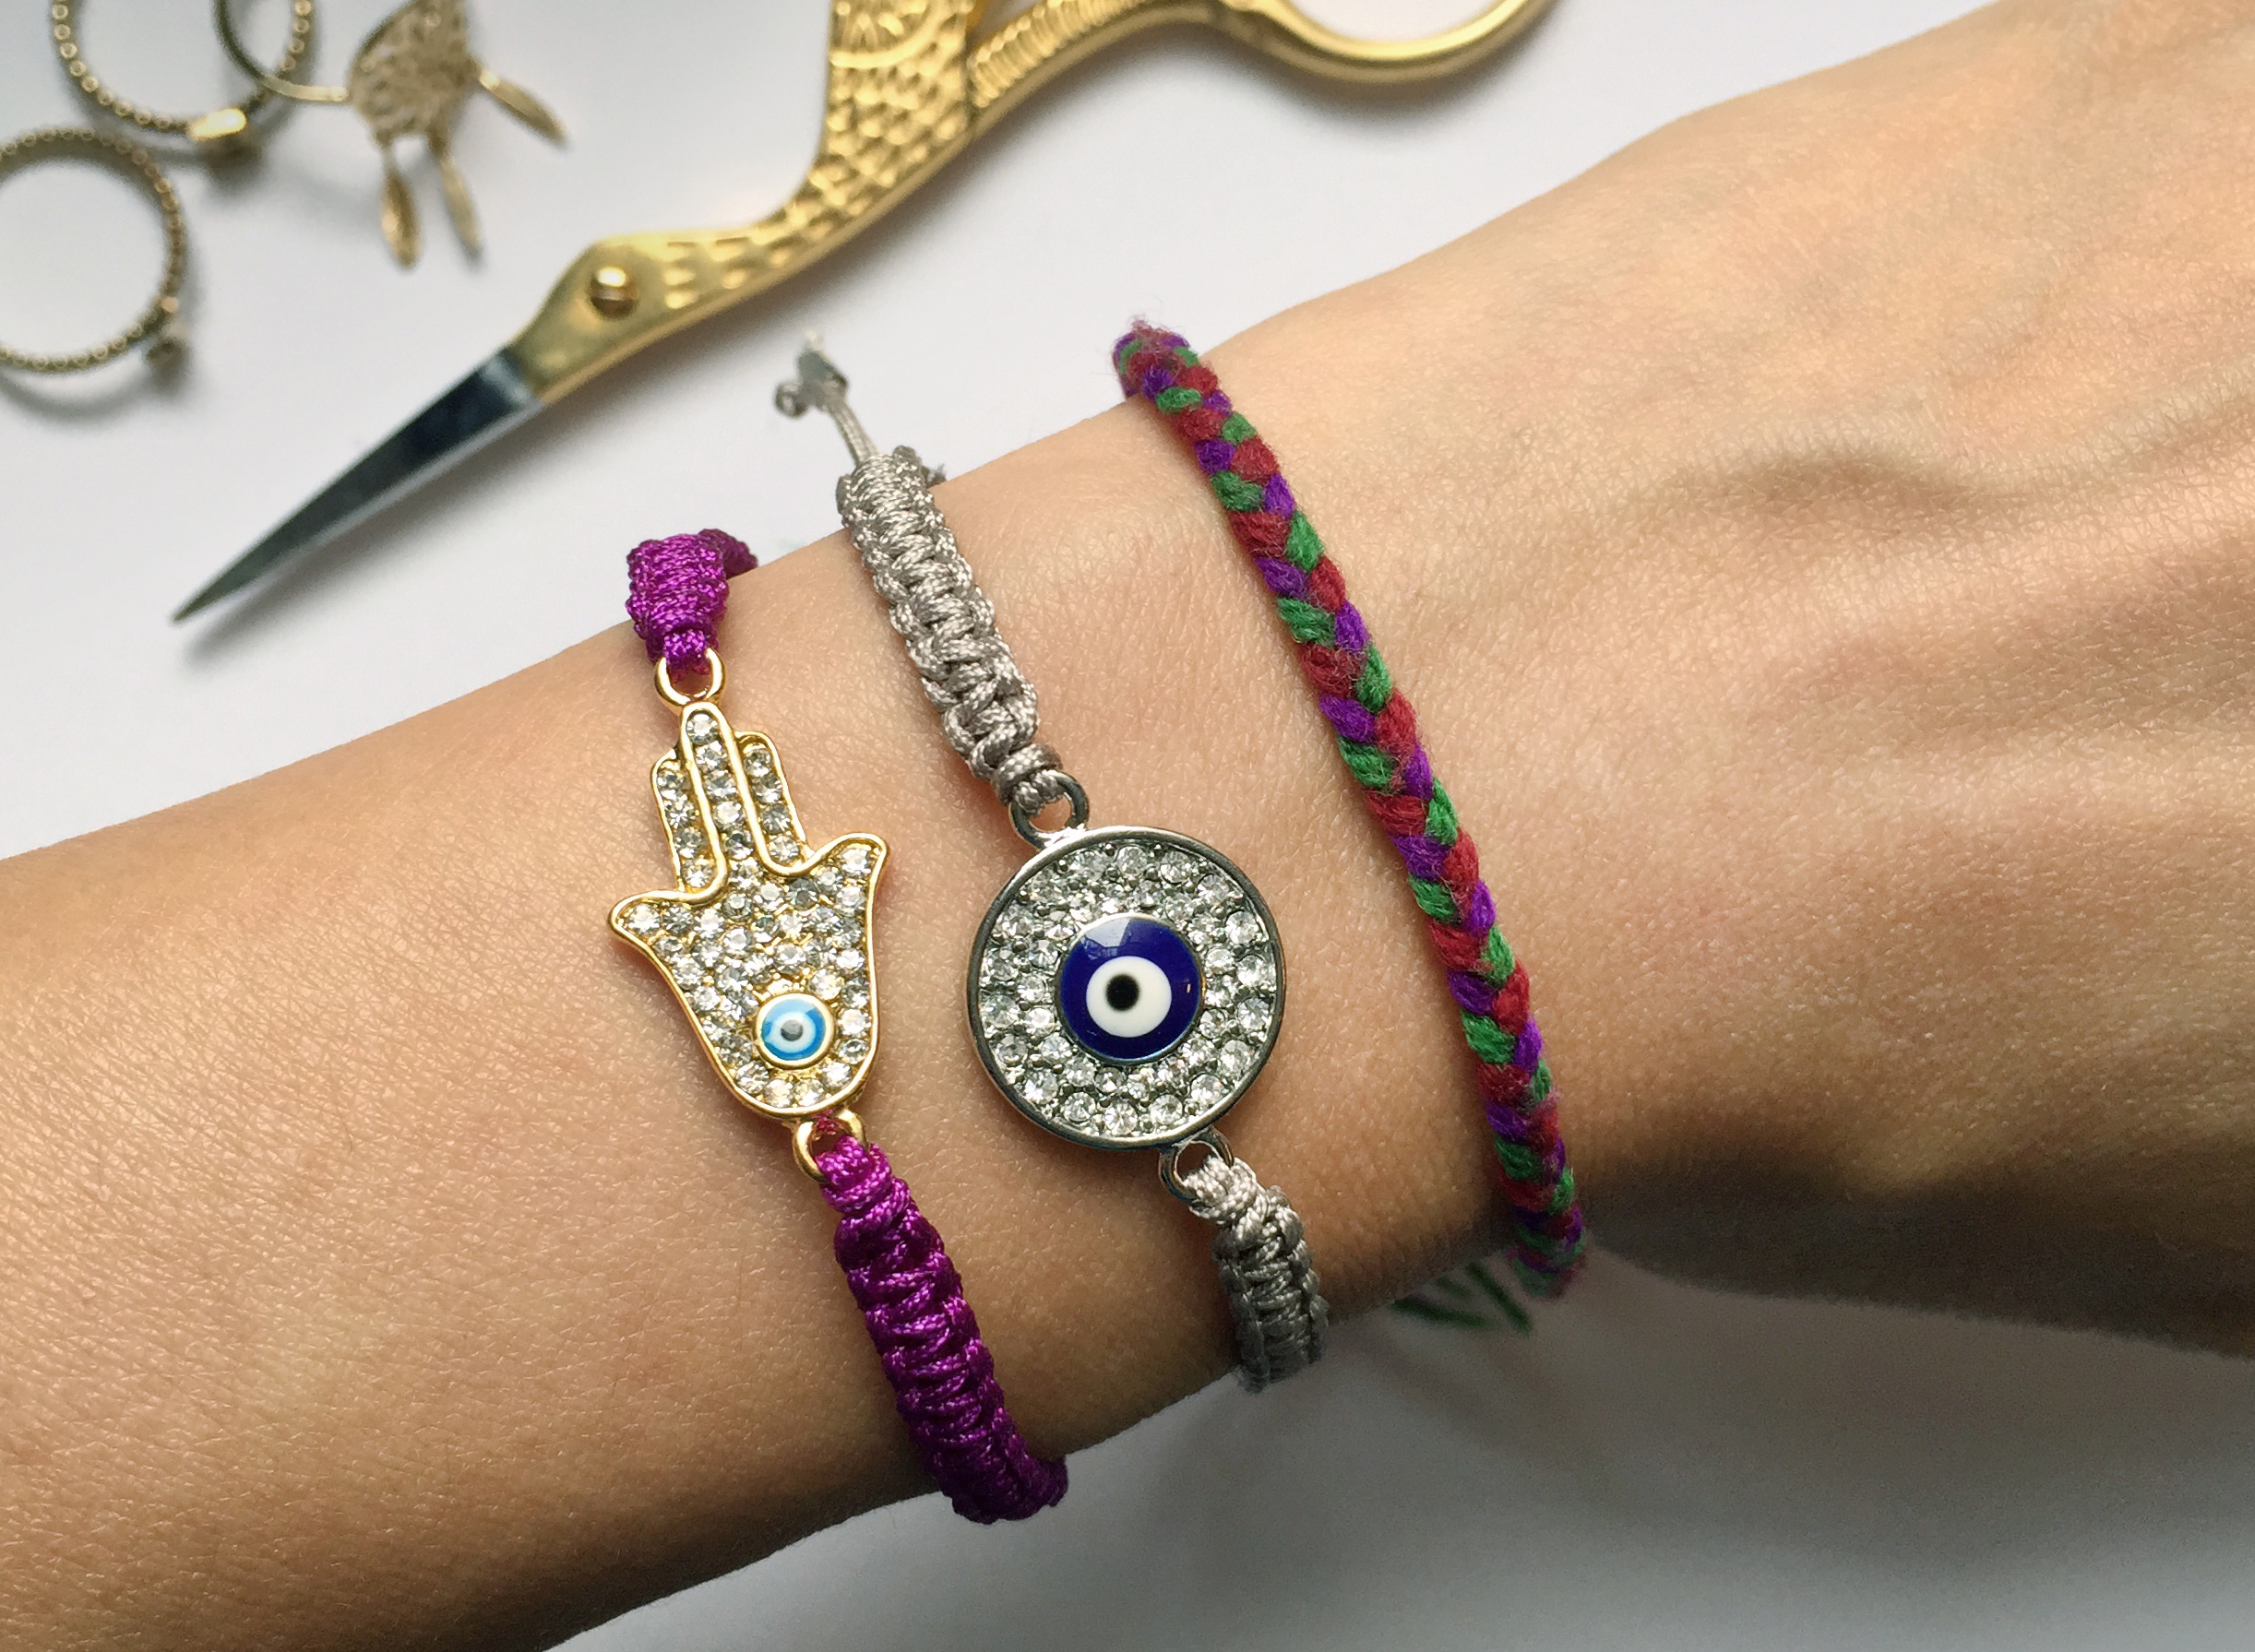
Well, my dear friend Melissa is spearheading her own yoga wear line and I wanted to make her something that would complement her vibrant graphic print yoga pants. I decided to make her a hamsa charm macrame bracelet and her Marketing & PR Manager Vivia (also a close friend) an eye evil one that will hopefully bring them good luck and ward away any bad spirits as they work together to build Rumi into a worldwide yoga brand. 

Try making these simple but super stylish bracelets and check out Rumi Yoga Wear to find a pair of yoga pants that you can wear your bracelet with. Because nothing is better than looking fabulous while getting fit.

ThenComesColor_DIY_Macrame_Bracelet_complete3.jpg

THINGS YOU WILL NEED:

  • 4 yards of 0.5mm Chinese knotting cord

  • charm with holes on both sides

  • tape

  • scissors

  • multi-use glue

  • an embroidery needle (optional)

  • 2 or 4 beads for the ends (optional)

ThenComesColor_DIY_Macrame_Bracelet_items.jpg
ThenComesColor_DIY_Macrame_Bracelet_items_closeup1.jpg

Cut the Chinese knotting cord so that you have one 10" piece, two 20" pieces, and two 30" pieces. These lengths are for an average-sized wrist. As I have a super tiny wrist, I actually needed less.

ThenComesColor_DIY_Macrame_Bracelet_items_lengths.jpg

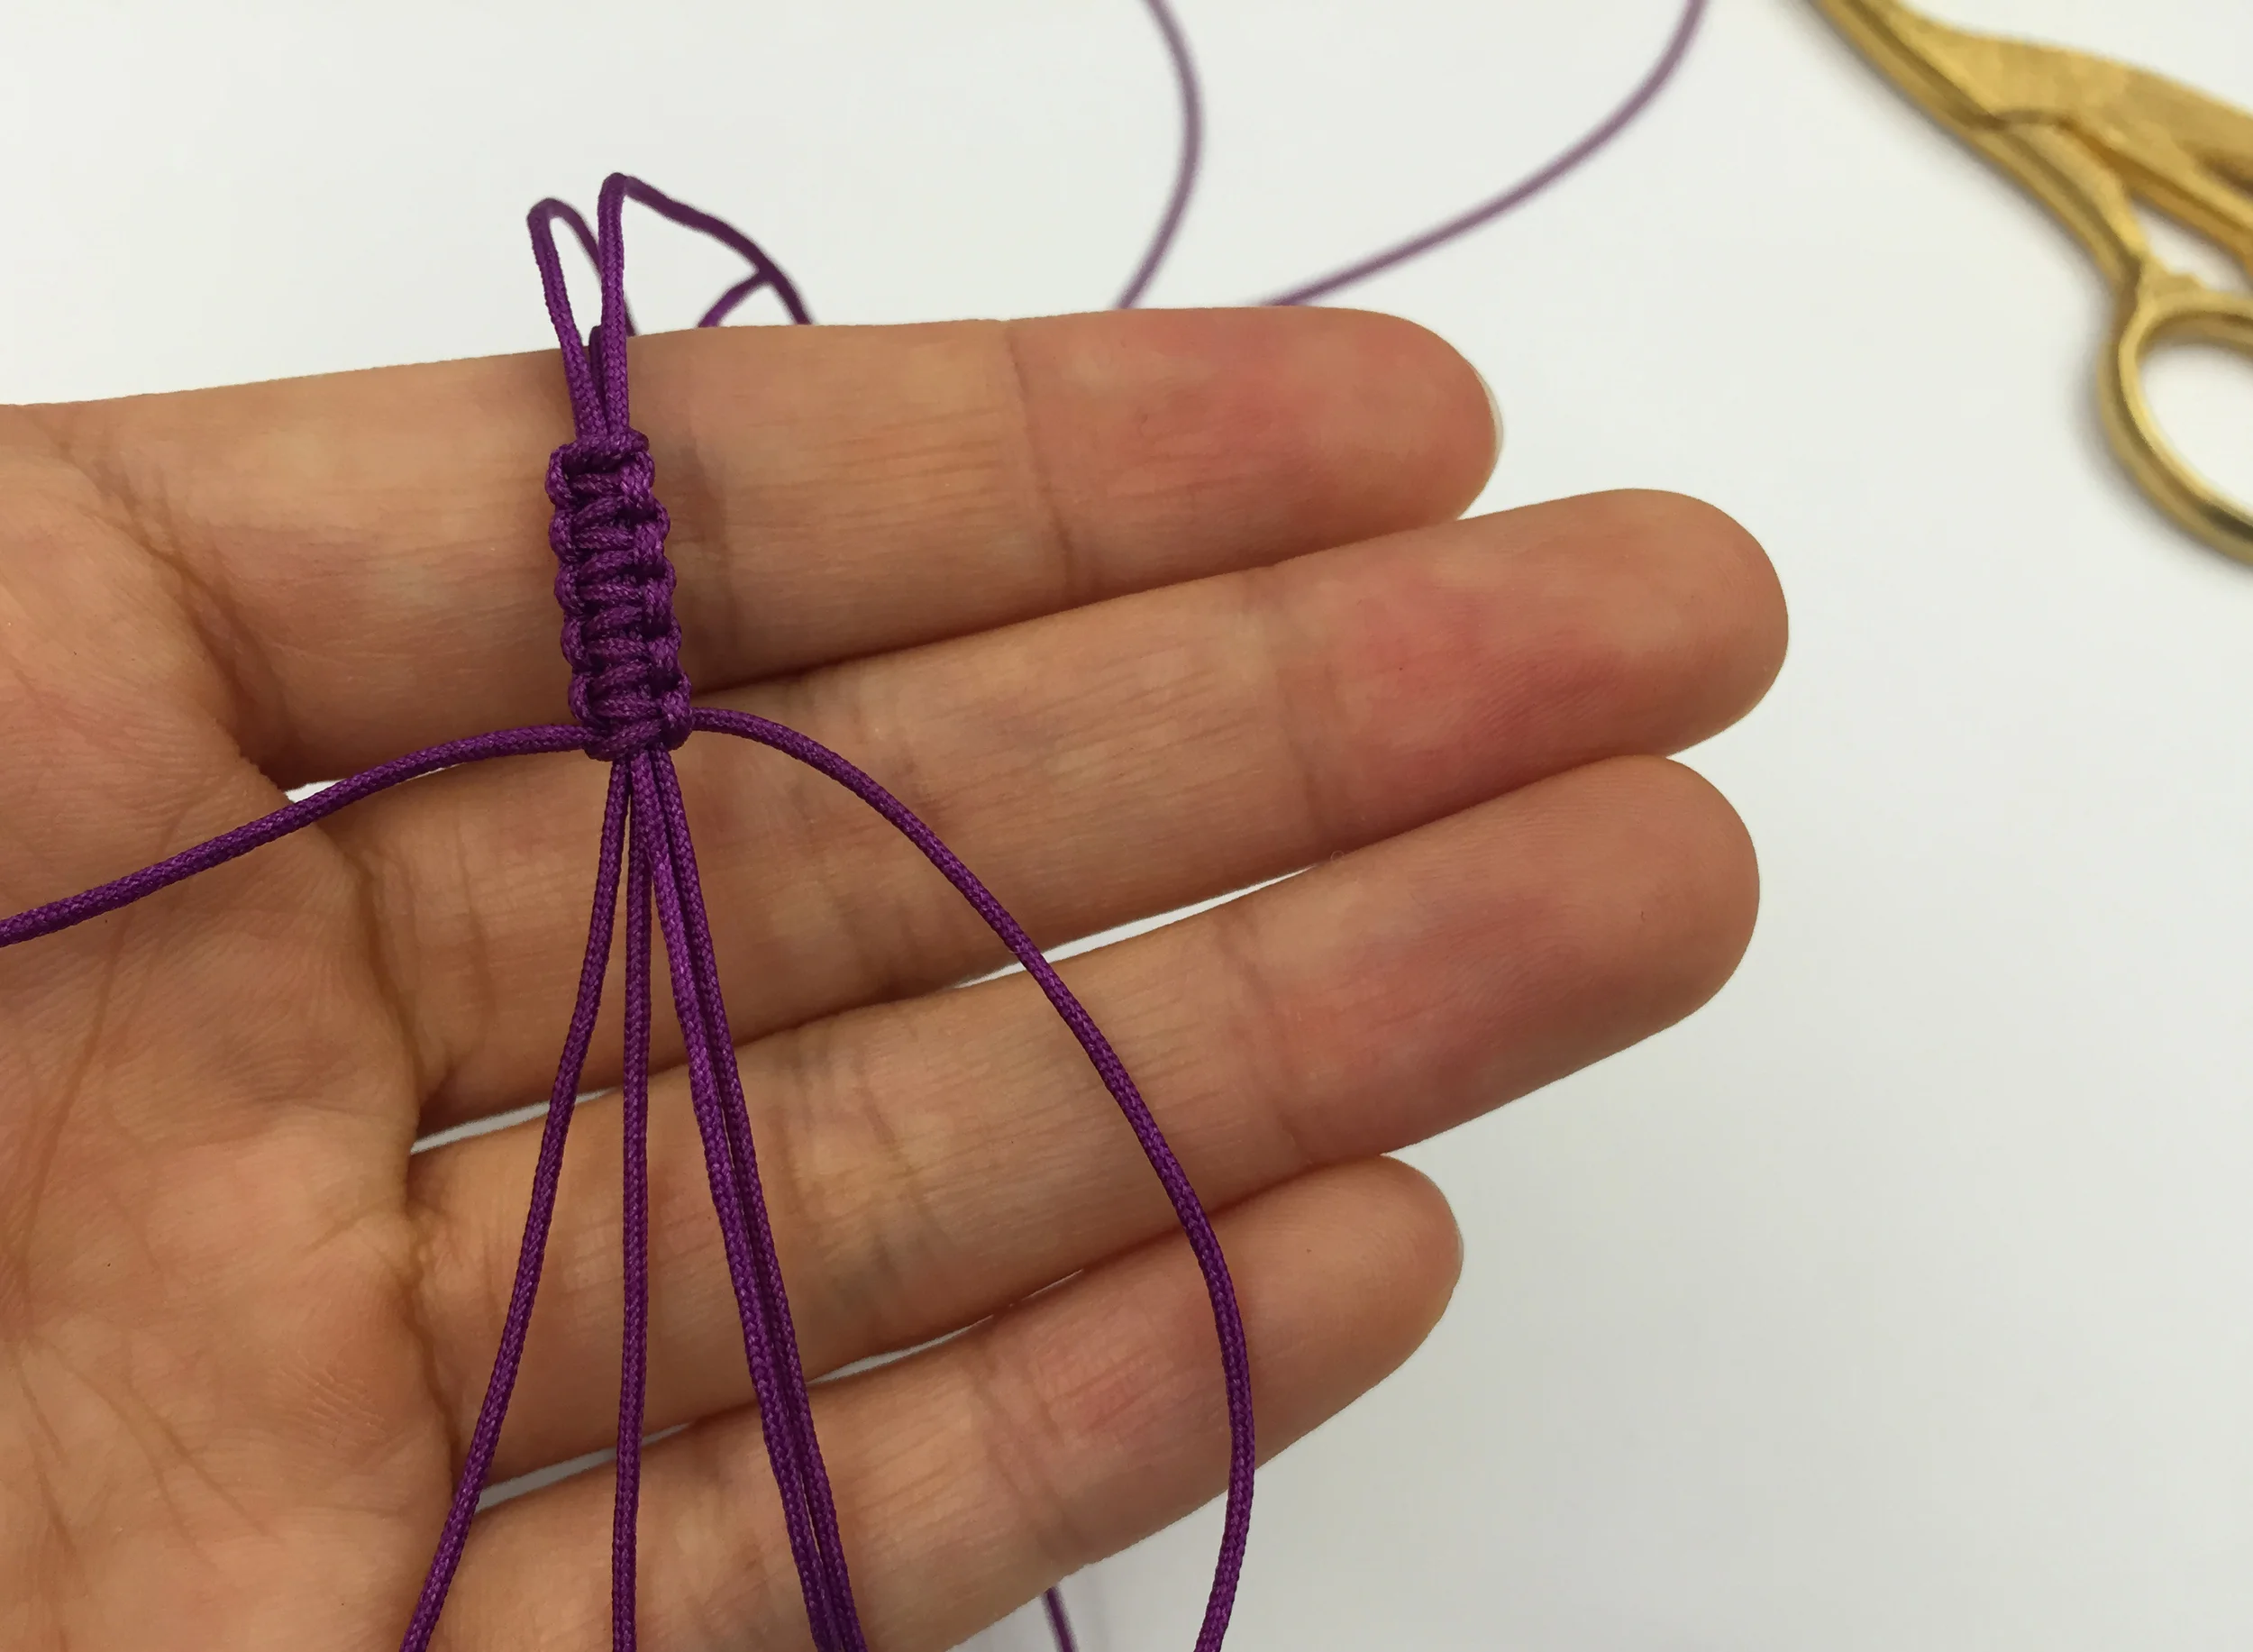
Take one of the 20" pieces and fold it in half to make a cow hitch knot. Thread the cord's looped end into the hole of the charm, then thread the opposite ends into its loop. Pull the cord tightly so that your knot is as close to the charm's hole as possible. Make the same knot with your second 20" cord on the charm's other hole. 

ThenComesColor_DIY_Macrame_Bracelet_loop.jpg

Tape down the two pieces of cord onto your working surface. 

ThenComesColor_DIY_Macrame_Bracelet_tape.jpg

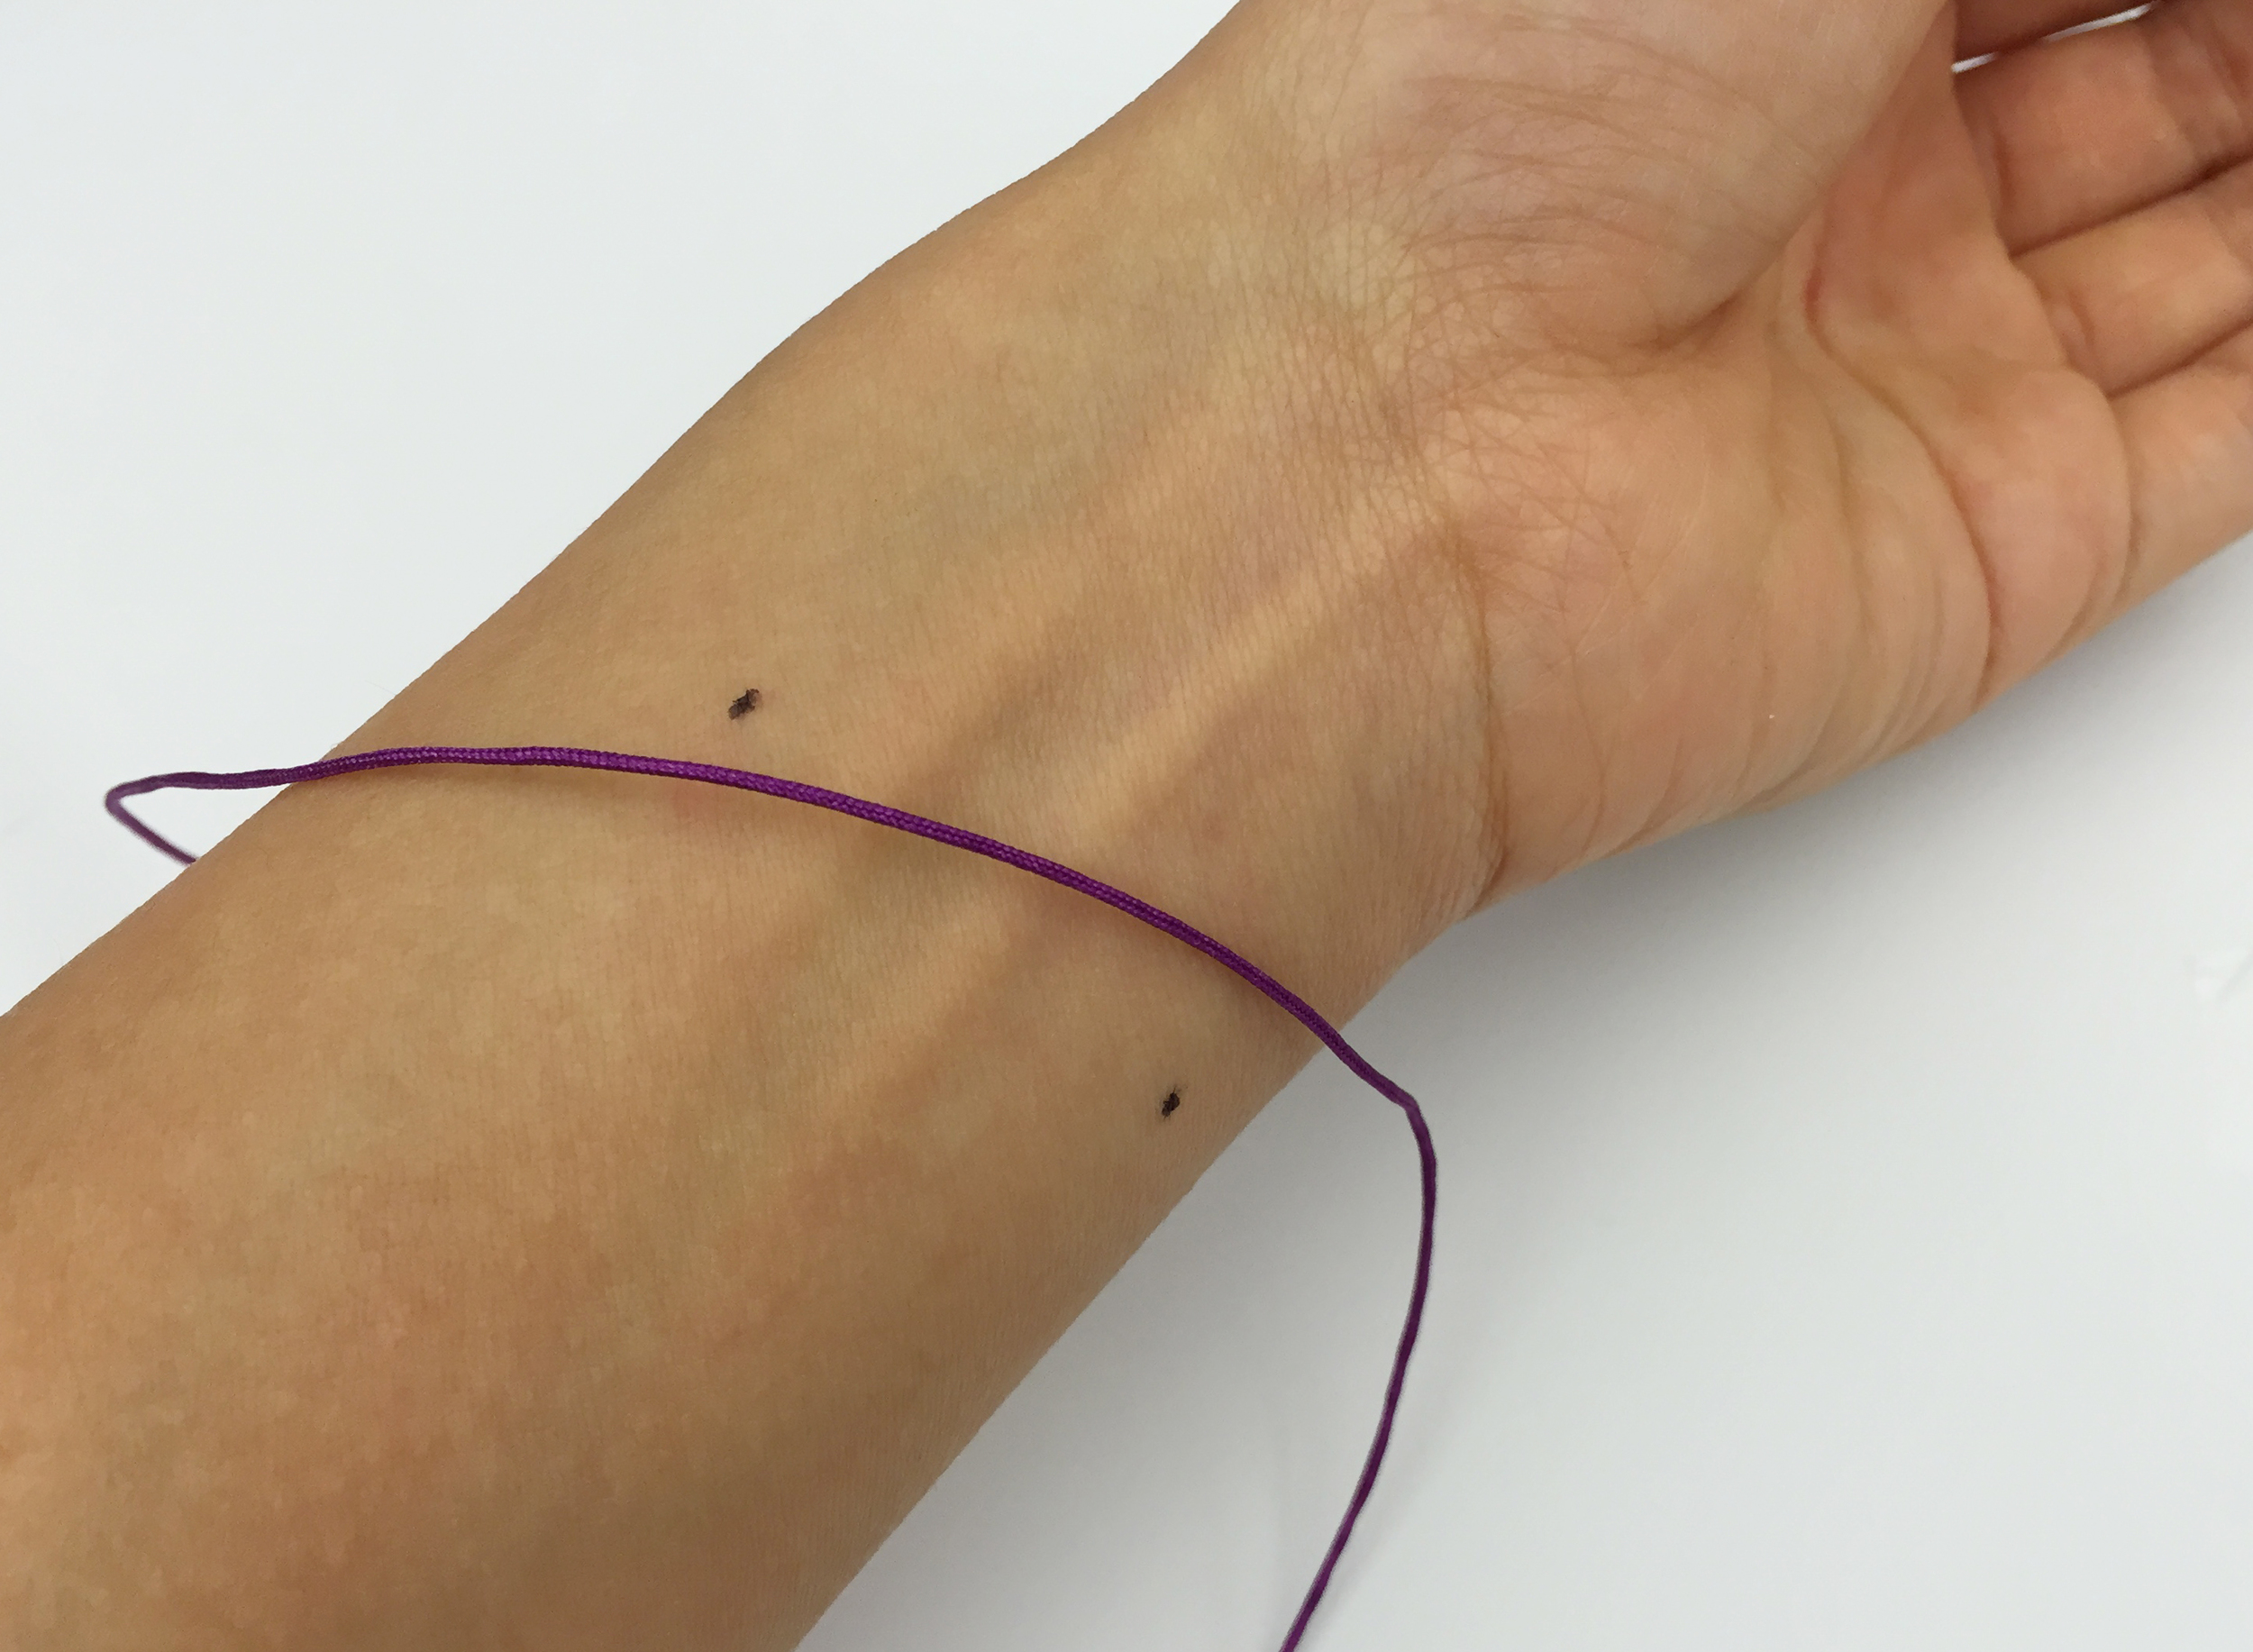
Next, measure how long your bracelet should be. As you can see below, I have marked on my wrist about where the knotting should end. Mark on your working surface that length (as seen in the above photo).

ThenComesColor_DIY_Macrame_Bracelet_marking

Now for the knotting. Tie a regular knot with one of the 30" cords, making sure it is centered and as close to the charm as possible.

ThenComesColor_DIY_Macrame_Bracelet_knot.jpg

1. Make a "D" shape with the right-side cord.
2. Bring the left-side cord towards the intersection point of the taped-down cords and the right-side cord.

ThenComesColor_DIY_Macrame_Bracelet_knottingR1.jpg

3. Loop the left-side cord under the taped-down cords and right-side cord.
4. Pull the left-side cord upwards and over the right-side cord. Tighten the newly created knot.

ThenComesColor_DIY_Macrame_Bracelet_knottingR2.jpg

Do the same from the opposite side.

1. Make a reversed "D" shape with the left-side cord.
2. Bring the right-side cord towards the intersection point of the taped-down cords and the left-side cord.

ThenComesColor_DIY_Macrame_Bracelet_knottingL1.jpg

3. Loop the right-side cord under the taped-down cords and left-side cord.
4. Pull the right-side cord upwards and over the left-side cord. Tighten the newly created knot. 

Repeat this with the right-side cord then left-side cord until you reach your marking. 

ThenComesColor_DIY_Macrame_Bracelet_knottingL2.jpg

To secure the ends, make a regular knot. Before it is completely tightened, place a tiny amount of glue with a toothpick or pencil where the knot will rest, then tighten. Trim the excess cord and carefully add a bit more glue around the knot to make sure everything is secured. Do the same steps with your other 30" cord.

ThenComesColor_DIY_Macrame_Bracelet_Gluing.jpg

To connect the bracelet, fold the ends together. Make sure the cords are as evenly aligned as possible. 

ThenComesColor_DIY_Macrame_Bracelet_foldover.jpg

Tie a regular knot around the folded over cords with the last 10" cord, making sure it is centered. 

ThenComesColor_DIY_Macrame_Bracelet_foldoverknot.jpg

Use the same square knotting technique until you reach about an inch in length. Again, finish off by tying a knot, adding a bit of glue to secure everything then trimming the excess. Be extra careful that the glue is placed only around the knot. Getting glue on the other cords will prevent it from loosing and tightening. 

ThenComesColor_DIY_Macrame_Bracelet_foldoverknot2.jpg

Optional: Add beads to the loose cord ends. You can forego the beads and just knot the ends but I think the beads give a more polished and expensive look to the bracelet.

ThenComesColor_DIY_Macrame_Bracelet_endbeads.jpg

Trim the excess cord and add a bit of glue around the knots to secure them. And there you have it!

ThenComesColor_DIY_Macrame_Bracelet_endbeads3.jpg
ThenComesColor_DIY_Macrame_Bracelet_complete1.jpg
ThenComesColor_DIY_Macrame_Bracelet_complete2.jpg
ThenComesColor_DIY_Macrame_Bracelet_complete4.jpg
ThenComesColor_DIY_Macrame_Bracelet_complete3.jpg

QR Code Progressive Date

Long distance relationships can be a fun-suck, especially when your significant other’s birthday rolls around and you are on opposite sides of the country. For my boyfriend’s birthday this year, I would forego the lackluster gift half-heartedly ordered online and would try something a bit unexpected. I presented him with a QR code progressive date package a few weeks later in Hong Kong where we would reunite for the start of our Asia vacation. I was inspired by a similar gift I saw in Erin Jang and Steph Hung's Make and Give book and knew this would be in the perfect interactive gift. 

I told JB not have any plans for our first day in Hong Kong and to make sure to get enough sleep on his 14-hour flight because we would be on the move the moment we dropped off our bags. I planned an itinerary around activities and foods that we love and that would celebrate the city we lived in. The red, white and blue colors were a nod to the same colored, quintessentially Hong Kong nylon canvas that you can see peppered around local street markets to cover stalls and temporary structures.

Each envelope contained a card with a QR code and address printed on it. The scanned code would reveal a poem that provided a hint to where the location might be. One after another, JB would open the next smaller envelope to figure out the next destination.

So here we go! The first and biggest envelope, eagerly waiting to be opened on the streets of Tin Hau. 

ThenComesColor_QR_Code_Progressive_Date_Envelope.jpg

The first card led us to a local Hong Kong eatery or "cha chaan teng" where we would have a typical Hong Kong breakfast consisting of luncheon meat macaroni, scrambled eggs, toast and sweet hot milk tea. I will say it is not the most healthiest of breakfasts but it is darn delicious! I ate everything. And of course, it would not be the full experience without having to share our table with complete strangers and listening to the waitstaff shout loudly at each other.


Location ONE
CAPITAL CAFÉ

Get ready to load up on eggs and buttery toast,

If not you will walk around the city like a jetlagged ghost,

Definitely an iced milk tea for me,

I hope they have an English menu for us to see.

For our second location I wanted us to participate in a collaborative file-sharing project called "Dead Drops." It is a project started by Aram Bartholl, a Berlin-based media artist, in which "USB flash drives are embedded into walls, buildings and curbs accessible to anybody in public space. Everyone is invited to drop or find files on a dead drop." There are USB installed all around the world and I thought it would be great to embed one in Hong Kong.


LOCATION TWO
ANY LOCATION

Pick the perfect location,

And become a part of this worldwide database collaboration,

We better make sure this USB stick is embedded securely,

As the other two in Hong Kong have already been deactivated unfortunately. 

We decided to superglue one underneath a bench on Central's Gough Street. JB actually went back the next day to make sure it was there but unfortunately it was gone. Perhaps a cleaning lady found it or the hot humid weather prevented it from drying completely. It would have been better to have mounted it into a wall, sealing it with cement, but hey at least we tried. Next time we will make sure we embed our USB more securely!

When JB and I were living in Hong Kong, we would occasionally take the Star Ferry together from Tsim Sha Tsui to Central as part of our evening commute home. It is still one of my favorite memories of the city, making sure to tie my hair before the boat took off so that my lovely lady locks would not slap JB across his face due to the wind and then watching the beautiful glittering buildings that line Hong Kong island get bigger and bigger as we got closer to the pier. I would recommend the ferry to anyone who visits Hong Kong, especially when the sun is setting. 


LOCATION THREE
STAR FERRY

Your original Valentine's Day plan included one of these,

Be careful you might get hair slapped by the breeze,

Oh, to relive one of my fondest memories of Hong Kong with you,

And simply take in the beautiful city view. 

For lunch, I decided on Sheraton's Oyster & Wine Bar because JB absolutely loves oysters. He could eat them for days. Plus who would say no to unlimited champagne and a gorgeous view of the city from the 18th floor.


LOCATION FOUR
Oyster & Wine Bar
Sheraton Hotel

You will be thrilled to load up on your favorite type of feed,

It must be love when you still ate them even after they made you bleed,

Let's sip on some bubbly and ocean juice,

After this, I am sure we will be completely stuffed and footloose. 

After lunch we visited a small museum in Fortress Hill. Our favorite piece by far was this giant fortune cookie that visitors could tie handwritten messages onto the sculpture's wired frame. I loved that we were contributors to this work of art and in essence dictating what we would want our fortune to be, rather then a cookie telling us what our fortune is.


LOCATION FIVE
Oi! Museum

The Royal Hong Kong Yacht Club kicked it here back in the day,

But a space that fuels creativity and imagination is what it is today,

You will have to eat more food but just with your eyes,

And to check out art that explores life's whys. 

ThenComesColor_QR_Code_Progressive_Date_Location5_Detail.jpg

JB's wish was for a blessed future together and for good things to come for this blog. How sweet!

And of course what is a more perfect way of ending a date than with some cocktails. I found a stylish bar called The Envoy that creates artfully delicious drinks, many inspired by tea, a nod to the city's first governor Sir Henry Pottinger, who helped established Hong Kong as a major trading port. My drink was extra strong (just the way I like it!) and had an beautiful yellow flower inside the ice ball, which I must try making for cocktails at home.


Location 6
the Envoy

Another form of art we will explore,

But this is the type that you must pour,

Locate this building named after Hong Kong's first governor,

Your reward: British-inspired drinks skillfully concocted with liquor.

We were all sweaty after running around the city but it was such a fun day. And JB, if you are reading this, it is your turn to give me a progressive date package! *wink*

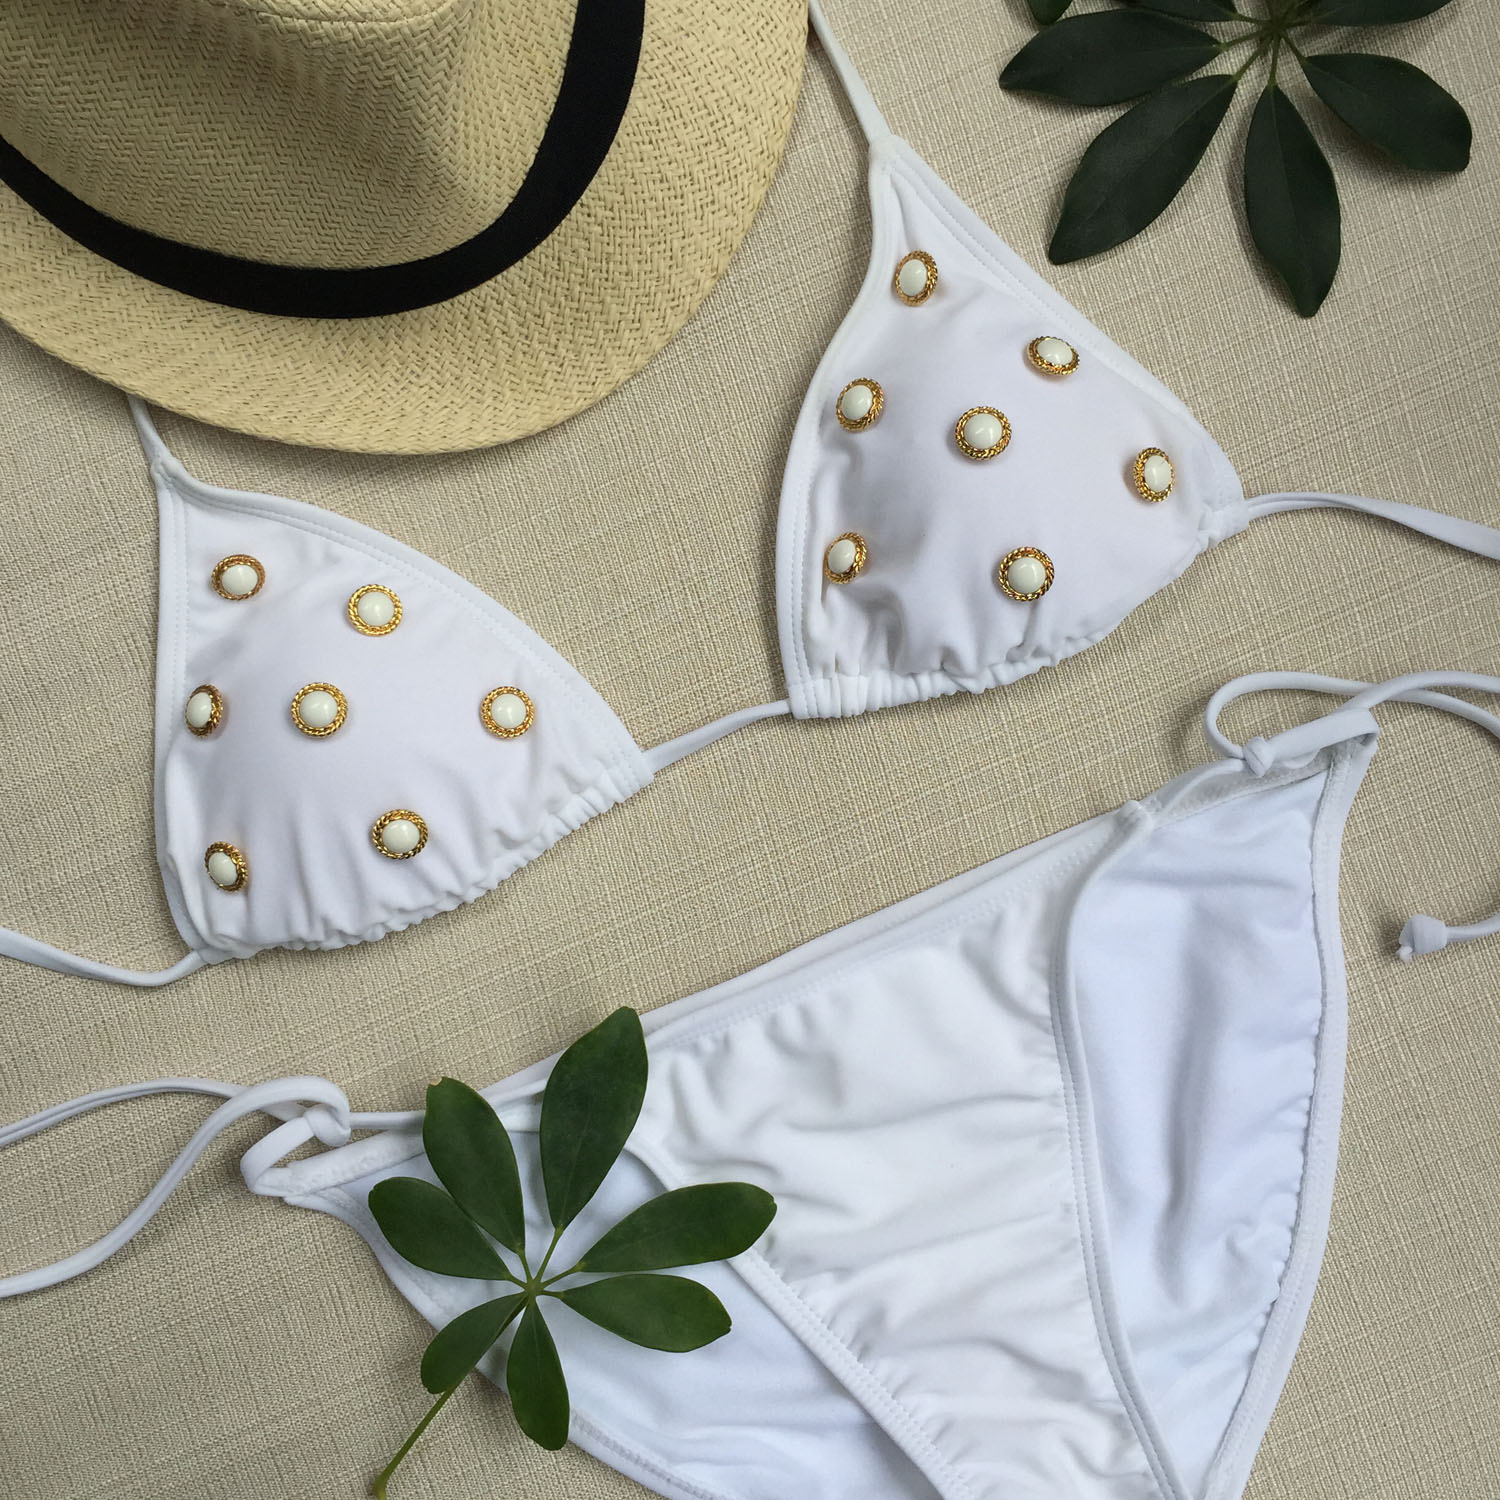
Chanel Inspired Pearl Button Bikini

The warmer summer weather calls for soft wavy hair, floral dresses and, of course, cute bikinis. I decided to "Chanelify" a plain white bikini, taking it from a boring plain swimsuit to a glamorous beach set that Karl Lagerfeld would surely approve of. And at a fraction of what Chanel bikinis cost, your bank account will definitely approve. 

ThenComesColor_Chanel_Bikini_Complete4.jpg

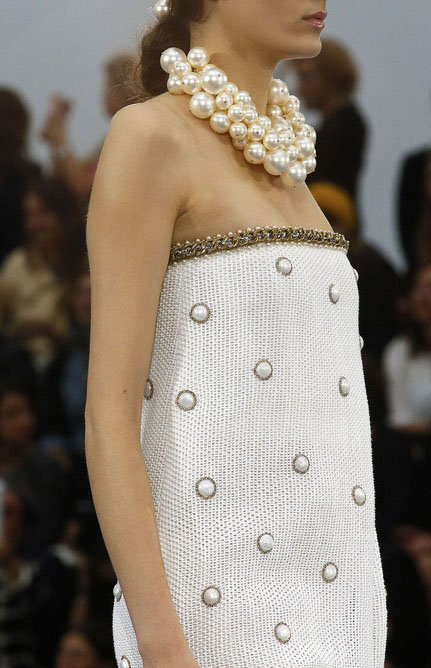
I drew inspiration from the French fashion brand's Spring 2013 Ready-To-Wear collection in which many of the pieces were adorn with iconic pearl embellishments. The looks are incredibly simple, yet gorgeous in execution. And even though the collection is already two years old, the pieces look completely timeless.

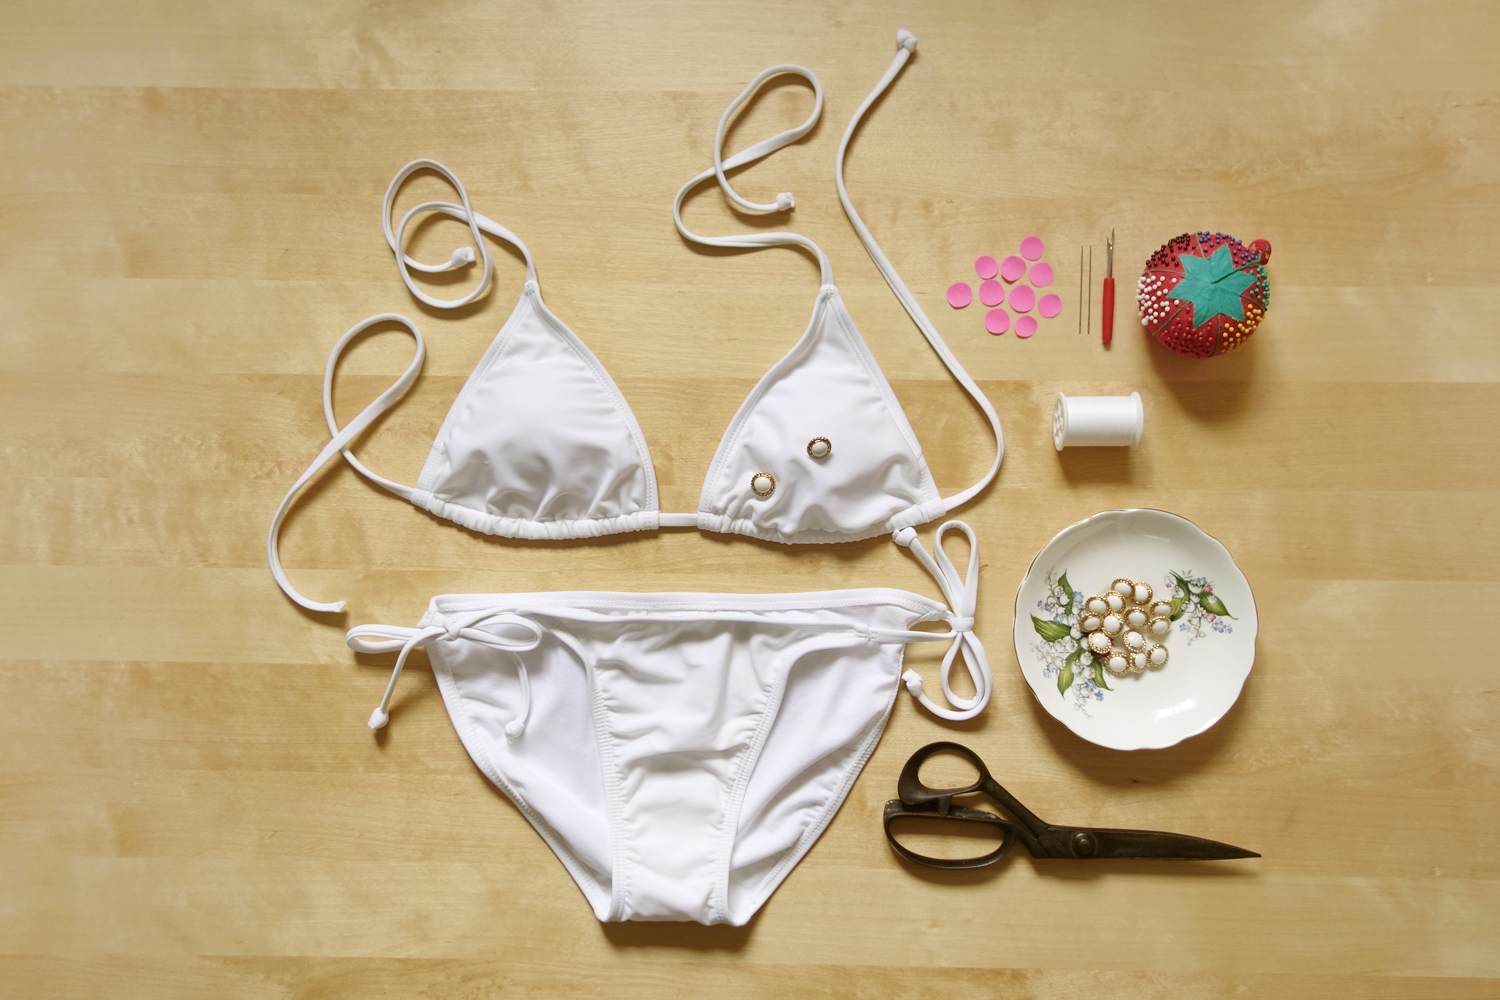
Things you will need:

  • white bikini (mine is from Old Navy)

  • roughly 14-18 gold edged pearl shank buttons (Mine are from Dills Buttons)

  • white thread

  • needles

  • pins

  • scissors

  • sticky parts of post-it notes cut into rounds that are the same size as your buttons or small round stickers

  • seam ripper (in case you mess up with your sewing)

ThenComesColor_Chanel_Bikini_Items.jpg
ThenComesColor_Chanel_Bikini_Items2.jpg
ThenComesColor_Chanel_Bikini_buttons.jpg

Position your cut post-it dots evenly around your bikini top. Each cup ended up having seven dots, but the number may vary depending on your cup size (I bought a size small top). Make sure to look at the dots at different angles to see that they are all positioned evenly from each other.

ThenComesColor_Chanel_Bikini_PostIt_dots.jpg
ThenComesColor_Chanel_Bikini_PostIt_complete.jpg

Once you are happy with how the dots look, you can move onto the pinning part. Carefully pin each button in the same location as the post-it dots, adjusting as needed. Again, make sure that all the buttons are positioned evenly from each other.

ThenComesColor_Chanel_Bikini_Pinning.jpg
ThenComesColor_Chanel_Bikini_Pinning2.jpg

Lastly, sew each button securely. I had to watch this video on how to properly sew a shank button to make sure I was doing it correctly. You will need to loop several times and knot securely. 

ThenComesColor_Chanel_Bikini_sewing.jpg

All that is left to do is to hit up your favorite beach in your freshly DIY-ed bikini. I loved wearing mine in Mexico and I am sure you will too on your next vacation. And do not forget to wear sunscreen! 
 
β€œA girl should be two things: classy and fabulous.”
— Coco Chanel
ThenComesColor_Chanel_Bikini_Complete5.jpg
ThenComesColor_Chanel_Bikini_Complete3.jpg
ThenComesColor_Chanel_Bikini_Complete4.jpg

Emojified Hong Kong MTR Stations

A few weeks before I was set to return back to the States after living in Hong Kong for almost five years I came across this map showing the literal translations of all the city's train stations. I always knew that each Chinese character has a specific meaning but never really thought about what the different MTR stations' names meant in Traditional Chinese.

I remember being so charmed by some of the names. I mean come on. Kowloon literally means "Nine Dragons" and one of my favorite districts of Tin Hau translates into "Heavenly Queen." I love it!

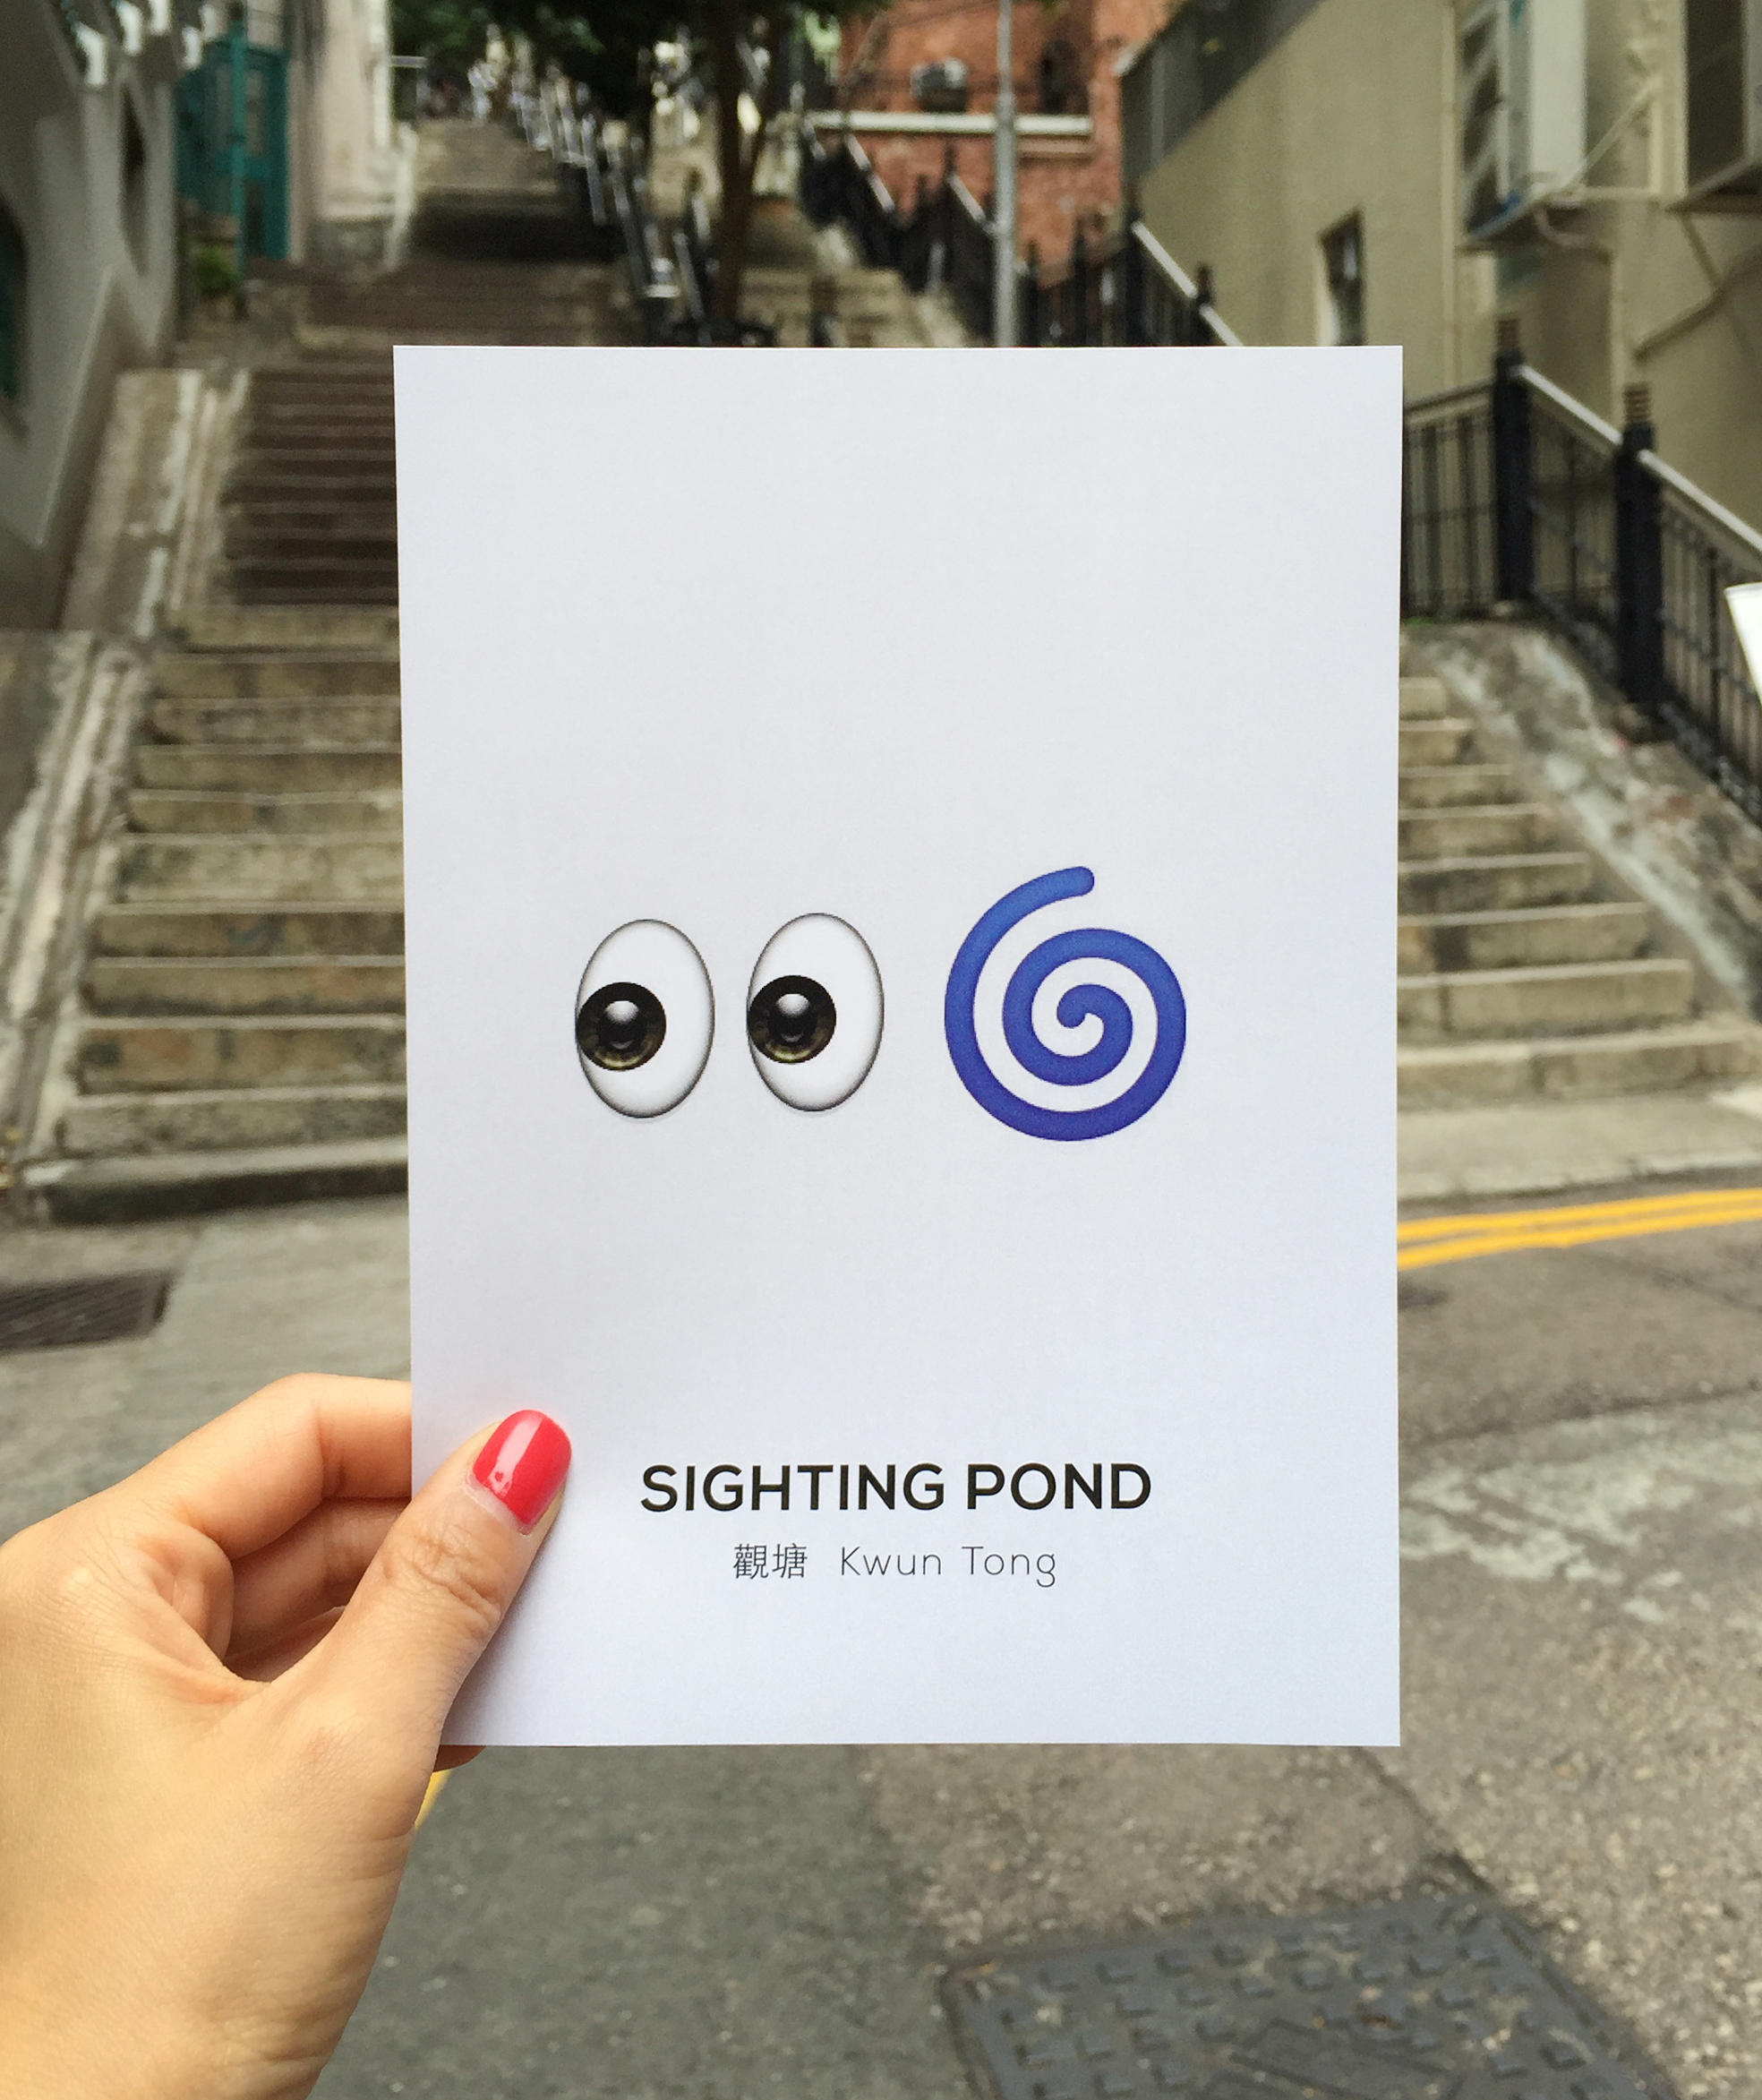
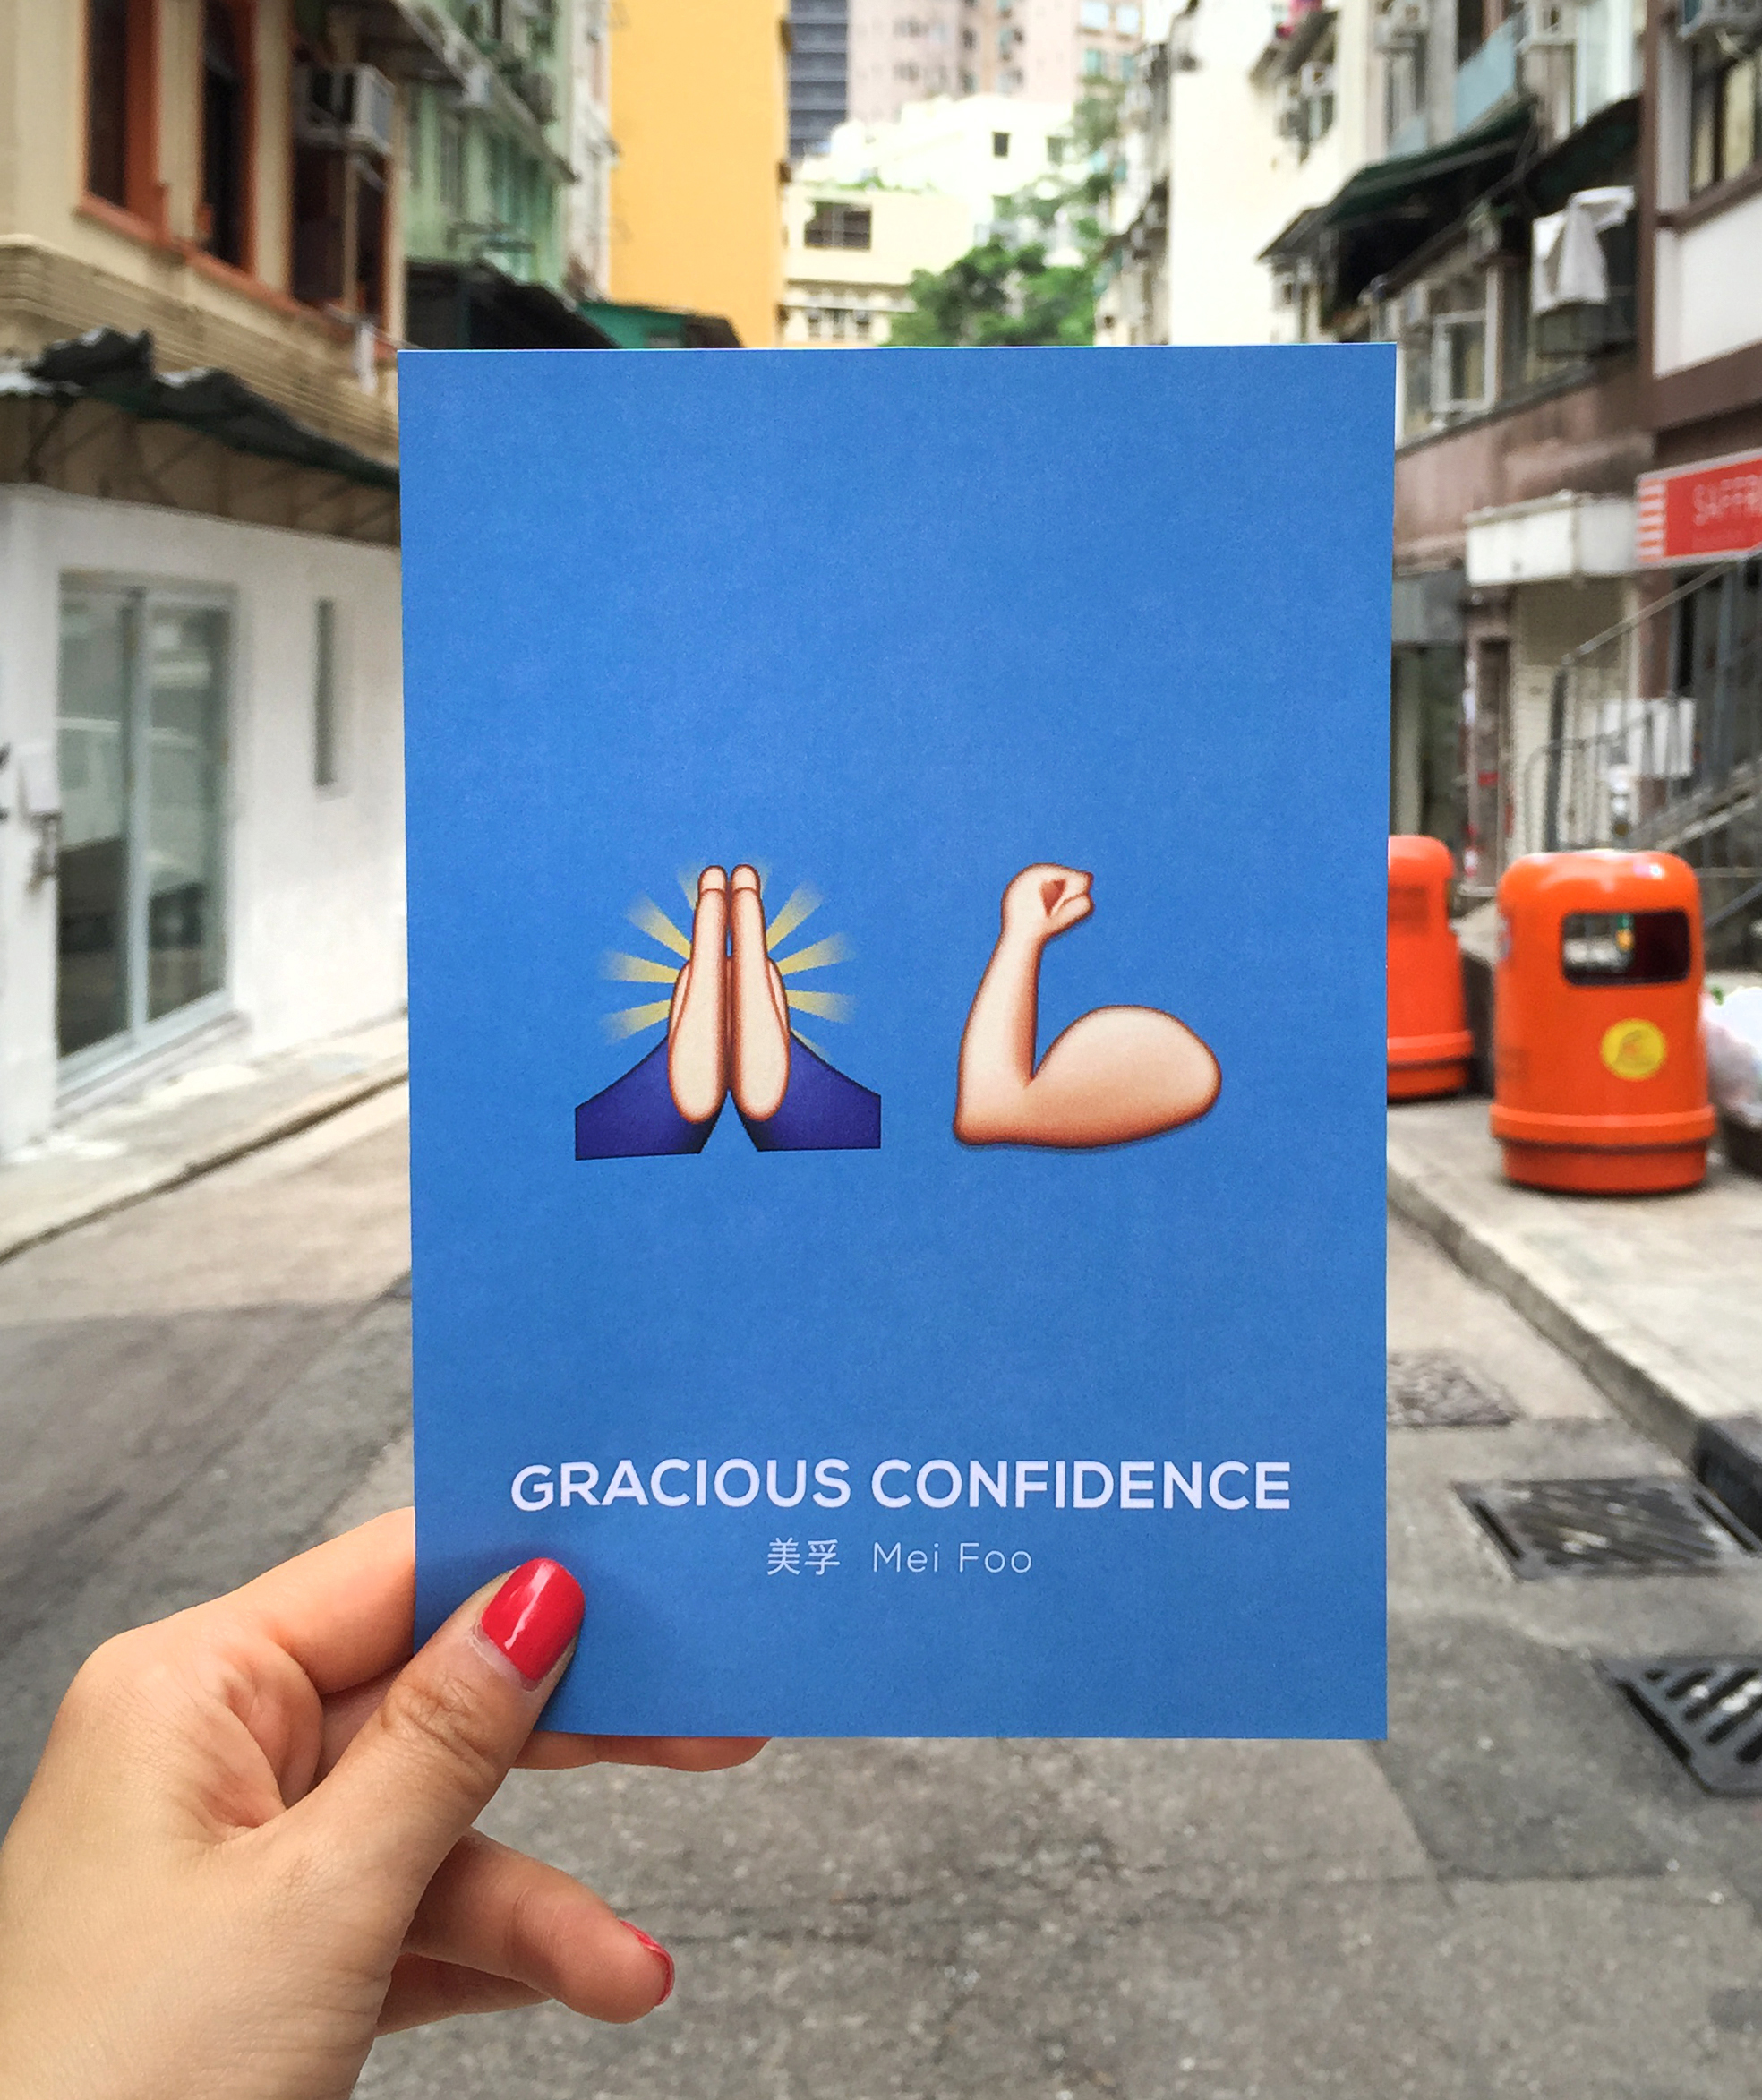
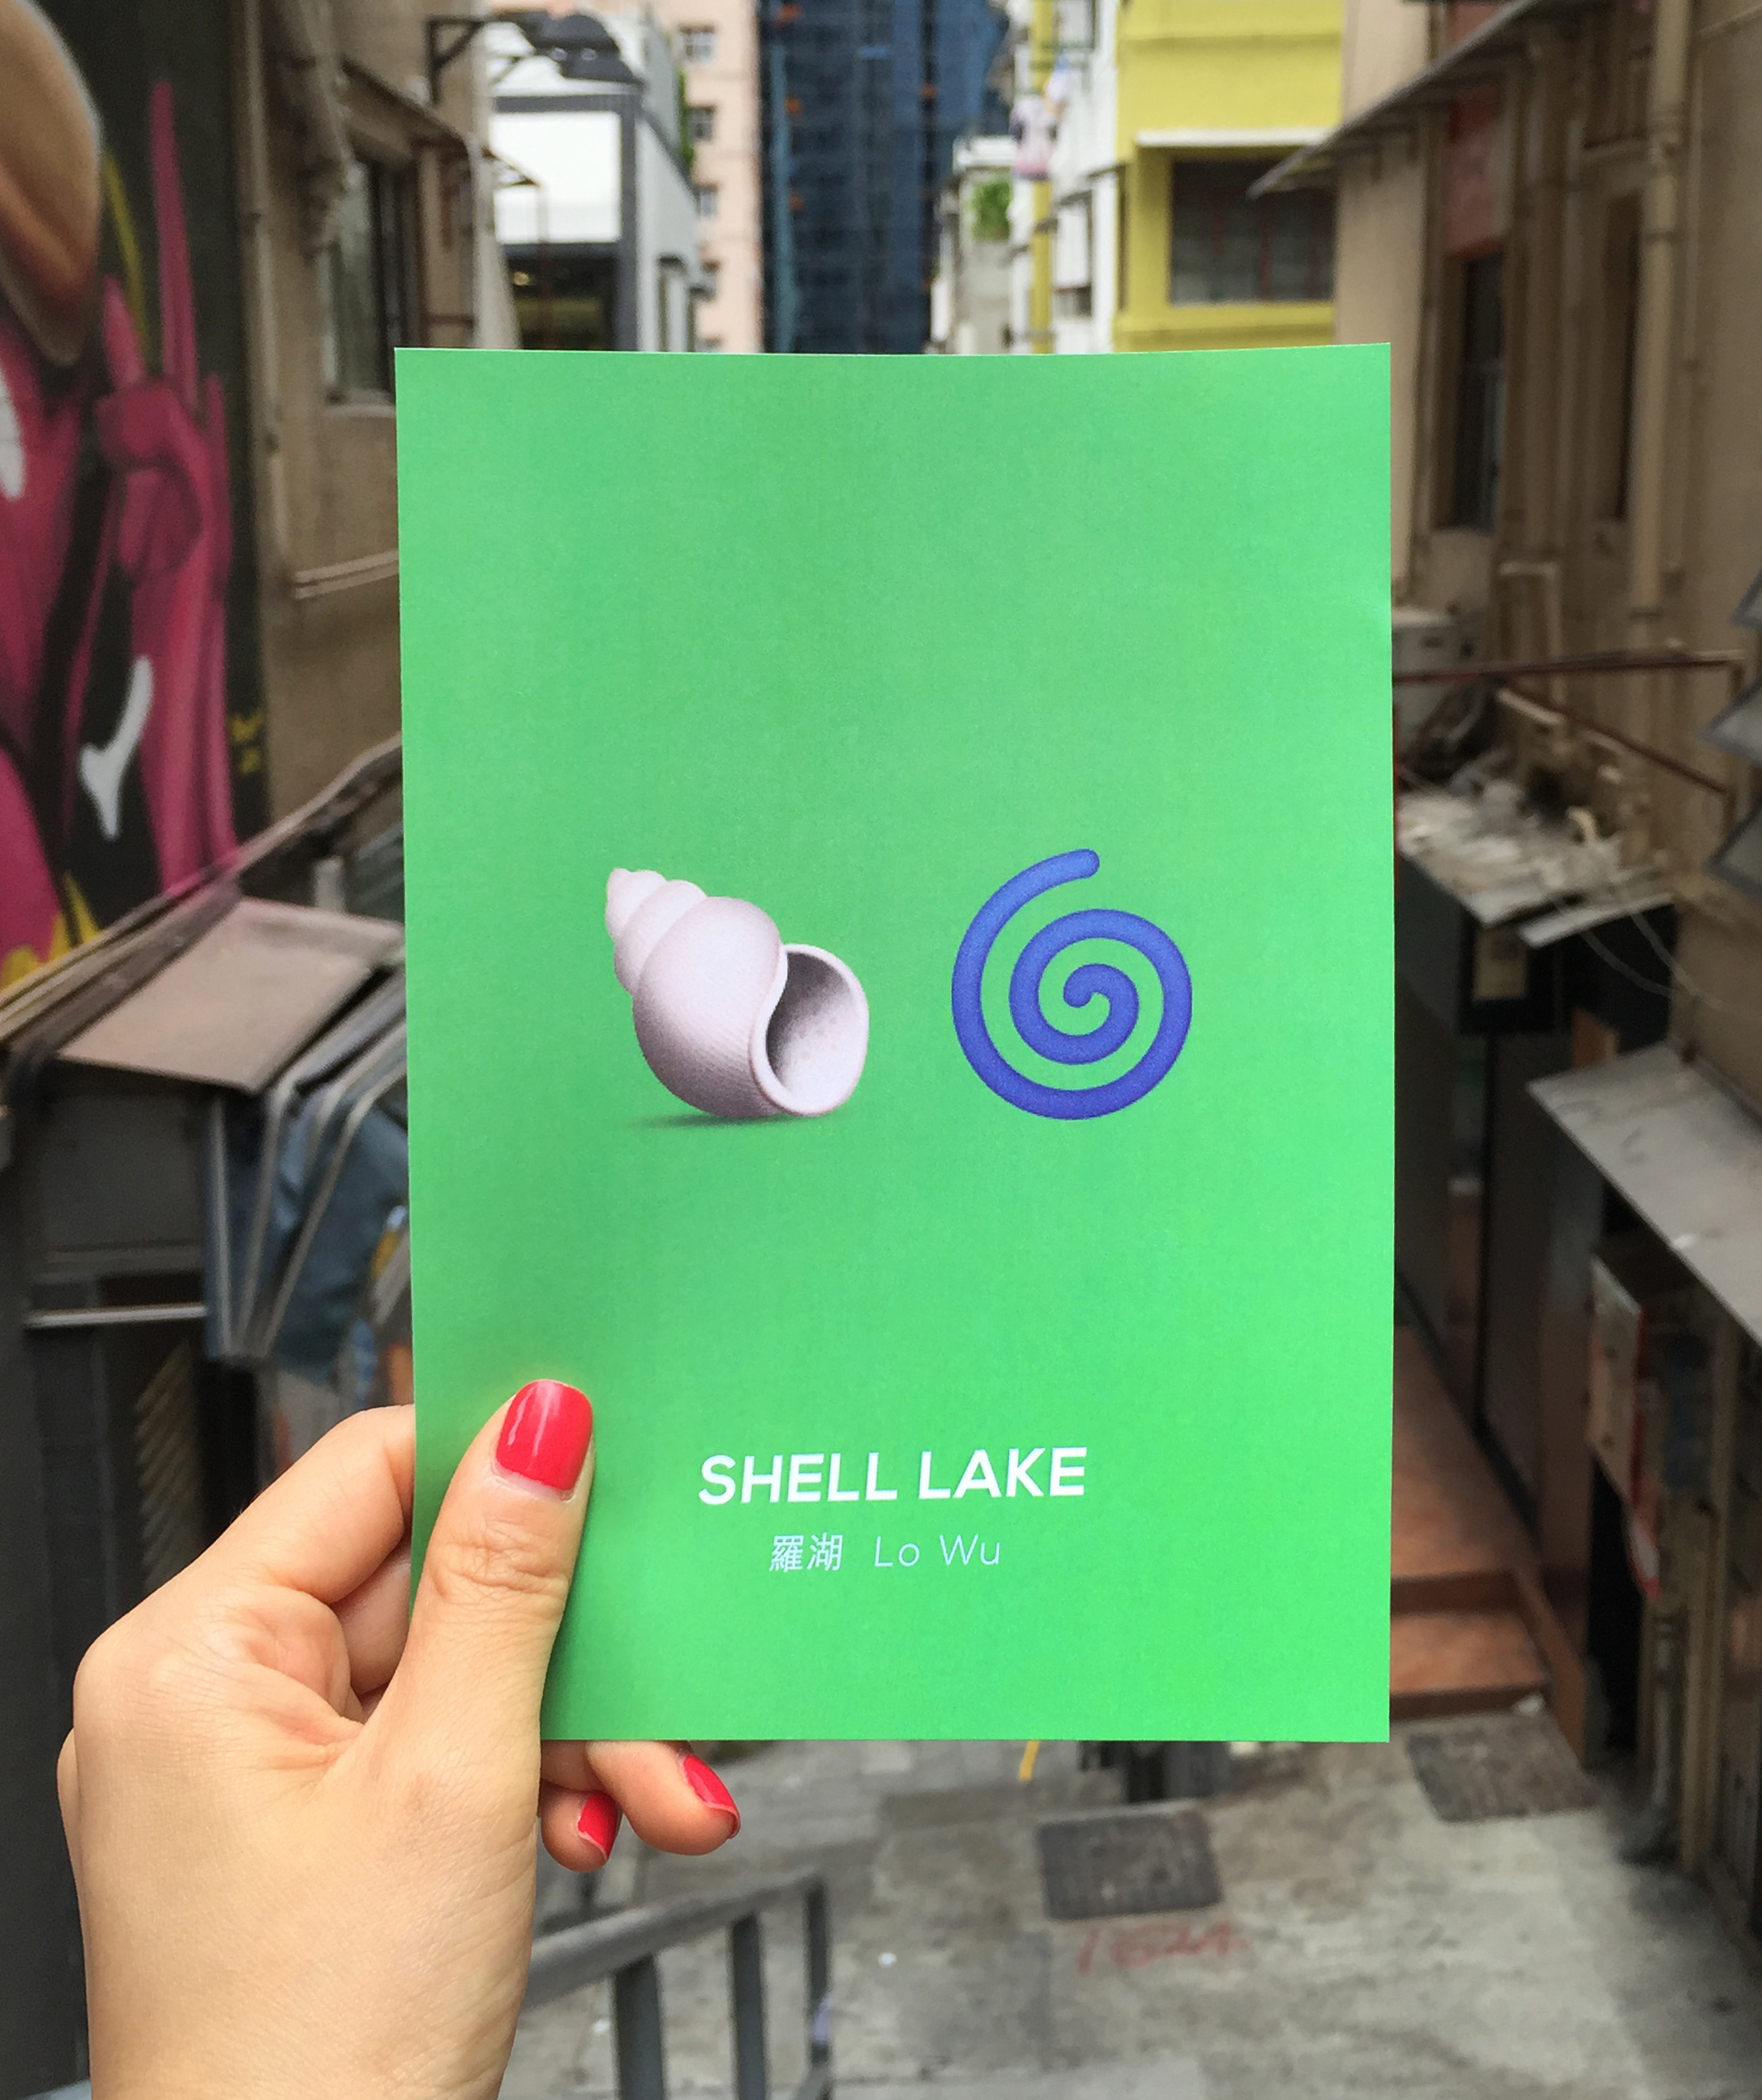
These translations begged to be visually represented in some way and I vowed that the next time I visited Hong Kong, I would have something designed. So before my Hong Kong trip this past April, I picked 22 stations and 'emojified' them, backdropped by the colors that correspond to each station. 

I really wanted to photograph each card at its respective station but with my packed schedule I was not able to (I almost missed my flight taking these around Sheung Wan!). But I really hope these will make you smile and the next time you have an outing in Quarry Bay you should try saying "Hey, let's meet at Goldfish Stream." and see what confused look or text you get in return.

ThenComesColor_HongKong_MTR_Stations_Emoji_1_Admiralty.jpg
ThenComesColor_HongKong_MTR_Stations_Emoji_2_KwunTong.jpg
ThenComesColor_HongKong_MTR_Stations_Emoji_3_TinHau.jpg
ThenComesColor_HongKong_MTR_Stations_Emoji_4_KwaiHing.jpg
ThenComesColor_HongKong_MTR_Stations_Emoji_5_QuarryBay.jpg
ThenComesColor_HongKong_MTR_Stations_Emoji_6_KwaiFong.jpg
ThenComesColor_HongKong_MTR_Stations_Emoji_7_Kowloon.jpg
ThenComesColor_HongKong_MTR_Stations_Emoji_8_MeiFoo.jpg
ThenComesColor_HongKong_MTR_Stations_Emoji_9_LoWu.jpg
ThenComesColor_HongKong_MTR_Stations_Emoji_10_SheungShui.jpg
ThenComesColor_HongKong_MTR_Stations_Emoji_11_ChoiHung.jpg
ThenComesColor_HongKong_MTR_Stations_Emoji_12_LokFu.jpg
ThenComesColor_HongKong_MTR_Stations_Emoji_13_KowloonTong.jpg
ThenComesColor_HongKong_MTR_Stations_Emoji_14_TaiWo.jpg
ThenComesColor_HongKong_MTR_Stations_Emoji_15_NgauTauKok.jpg
ThenComesColor_HongKong_MTR_Stations_Emoji_16_SheungWan.jpg
ThenComesColor_HongKong_MTR_Stations_Emoji_17_LamTin.jpg
ThenComesColor_HongKong_MTR_Stations_Emoji_18_FortressHill.jpg
ThenComesColor_HongKong_MTR_Stations_Emoji_19_LohasPark.jpg
ThenComesColor_HongKong_MTR_Stations_Emoji_20_LongPing.jpg
ThenComesColor_HongKong_MTR_Stations_Emoji_21_YauTong.jpg

And finally, Hong Kong itself, literally translating into "Fragrant Harbour," which some say was coined after the aromatic incense from factories around the Kowloon coast line.  

ThenComesColor_HongKong_MTR_Stations_Emoji_22_HongKong.jpg