Fruit Sweethearts

Who doesn't love fruits? They are nature's healthy yet uber delicious candy. Now that summer is in full swing, I thought this would be the perfect time to shower my favorite fruits with some love. Hope you enjoy these sweethearts as much as I enjoyed designing them!

ThenComesColor_FruitSweethearts-01_watermelon.png
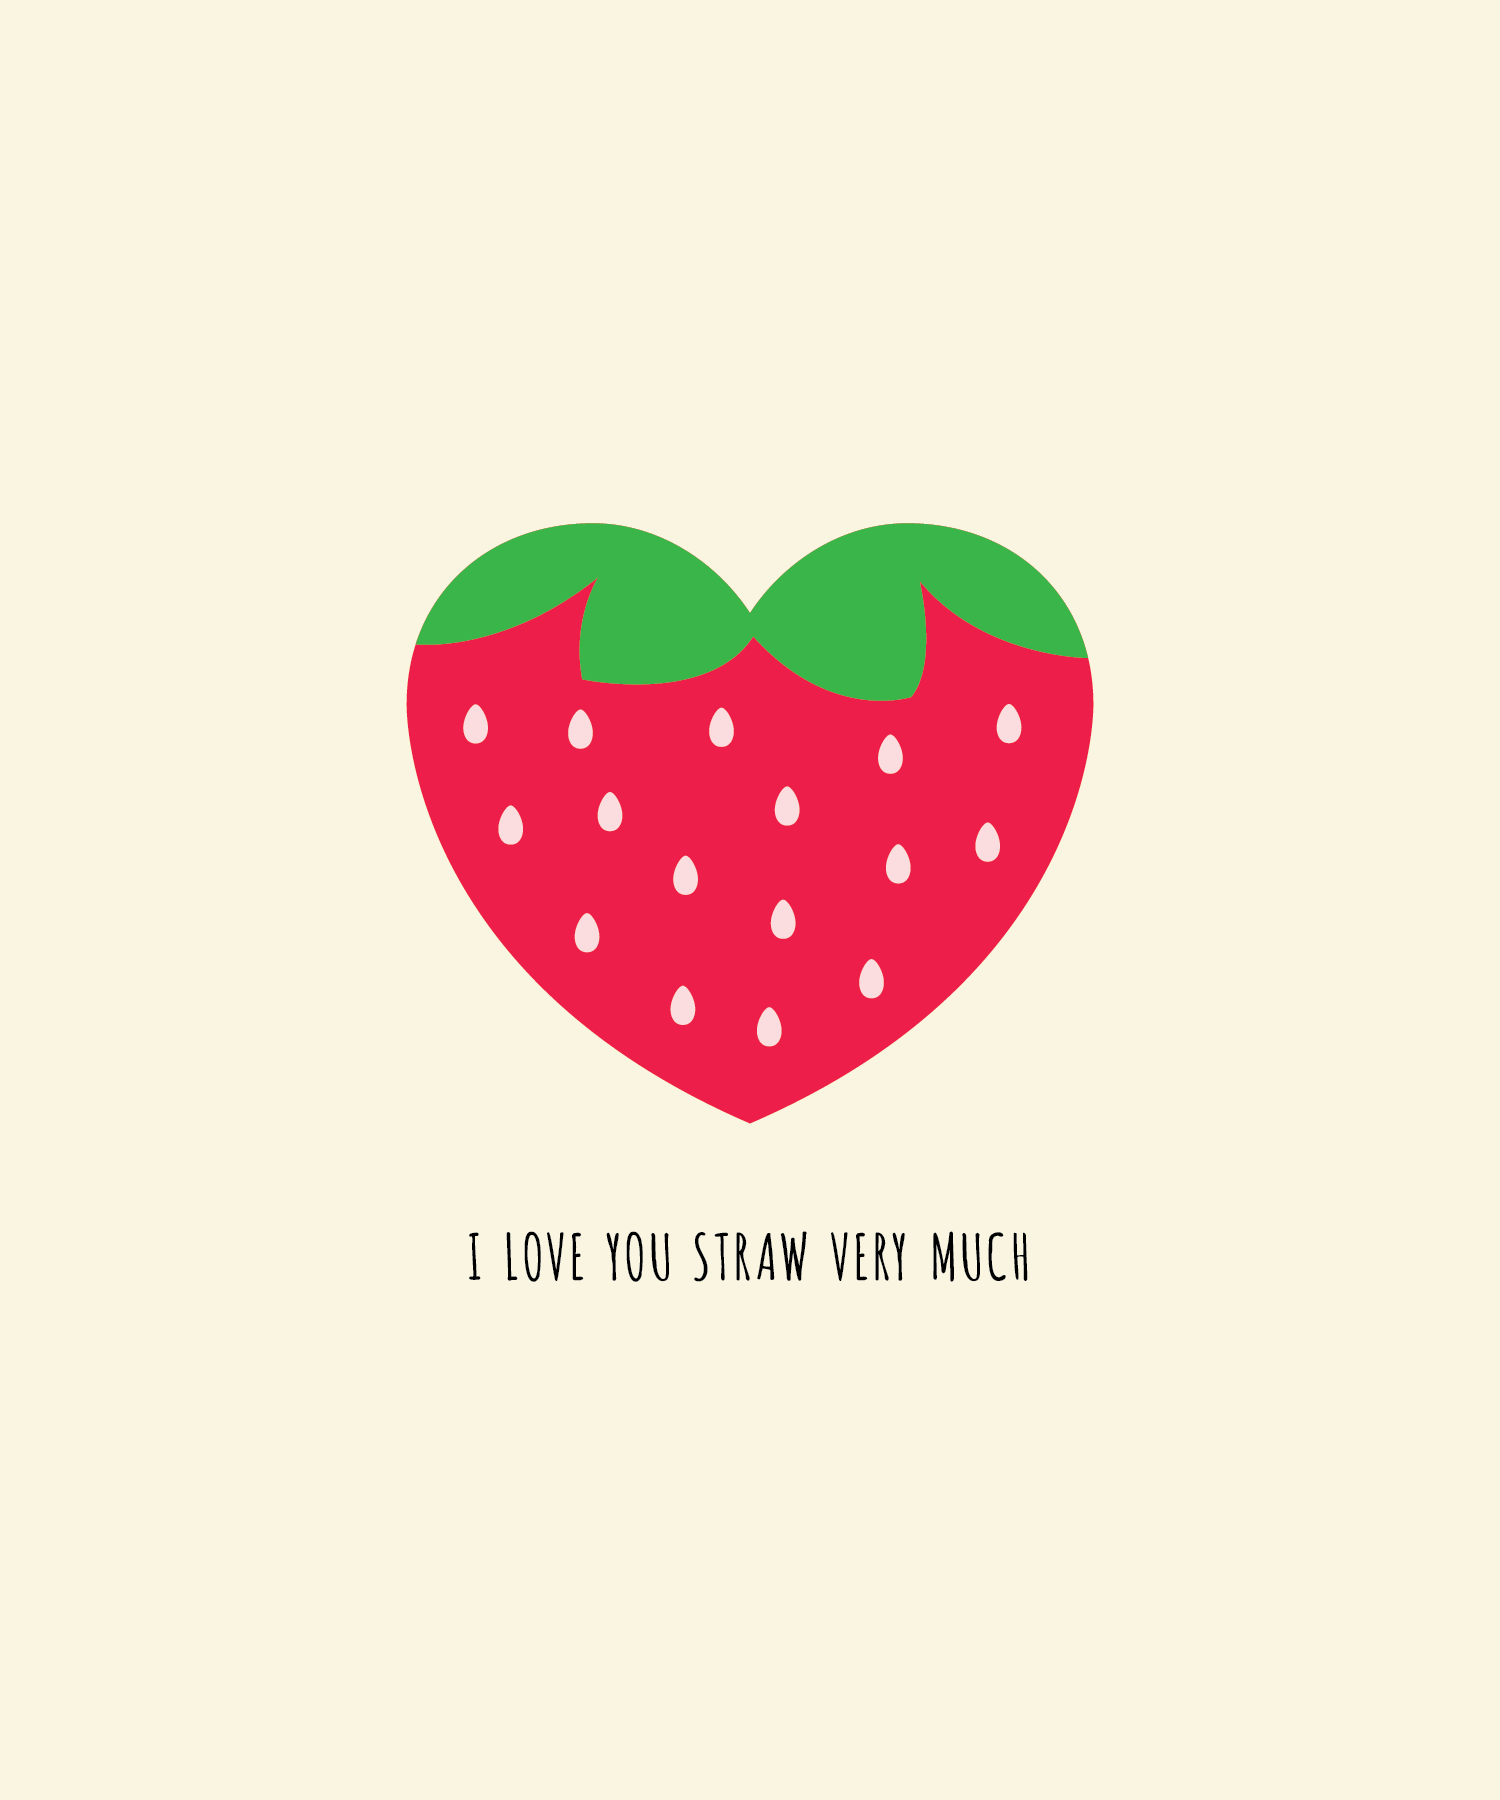
ThenComesColor_FruitSweethearts-02_strawberry.png
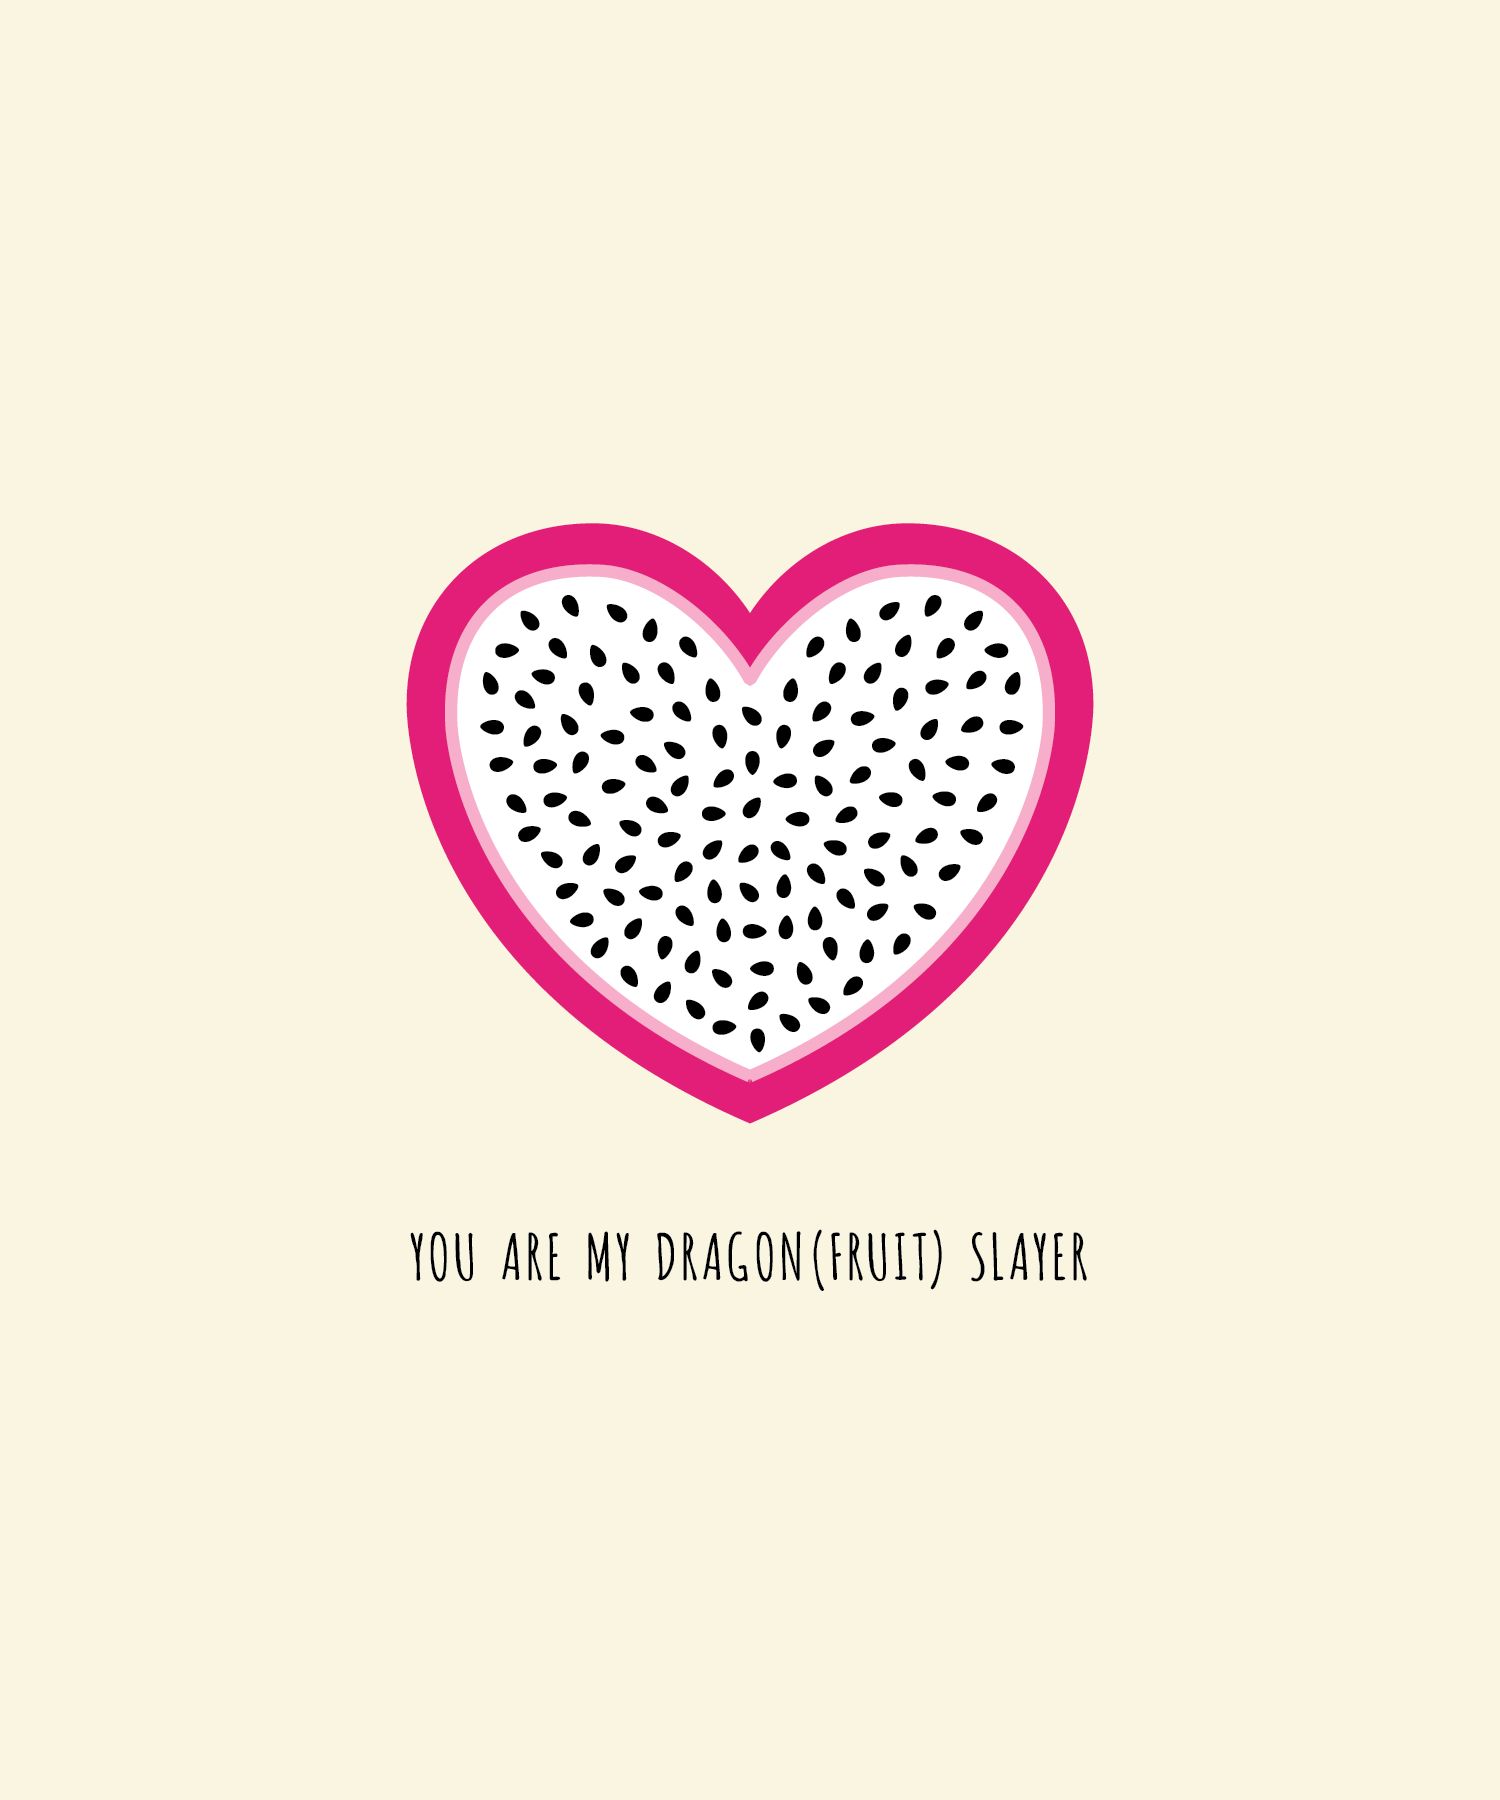
ThenComesColor_FruitSweethearts-03_dragonfruit.png
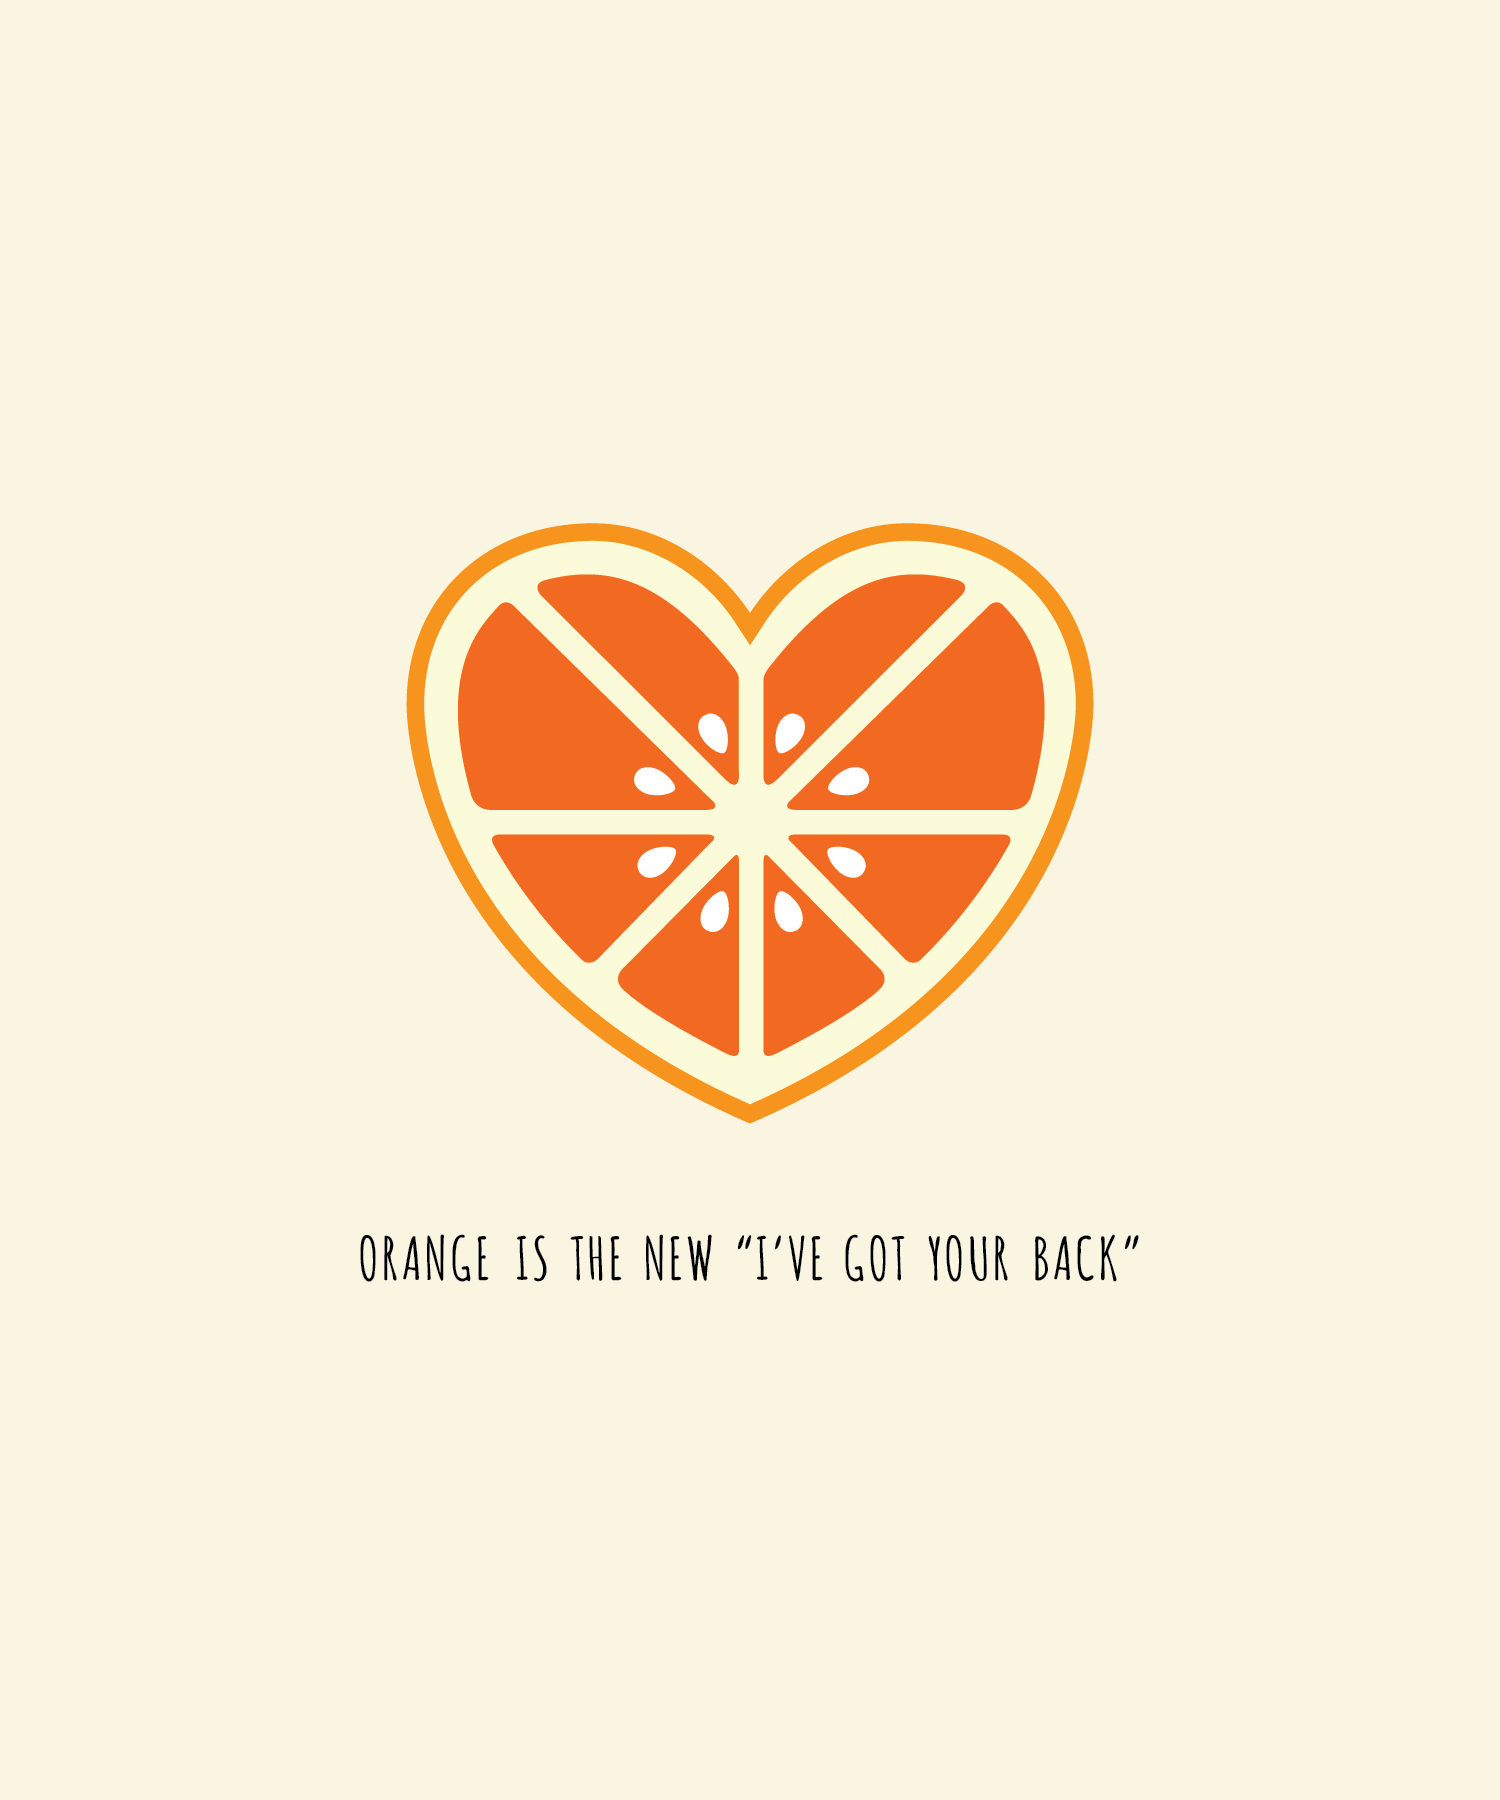
ThenComesColor_FruitSweethearts-04_orange.png
ThenComesColor_FruitSweethearts-05_fig.png
ThenComesColor_FruitSweethearts-06_cantaloupe.png
ThenComesColor_FruitSweethearts-07_pineapple.png
ThenComesColor_FruitSweethearts-08_lemon.png
ThenComesColor_FruitSweethearts-09_banana.png
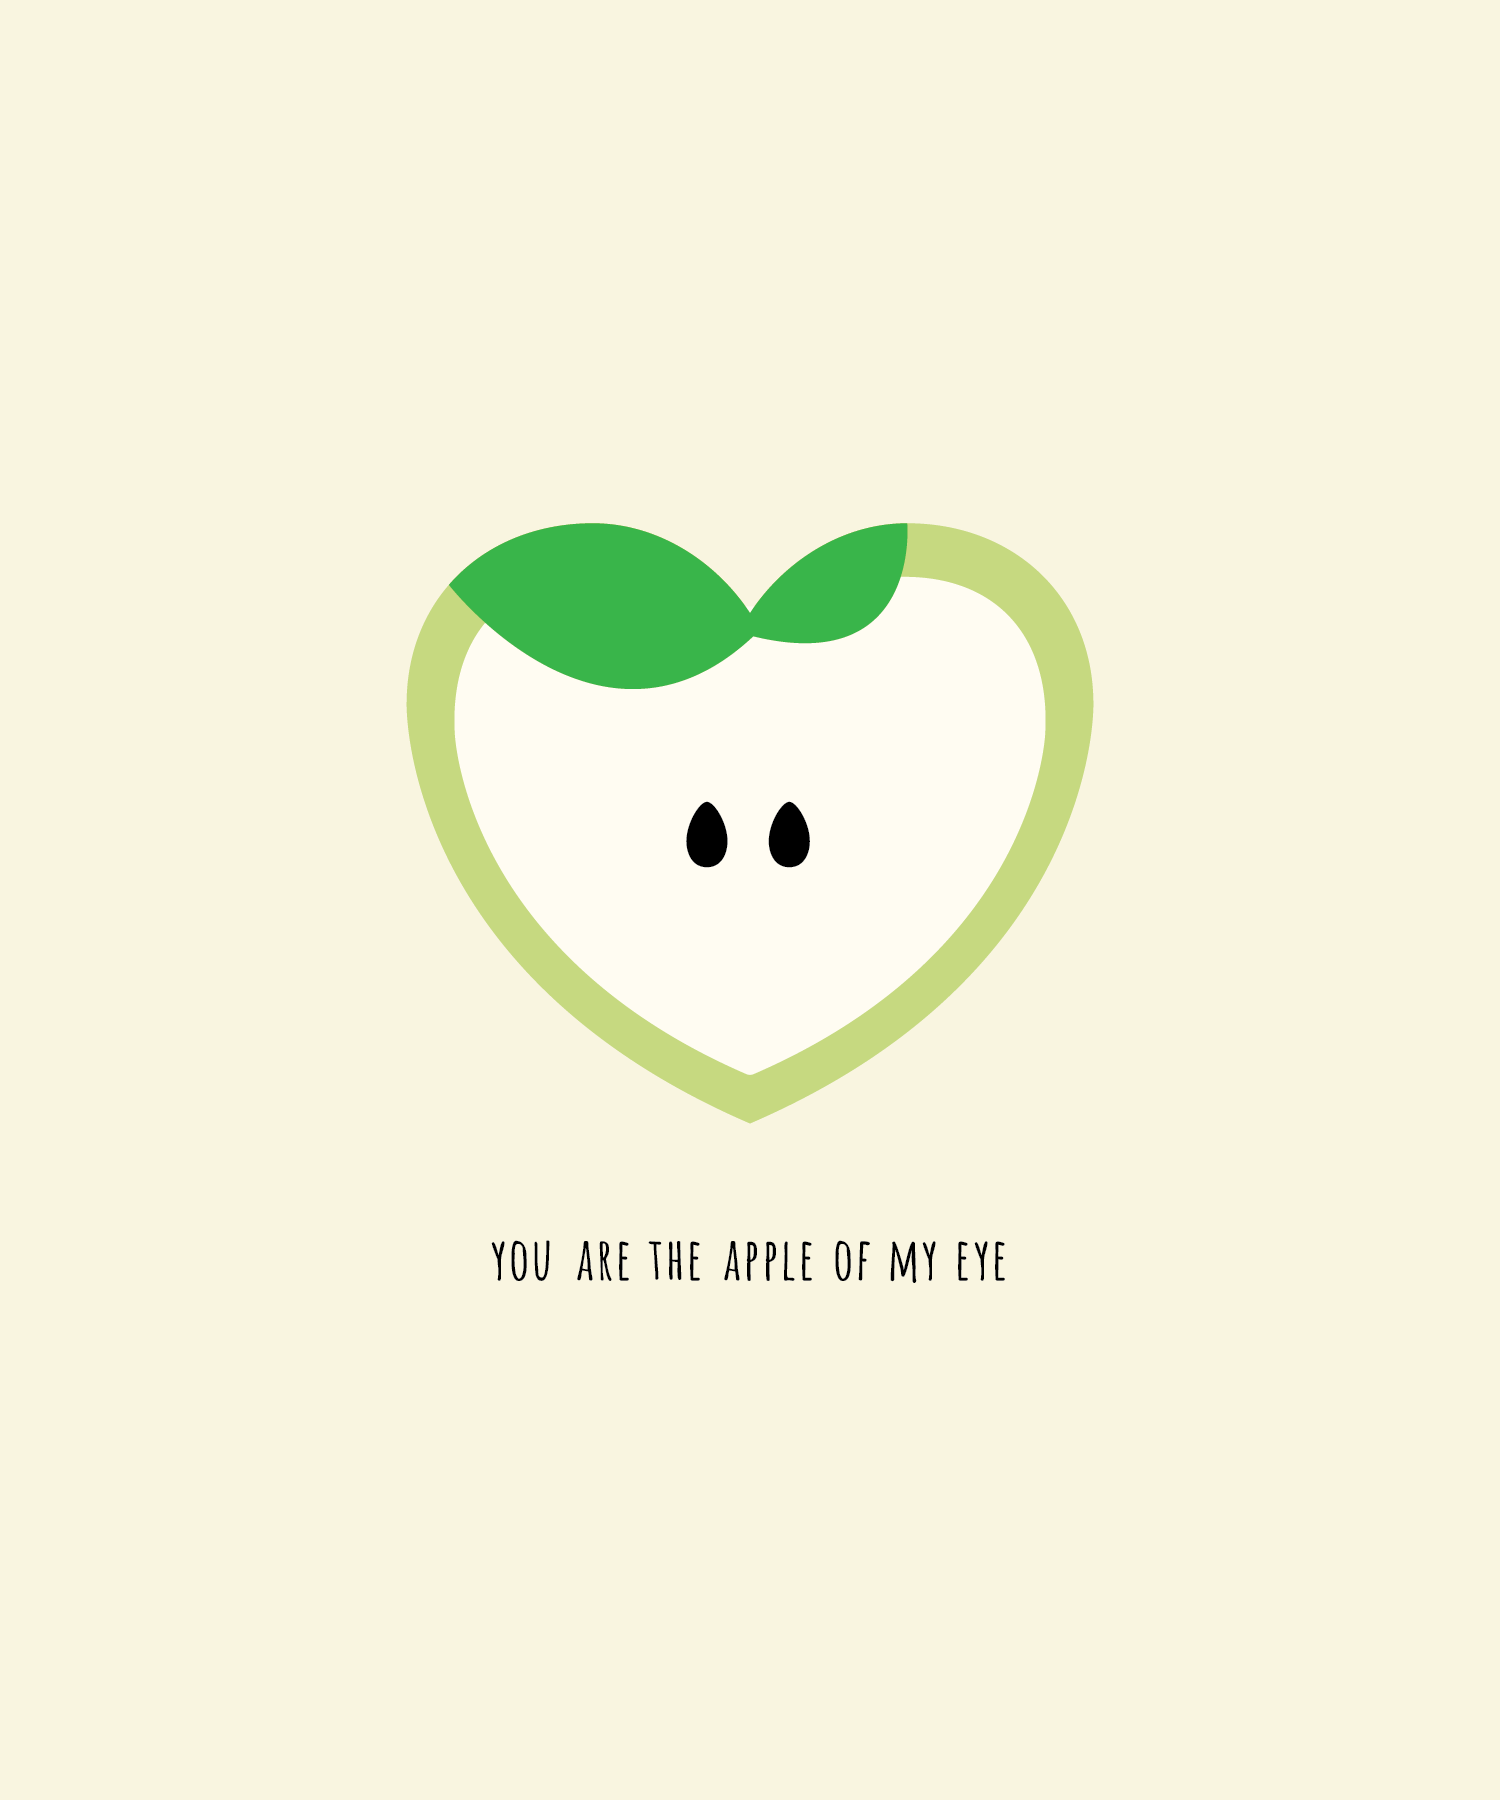
ThenComesColor_FruitSweethearts-10_apple.png
ThenComesColor_FruitSweethearts-11_honeydew.png
ThenComesColor_FruitSweethearts-12_kiwi.png
ThenComesColor_FruitSweethearts-13_mangosteen.png
ThenComesColor_FruitSweethearts-14_blueberry.png

I think I will now go and raid my grocery store's entire fruit section. Until next time. *wink*
Kiriki Press Embroidered Doll

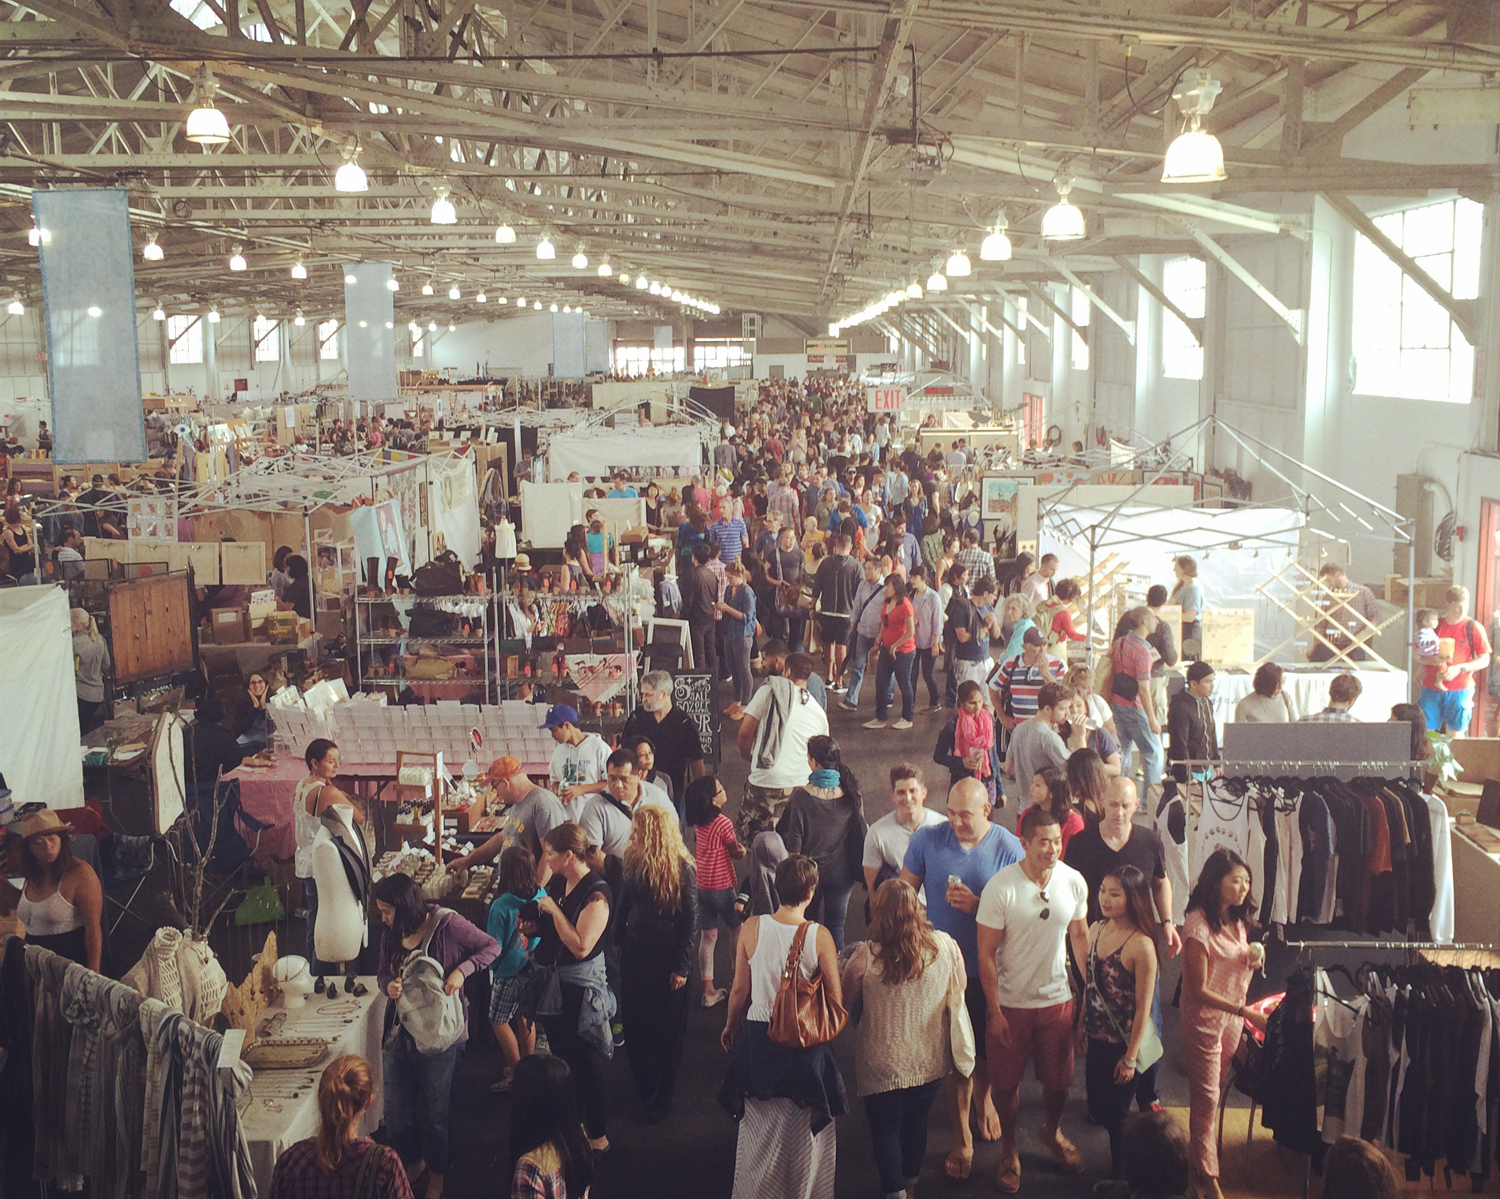
I was thrilled to pay a visit to the Renegade Craft Fair a few weeks ago in San Francisco. I so craved fairs like these during my four year stay in Hong Kong and this event could not have been more perfectly timed for my return back to the States.

ThenComesColor_KirikiPress_DIY_Embroidered_FoxDoll_Renegade_Fair.jpg

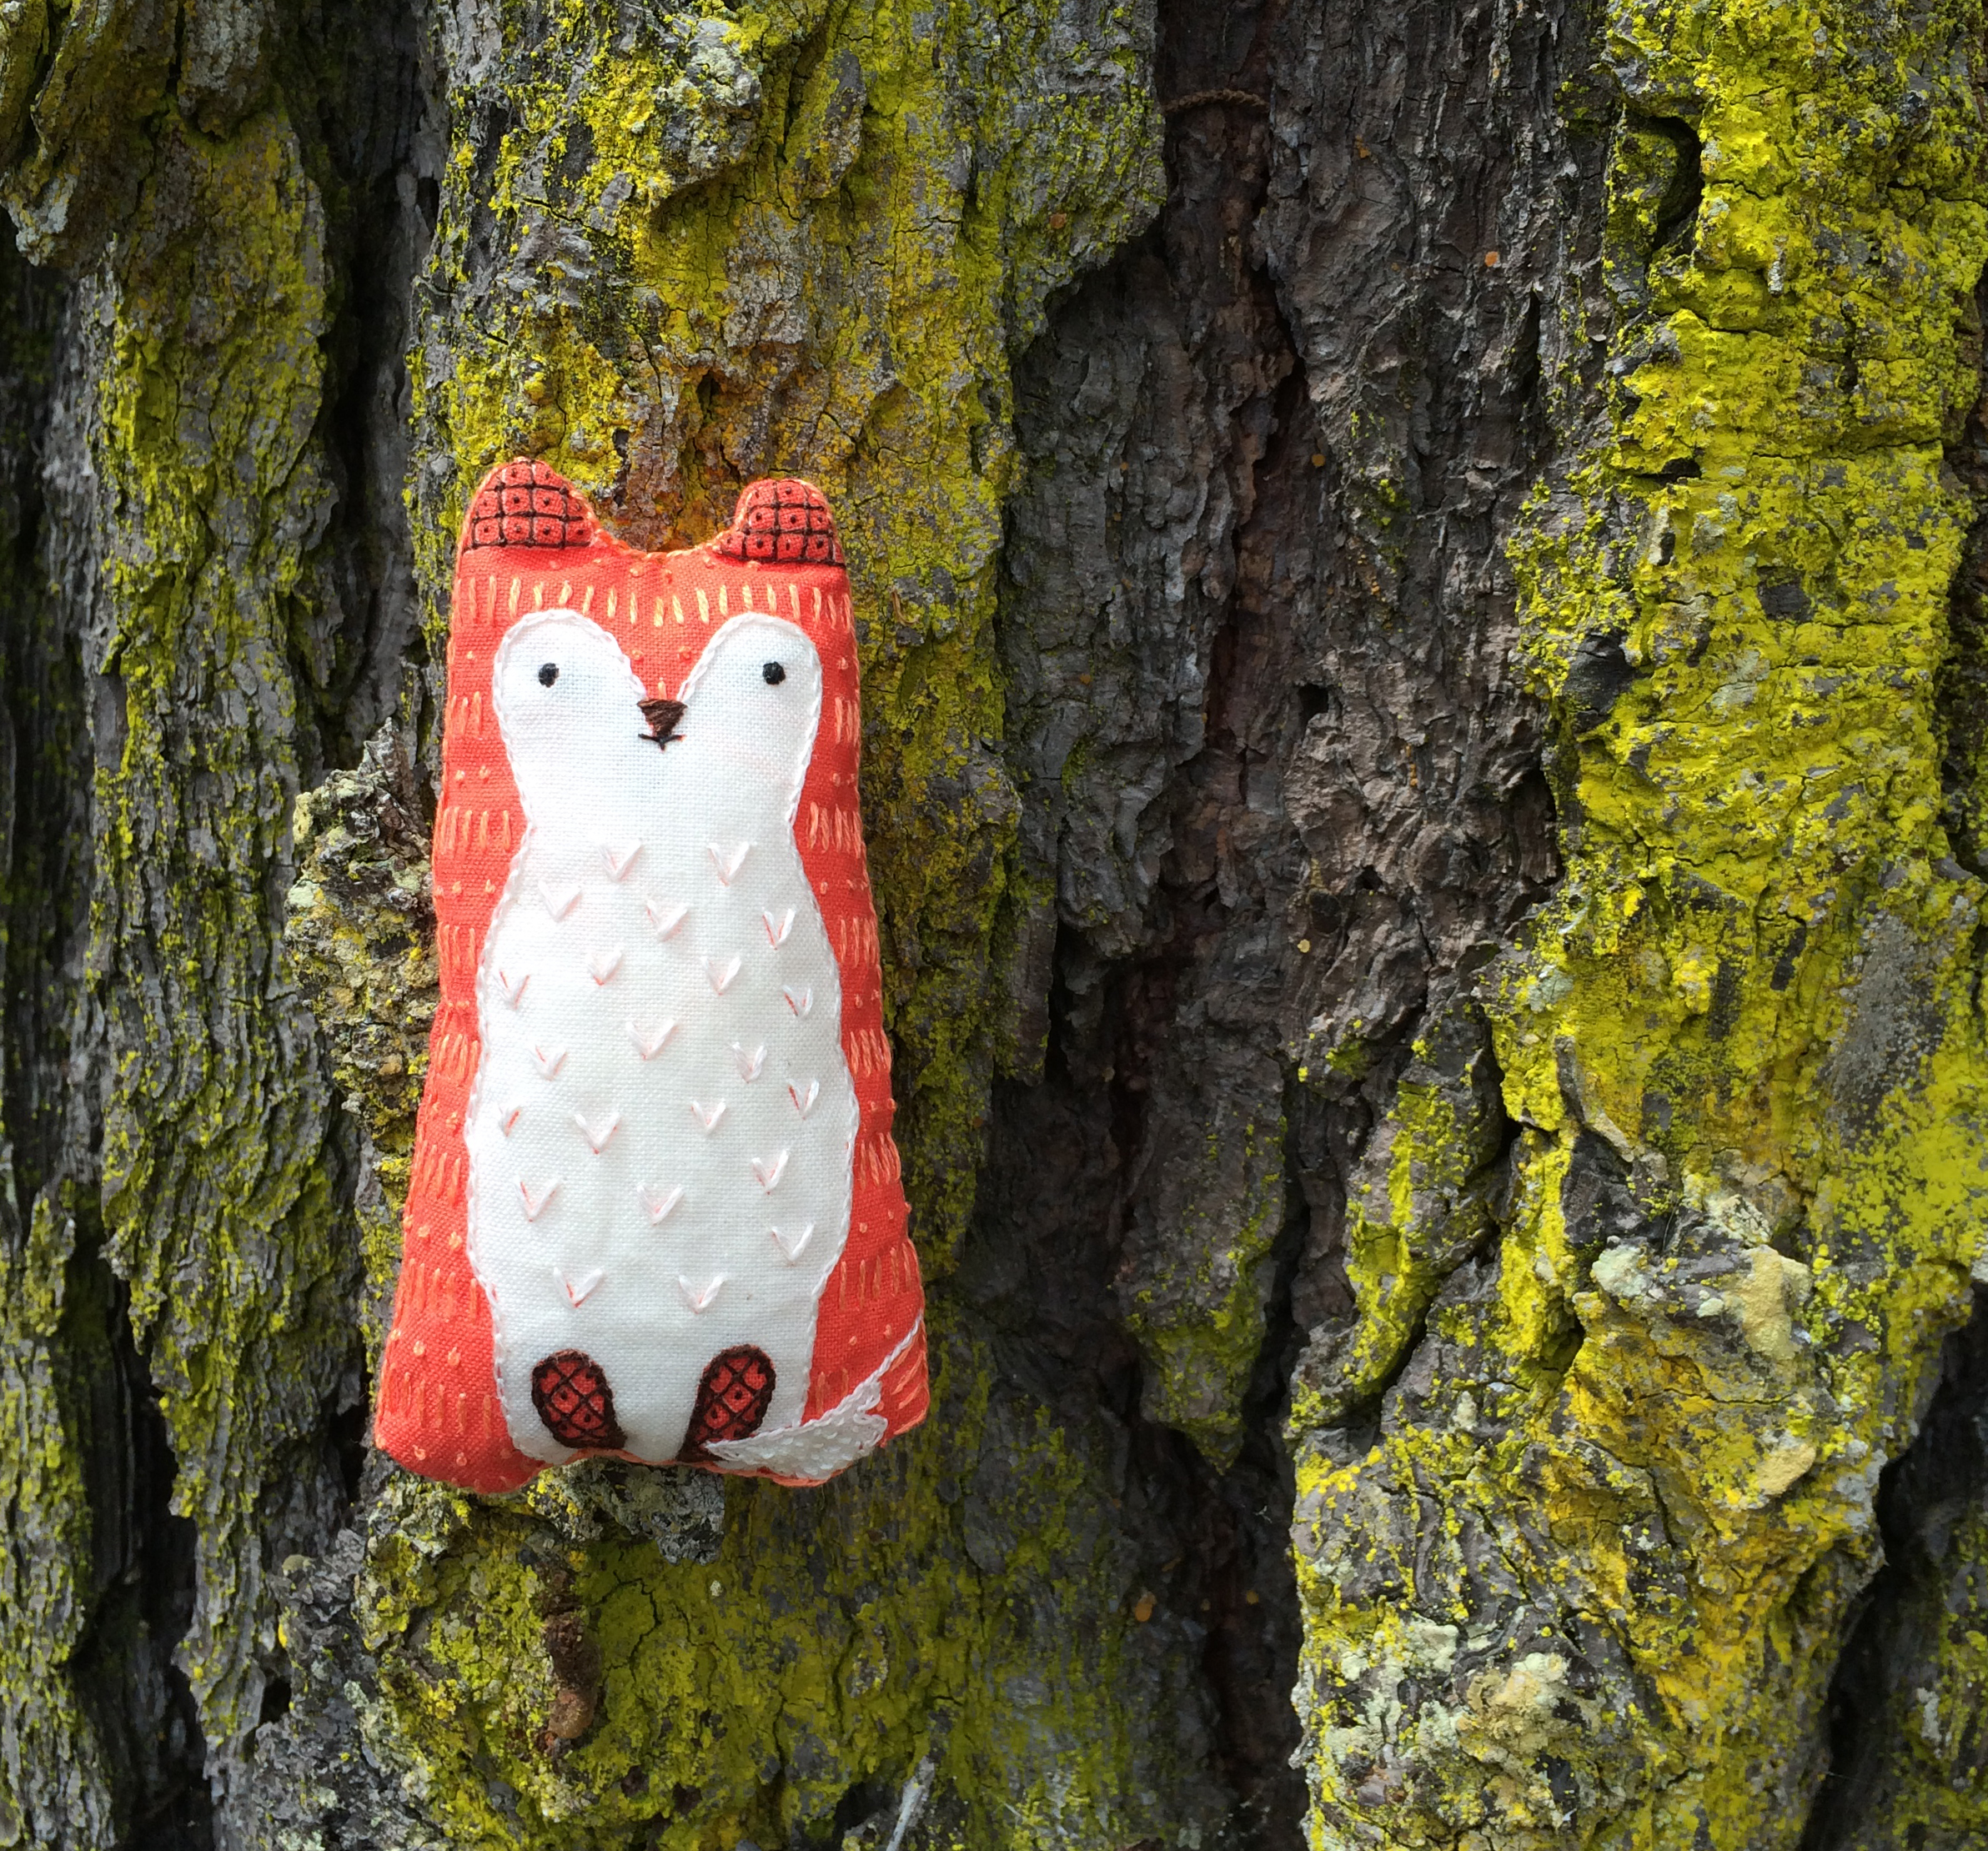
I literally felt like I was in heaven, combing through booths filled with beautiful jewelry, totes, and artwork I wanted to stuff my purse with but had to painfully refrain as I am on bit of a spending freeze these days. My friend was debating on these darling DIY embroidered doll kits by Michelle Galletta of Kiriki Press and somehow managed to tempt me to get one as well. I have been wanting to learn how to embroider for awhile now and thought this would be the perfect starter's kit. After going back and forth between the bear and fox, I settled on the latter. I guess I am not the only who thought the fox was cutest of the bunch as it is Kiriki Press' No. 1 bestseller.

ThenComesColor_KirikiPress_DIY_Embroidered_FoxDoll_Dolls.jpg
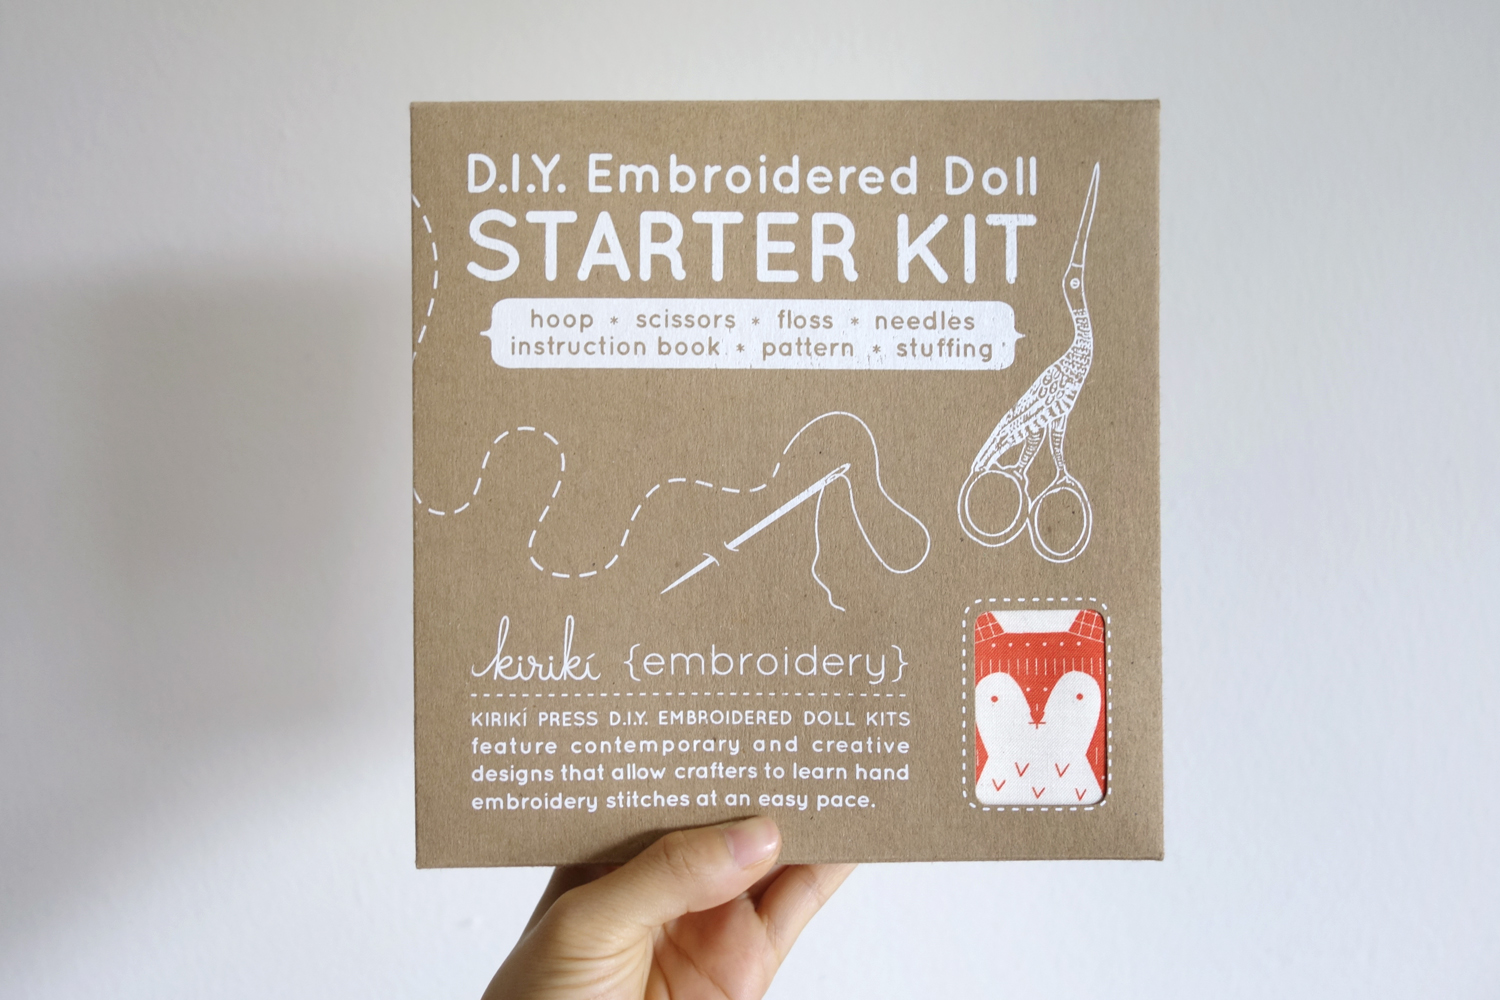
ThenComesColor_KirikiPress_DIY_Embroidered_FoxDoll_Box.jpg

The kit includes everything you need: 

  • screen printed pattern on unbleached cotton

  • stitch booklet and instruction sheet

  • 6" embroidery hoop

  • scissors

  • No. 10 and No. 9 needles

  • DMC embroidery floss

  • stuffing

Although I love the process of hunting for and gathering materials for a project (this makes me sound like a prehistoric cave person), sometimes it is just nice to have everything you need provided for so you can really focus on the creating.

ThenComesColor_KirikiPress_DIY_Embroidered_FoxDoll_Box_Items.jpg

I think I would have bought the kit solely for this charming pair of bird scissors. Ahhh!

ThenComesColor_KirikiPress_DIY_Embroidered_FoxDoll_Scissors.jpg
ThenComesColor_KirikiPress_DIY_Embroidered_FoxDoll_Box_Items_Closeup.jpg

I carefully secured the pattern into the hoop then gently pulling the fabric taut until the fabric had a nice firm bounce when I flicked it with my fingers.

ThenComesColor_KirikiPress_DIY_Embroidered_FoxDoll_hoop.jpg

Time to sew!

I got to try my hand at several different types of stitches, all beautifully explained in the instructional booklet. For the more difficult ones, including the chain stitch, satin stitch, and the French knot stitch, I turned to my good-old Youtube to make sure I was doing them correctly.

ThenComesColor_KirikiPress_DIY_Embroidered_FoxDoll_1.jpg
ThenComesColor_KirikiPress_DIY_Embroidered_FoxDoll_3.jpg
ThenComesColor_KirikiPress_DIY_Embroidered_FoxDoll_2.jpg

Once the embroidery was completed, I carefully matched the printed side of the backing piece to the finished embroidery and sewed around the outline of the fox. I made sure to leave a 1.25" gap at the bottom so I could reverse it inside-out.

ThenComesColor_KirikiPress_DIY_Embroidered_FoxDoll_Pattern.jpg

Snip, snip, snip!

ThenComesColor_KirikiPress_DIY_Embroidered_FoxDoll_Pattern.jpg

Now turning the pattern inside out was the most nerve-racking part as I was afraid I would distort the embroidery in the process. Slowly but surely, I managed to pull the front-facing fabric out and reveal my new furry friend, embroidery unscathed.

ThenComesColor_KirikiPress_DIY_Embroidered_FoxDoll_flip.jpg

He seems to be a bit malnourished right? Time to plump him right up with some eco-friendly stuffing. How healthy!

ThenComesColor_KirikiPress_DIY_Embroidered_FoxDoll_Sew_Complete.jpg
ThenComesColor_KirikiPress_DIY_Embroidered_FoxDoll_Stuffing.jpg

Last step! I finished him up with the last bit of sewing with a ladder stitch.

ThenComesColor_KirikiPress_DIY_Embroidered_FoxDoll_Sew_Bottom.jpg

All done

What a sweet sweet little project that gave me my first taste of hand-embroidery. Practice definitely makes perfect. I am tempted to create a friend for my fox. We shall see. *wink*

ThenComesColor_KirikiPress_DIY_Embroidered_FoxDoll_Box_Items_Complete2.jpg
ThenComesColor_KirikiPress_DIY_Embroidered_FoxDoll_Box_Items_Complete.jpg

This fox kit and kits for all the other critters are available on Kiriki Press' Etsy page.

Designer Handbag Alphabet

Sometimes I let a new project find me. I wait for something to spark an idea that puts me on high-alert and begs me to design it. This project definitely made its way to me when I came across this meticulously-crafted flower alphabet. A beautiful interpretation of the English alphabet, of 26 symbols that we continuously put together to form our everyday thoughts.

ThΓ©vy Guex

ThΓ©vy Guex

I combed through Pinterest boards and found numerous variations from illustrated birds and foods to strategically positioned safety pins and rubber bands. Each incredibly unique, charming and smile-inducing.

Andrea Kalfas

Andrea Kalfas

Vidhya Nagarajan

Vidhya Nagarajan

Zumra Waheed

Zumra Waheed

Florent Chau

Florent Chau

Karen Bueno

Karen Bueno

Jenny Kyvik Hutchens

Jenny Kyvik Hutchens

I could not wait to get in on the action and decided to create a handbag version showcasing iconic bags from the world's biggest names in fashion. Anyone who knows me knows that I love handbags. This project would be just the thing to satisfy my bag addiction without breaking the bank.

Some letters were no-brainers - G for Gucci, H for Hermès, V for Valentino. For others like the letter C I had to tearfully choose amongst my beloved Chanel, Céline, and Chloé.

Preliminary brainstorming and sketching

Preliminary brainstorming and sketching

ThenComesColor_HandbagAlphabet_complete.png

A: Anya Hindmarch
B: Balenciaga
C: Chanel
D: Dior
E: Emilio Pucci
F: Fendi
G: Gucci

H: Hermès
I: Issey Miyake
J: Jason Wu
K: Kate Spade
L: Louis Vuitton
M: Mulberry
N: Narciso Rodriguez

O: Oscar de la Renta
P: Prada
Q: Alexander McQueen
R: Ralph Lauren
S: Salvatore Ferragamo
T: Tory Burch
U: Urania Gazelli

V: Valentino
W: Alexander Wang
X: X-patterned tote
Y: Yves Saint Laurent
Z: Zac Posen

I did not stop here. I was preparing to leave my job and decided to design personalized goodbye cards for roughly fifty of my colleagues, many of whom who share my bag addiction. I thought it would be perfect to utilized my freshly-designed alphabet to spell my coworkers' names on each card. Here are a few examples:

Clark (Chanel, Louis Vuitton, Anya Hindmarch, Ralph Lauren, Kate Spade)

Clark (Chanel, Louis Vuitton, Anya Hindmarch, Ralph Lauren, Kate Spade)

Claire (Chanel, Louis Vuitton, Anya Hindmarch, Issey Miyake, Ralph Lauren, Emilio Pucci)

Claire (Chanel, Louis Vuitton, Anya Hindmarch, Issey Miyake, Ralph Lauren, Emilio Pucci)

Michael (Mulberry, Issey Miyake, Chanel, Hermès, Anya Hindmarch, Emilio Pucci, Louis Vuitton)

Michael (Mulberry, Issey Miyake, Chanel, Hermès, Anya Hindmarch, Emilio Pucci, Louis Vuitton)

Oceane (Oscar de la Renta, Chanel, Emilio Pucci, Anya Hindmarch, Narciso Rodriguez, Emilio Pucci)

Oceane (Oscar de la Renta, Chanel, Emilio Pucci, Anya Hindmarch, Narciso Rodriguez, Emilio Pucci)

ThenComesColor_HandbagAlphabet_cards1.png
ThenComesColor_HandbagAlphabet_cards2.png
ThenComesColor_HandbagAlphabet_cards3.png

Signing away, one card at a time.

ThenComesColor_HandbagAlphabet_signing.jpg

And for my collegues located in other parts of the world, I also created an email version of the goodbye card for them. Can you figure out what the handbags spell out?

ThenComesColor_HandbagAlphabet_eDM.png

Miu Miu Donna Pumps

After every conversation with my friend who works at Miu Miu, I find myself on the Italian fashion brand's website, combing the pages to see what amazing handbag or wallet I can add to my wardrobe. I came across this gorgeous pair of heels that made my heart skip a beat. Even though I can ask my friend to help me get these amazing Donna Jeweled Suede Pumps at a special price, I thought it would be much more fun to try to recreate it on my own. Plus, the do-it-yourself route would be much easier on my wallet.

ThenComesColor_MiuMiu_actual_shoes.png

For this project, I made my way to one of my favorite districts in Hong Kong - Sham Shui Po. This area is a mecca for all things fashion from fabrics, feathers, and trimmings to buttons and beads. I have ventured here many times before while working on different DIY projects, including my feather dress and Facebook Fairy costume.


Sham Shui Po:
Bead and crystal heaven
for crafters.

 
ThenComesColor_MiuMiu_ShamShuiPo1.jpg
ThenComesColor_MiuMiu_ShamShuiPo2.jpg
 
ThenComesColor_MiuMiu_ShamShuiPo3.jpg

I focused my search to one particular street that has several crystal shops, pulling out drawers to find all the colors that I would need for my jeweled shoes.  I was able to find the crystals in the varying sizes quite easily but locating the silver and gold rings that the crysals would be nestle into proved to be more diffult.  Feeling desperate after an hour without finding these rings, I toyed with the idea of forgoing them. But I decided to visit one last shop on Nam Cheong Street and luck would finally be on my side. This shop not only had circular and diamond rings but also rings with crystals already put together. Woohoo!

ThenComesColor_MiuMiu_crystals1.jpg
ThenComesColor_MiuMiu_crystals2.jpg
ThenComesColor_MiuMiu_crystals3.jpg

One by one, I inserted the crystals into their appropriately sized rings and crimped the tiny teeth to secure everything together. I was happy to finally put my jewelry tools that I received as a gift two years ago to good use.

ThenComesColor_MiuMiu_crystals4.jpg

A rainbow of crystals

ThenComesColor_MiuMiu_crystals5.jpg

I found a pair of very similar black suede pumps on ASOS.com that would be perfect for this project. As soon as the pair arrived in the mail I began the final step of gluing all the crystals, being careful not to to have any excess glue showing on the shoe surface. I was a bit unsure about the look after I had attached the first ten crystals onto the shoe. I thought the shoe looked more like it had a bad case of chicken pox than anything remotely as elegant as what I was trying to emulate. But as I added more crystals, the shoe began to come to life.

ThenComesColor_MiuMiu_pumps1.jpg
ThenComesColor_MiuMiu_pumps2.jpg
 

Glue,
Glue,
Glue!

ThenComesColor_MiuMiu_pumps3.jpg
ThenComesColor_MiuMiu_pumps4.jpg
 
ThenComesColor_MiuMiu_pumps5.jpg
ThenComesColor_MiuMiu_pumps6.jpg

The final product is more beautiful than I could have imagined, having a very striking resemblence to the Miu Miu original. I just hope that I can walk in these uber high heels for an upcoming party and the crystals will not fall off. Note to self: remember to put super glue in one's purse as a precautionary measure. But all in all, what a successful and fun DIY project!

 
β€œYou put high heels on and you change.”
— Manolo Blahnik
ThenComesColor_MiuMiu_complete1.jpg
ThenComesColor_MiuMiu_complete2.jpg