Leather Tote Making at Brooklyn Craft Company

Last month, I attended a leather tote making workshop at Brooklyn Craft Company, an adorable studio offering a variety of modern craft + DIY classes including skirt making and glass etching. When I discovered that they were offering a leather tote making class I, of course, had to sign up. I am not the best sewer and never tried sewing leather before so thought that this would be the perfect opportunity to.

MakingLovely_BrooklynCraftCompany.jpg
MakingLovely_BrooklynCraftCompany2.jpg
MakingLovely_BrooklynCraftCompany3.jpg

Joey Casey, our super fun and talented teacher, began by going over what to expect from the workshop, running through sewing machine basics and the different materials we would be working with.

MakingLovely_BrooklynCraftCompany_LeatherTote_demo.jpg

Our cow leather pieces nicely pre-cut for us. I am obsessed with this warm nude color!

MakingLovely_BrooklynCraftCompany_LeatherTote_materials.jpg

I would have to admit that sewing leather for the first time was quite nerve-wrecking. Unlike sewing fabric, which is very forgiving, if you decide to remove the stitches on leather, you would be left with very ugly needle-punctured marks. In other words, you only have one chance to get it right.

We practiced sewing on leather scrapes to make sure we got a good feel for our sewing machines. Joey continuously reminded us that our stitches don't and will not be perfect and that is perfectly alright. "People will come up to you and compliment how cute your bag looks, NOT how uneven your stitches are."

MakingLovely_BrooklynCraftCompany_LeatherTote_sewing.jpg

We had the option of sewing a pocket on the inside or outside of the tote. I decided that my pocket would live inside where it would hold my phone and keys safely away from potential pickpocketers.

MakingLovely_BrooklynCraftCompany_LeatherTote_pocket1.jpg
 
 
MakingLovely_BrooklynCraftCompany_LeatherTote_pocket2.jpg

After sewing the sides of the tote came the tricky part of closely the bottom two corners. We had to massage the leather to lie flat then sewed the corners securely closed.

MakingLovely_BrooklynCraftCompany_LeatherTote_corners.jpg

Next, adding the hardware. I am a lover of gold (sorry silver), so was really thrilled to add these sweet gold d-rings and swivel clips to the bag for the straps.


MakingLovely_BrooklynCraftCompany_LeatherTote_drings_straps3.jpg

Joey showing us how to add rivets using a rivet clamping plier to puncture holes in the leather and using a mallet to secure the rivets in place. I need to get both of these nifty tools!

The completed tote! I love everything about it - the color, the perfect size to hold everything without being too big, the messenger bag style straps and the simple fact that I made. Success! Though I will say do not use on a rainy day. I guess because the leather is not treated, it will discolor when wet. I learned the hard way. But I will DEFINITELY come back to the Brooklyn Craft Company for another one of their other classes in the near future.

MakingLovely_BrooklynCraftCompany_LeatherTote_complete.jpg

Etsy's September Craft Night: Handmade Tassels

When I found out that Etsy hosts a monthly event called 'Etsy Craft Night' at their Brooklyn DUMBO headquarters, I jumped at the chance to learn a new DIY technique and to visit the holy grounds of one of my favorite companies. These FREE(!) classes are a great way to learn a new skill or two and to meet other craft enthusiasts.

ThenComesColor_Etsy_SeptemberCraft Night_TasselMaking.jpg

This month's class focused on the art of tassel making. We got to try crafting tassels of varying thicknesses and lengths using a rainbowed selection of embroidery floss. You can find the floss as well as the jump rings, and jewelry pilers at any craft store.

Image Source: Etsy Labs

Image Source: Etsy Labs

Image Source: Etsy Labs

Image Source: Etsy Labs


Wrapping, tying, and trimming away.

Image Source: Etsy Labs

Image Source: Etsy Labs

ThenComesColor_Etsy_SeptemberCraft Night_complete2.jpg
 

What to do with these tassels? The possibilities are endless.

Not bad for my first try at making these cuties, right? There are so many things you can make with these tassels, including charming keychains, necklaces, or adornments for kitchen towels. Do a quick Pinterest search and be inspired. I think I might make a tassel necklace - I will share it with you guys when it is done!

ThenComesColor_Etsy_SeptemberCraft Night_complete.jpg

If you are in the New York area, you should definitely try making it out to these Craft Nights. The next one is coming up soon and it's all about earrings!

Embroidered Bunny

I had such a blast trying hand embroidery for the first time with the Kiriki Press DIY Embroidered Doll Kit that I decided to make another doll. Inspired by Michelle Jewell's adorable soft toys, I would try making a rabbit sporting a cool J.Crew kind of look.

If you never tried hand embroidery before, I would definitely recommend it. It can be oh-so-calming coupled with your favorite podcast playing in the background. I adore This American Life and Snap Judgment, but I digress. Now on to the bunny!

ThenComesColor_EmbroideredBunny_complete3.jpg

Things you will need: 

  • cotton fabric

  • bunny sketch template

  • No. 10 and No. 9 needles

  • pen

  • paint brush

  • stuffing

  • 6" embroidery hoop

  • scissors

  • push pins

  • white fabric paint

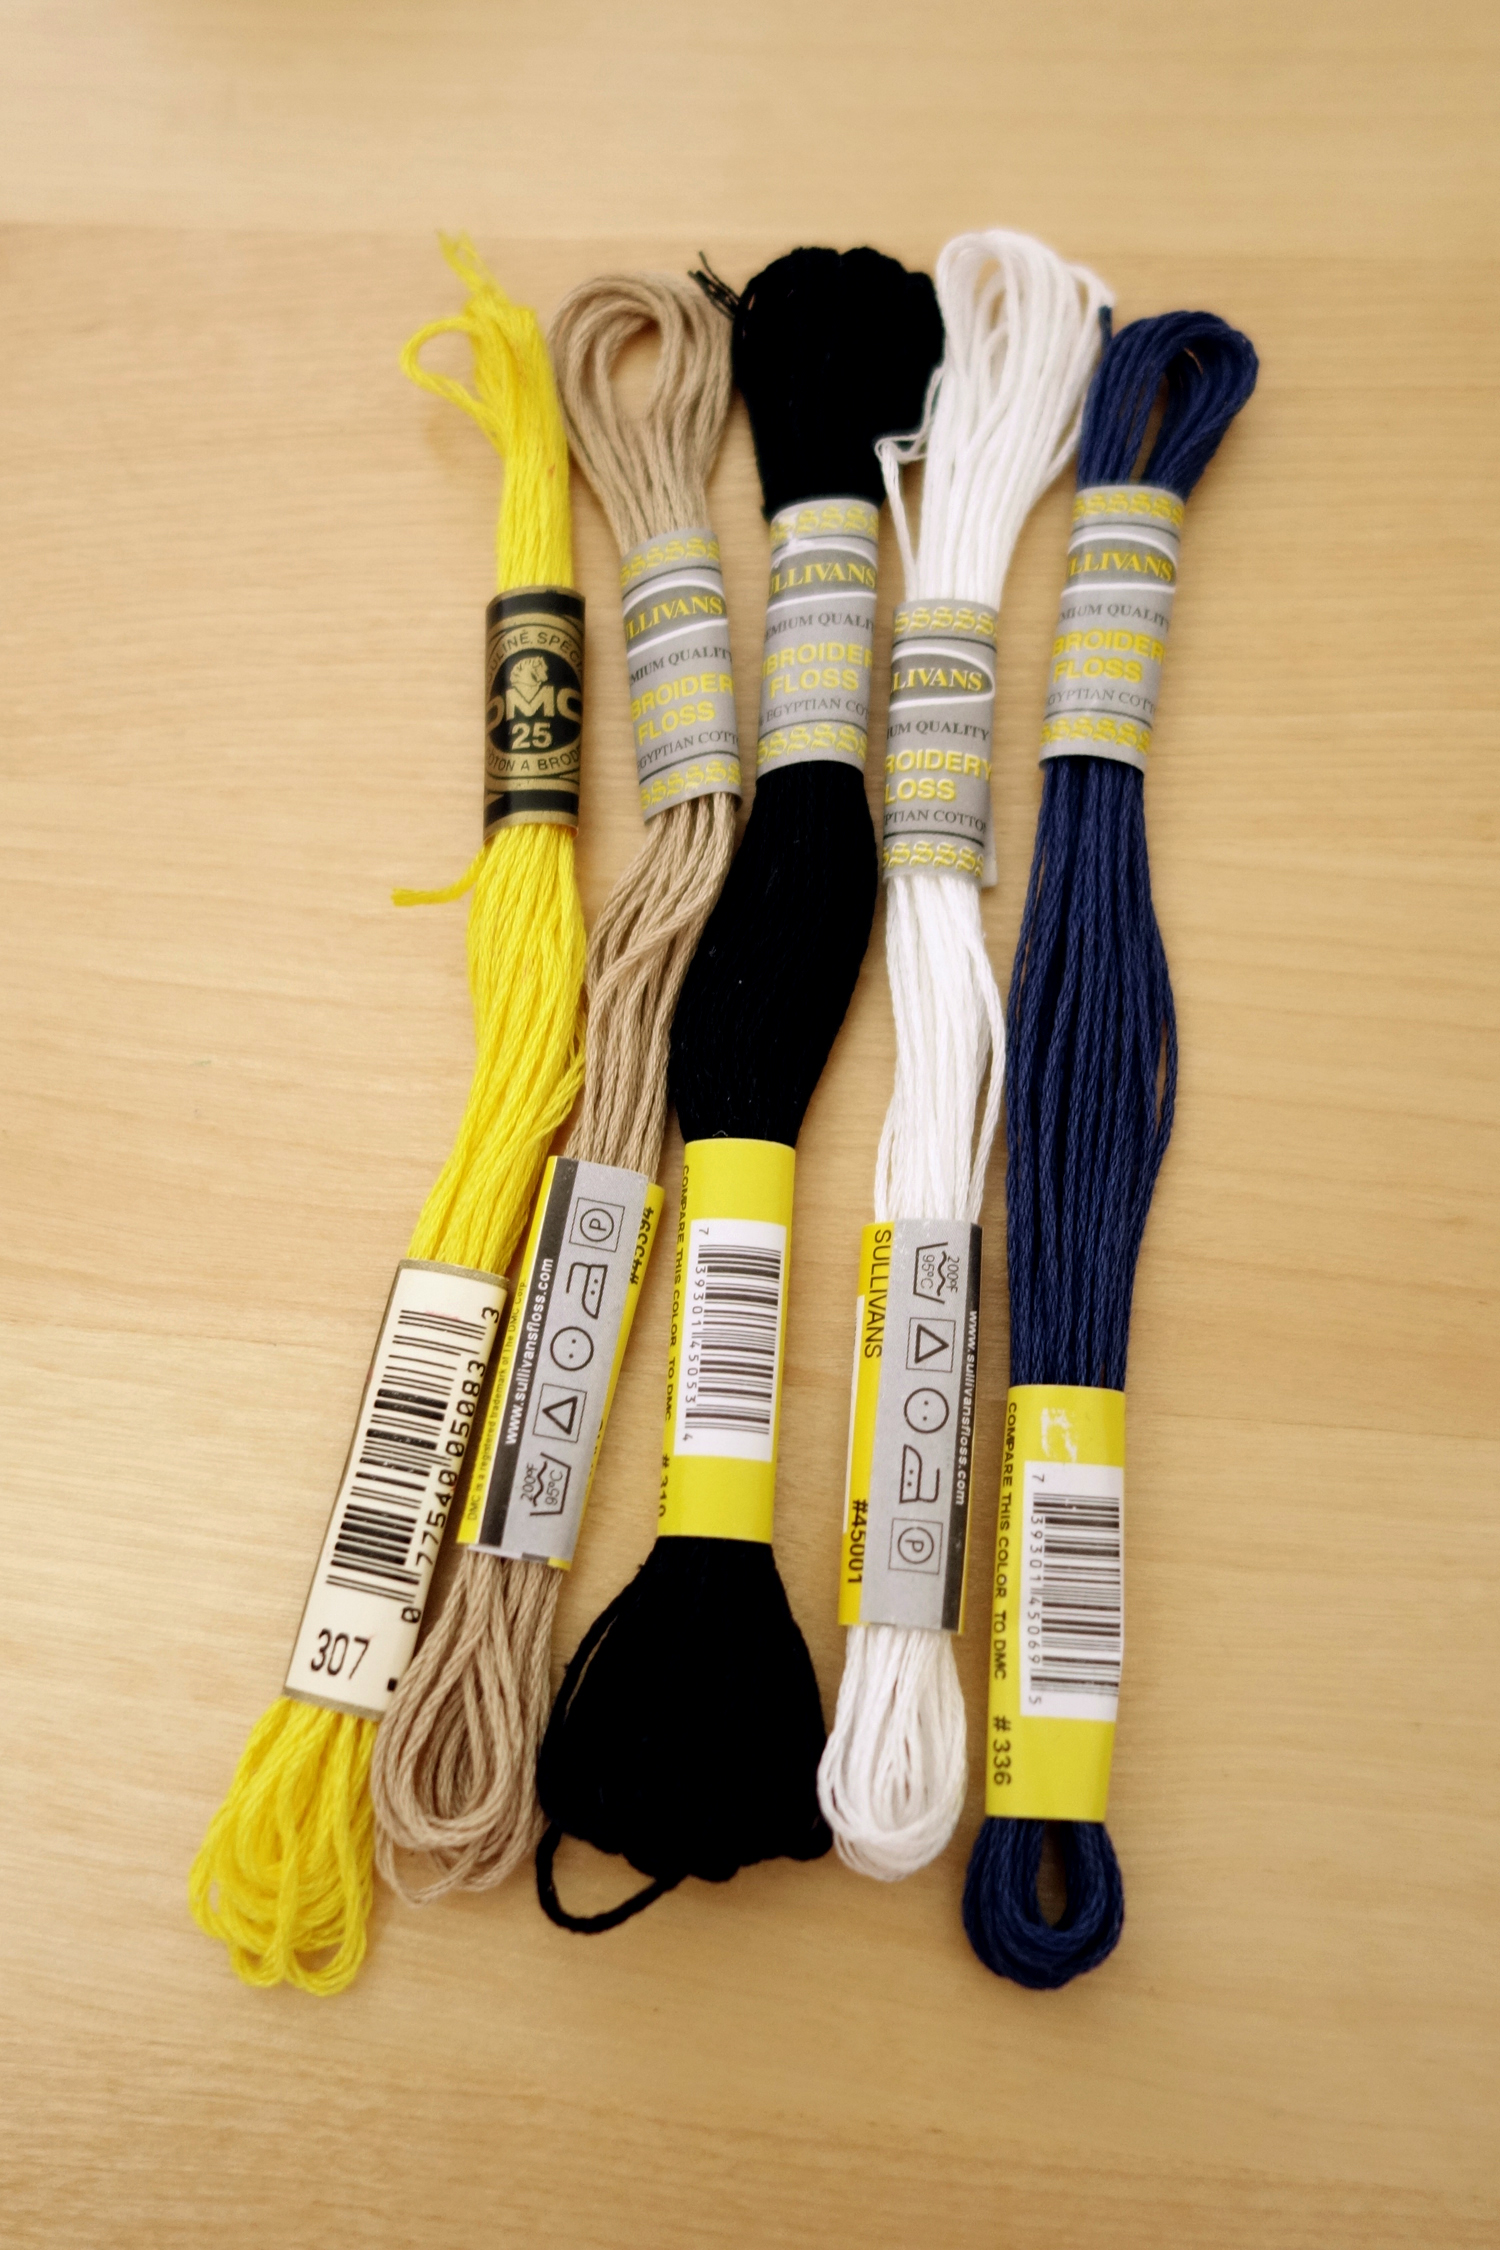
  • DMC or Sullivans (more cost-effective) embroidery floss

ThenComesColor_EmbroideredBunny_Materials.jpg
ThenComesColor_EmbroideredBunny_sketch.jpg
ThenComesColor_EmbroideredBunny_threads.jpg
 
ThenComesColor_EmbroideredBunny_paint.jpg

After securing your fabric tightly into the embroidery hoop, lightly draw out your sketch. Don't worry too much about the markings as they will be covered up with your stitches.

ThenComesColor_EmbroideredBunny_sketchdrawn.jpg

Paint every other stripe with white fabric paint.

ThenComesColor_EmbroideredBunny_painting.jpg

For the remaining stripes, fill in with blue thread using the split stitch. I used the same type of stitch for the ears. For a polished look, satin stitch the heart and facial features.

ThenComesColor_EmbroideredBunny_stitch1.jpg
ThenComesColor_EmbroideredBunny_stitch2.jpg

Outline the body of the rabbit with a simple chain stitch to add a decorative touch to the doll's edge.

ThenComesColor_EmbroideredBunny_stitch3.jpg

Once the embroidery is complete, place the backing piece to the finished embroidery and sew around the outline of the rabbit. Make sure to leave a 1.25" gap at the bottom so you can reverse it inside-out.

ThenComesColor_EmbroideredBunny_pin.jpg
ThenComesColor_EmbroideredBunny_edge.jpg

Trim along the edges, leaving a 0.25" margin. Do not get overly excited like how I did and accidentally cut too close to the edge!

ThenComesColor_EmbroideredBunny_cut.jpg

Gently reverse the fabric inside out as you watch your bunny reveal itself. If you are having a hard time reversing the ears, use the eraser side of a pencil to carefully push them out.

ThenComesColor_EmbroideredBunny_flip.jpg
 

Please feed me!

Add stuffing, being mindful not to overstuff.

ThenComesColor_EmbroideredBunny_stuffing1.jpg

Once your rabbis is adequately full, close up the bottom with a ladder stitch. Finito!

ThenComesColor_EmbroideredBunny_stuffing2.jpg

Why hello there, silly rabbit!

ThenComesColor_EmbroideredBunny_complete1.jpg
ThenComesColor_EmbroideredBunny_complete2.jpg

Pocky-Inspired Wedding Red Envelope

My dearest friend Jeannette got married last weekend and rather than mindlessly stuffing a red envelope with money, I wanted a more creative way of giving Jeannette her wedding moola. I dug deep into my brain's archives and recalled seeing someone's Facebook post of rolled-up dollar bills in a Pocky box and decided to do my take on it.

ThenComesColor_PockyRedEnvelope_complete1.jpg

Things you will need: 

  • box of Pocky (for reference unless you are a Pocky expert already :P)

  • any light colored Polymer clay

  • acrylic paint

  • scissors

  • X‑Acto knife

  • tape (that removes easily without ripping the dollar bills)

  • paint brushes

  • dollar bills in any denomination

  • pen or pencil

ThenComesColor_PockyRedEnvelope_materials.jpg
ThenComesColor_PockyRedEnvelope_materials1.jpg

Roll the polymer clay to about the thickness of a pencil, making sure the sticks are as evenly thick as possible.

ThenComesColor_PockyRedEnvelope_rollclay.jpg

Trim the sticks with your X-Acto knife so that about 1.25" will be poking out after the dollar bills are wrapped around them.

ThenComesColor_PockyRedEnvelope_rollclay2.jpg

Baking instructions call for 20 minutes at 250Β°F (121Β°C) per 1/2 inch (12 mm) thickness. I baked for about 35 minutes after feeling that the clay was still a bit soft to the touch after 20 minutes. Being patient may not be your strong suit (it definitely is not mine) but wait for the sticks to completely cool down before painting them.

ThenComesColor_PockyRedEnvelope_bakedclay.jpg
 

Mixing the perfect shade of "biscuit."

ThenComesColor_PockyRedEnvelope_paint.jpg
ThenComesColor_PockyRedEnvelope_paintingclay2.jpg

To add that extra bit of realness, paint tiny toast marks in a coppery-brown color to one end of the sticks. I painted 5 to 6 marks on each.

ThenComesColor_PockyRedEnvelope_complete1.jpg_PockyRedEnvelope_dots2.jpg
ThenComesColor_PockyRedEnvelope_dots.jpg

Now this was an last-minute addition. Each stick was penned with a piece of martial advice, as it is always important to be reminded that a marriage/relationship is only as good as how much effort you put into. I live and breathe by the word E.F.F.O.R.T. You can jot down your favorite words of wisdom.

ThenComesColor_PockyRedEnvelope_messages.jpg

Now on to the money! Fold the two side and top corners towards the bill's front as seen below. This ensures that less of the whites and more of the green will show in the finished rolled-up product.

ThenComesColor_PockyRedEnvelope_money.png

Carefully roll the dollar bill around a stick. You might need to roll a few times to get the bill to naturally curl. Once the bill is wrapped as tightly as possible, tape to hold everything in place. I placed a piece of tape on the top, middle, and bottom. I would suggest to test your tape beforehand to make sure it will adhere securely but NOT tear the bills when the tape is removed.

ThenComesColor_PockyRedEnvelope_money2.png
 

I designed an envelope that befittingly had a Pocky bride and groom on it. In addition, a few personalized elements were incorporated like the wedding date, their names and the Chinese character for double happiness that is commonly seen on traditional red envelopes.

After trimming, folding and gluing the envelope together the Pocky-inspired wedding red envelope was complete. It could not have come out cuter!

ThenComesColor_PockyRedEnvelope_envelope.jpg
ThenComesColor_PockyRedEnvelope_envelope2.jpg

Yatta! (Finished!)

Needless to say my friend and her new hubby loved their red envelope. So much so that they do not want to unroll the dollar bills. Little do they know, several good-old nuggets of marital advice silently wait to be revealed. But I will let the newlyweds discover that on their own.

ThenComesColor_PockyRedEnvelope_complete1.jpg_PockyRedEnvelope_complete4.jpg
ThenComesColor_PockyRedEnvelope_complete3.jpg
ThenComesColor_PockyRedEnvelope_complete2.jpg
ThenComesColor_PockyRedEnvelope_complete1.jpg

Kiriki Press Embroidered Doll

I was thrilled to pay a visit to the Renegade Craft Fair a few weeks ago in San Francisco. I so craved fairs like these during my four year stay in Hong Kong and this event could not have been more perfectly timed for my return back to the States.

ThenComesColor_KirikiPress_DIY_Embroidered_FoxDoll_Renegade_Fair.jpg

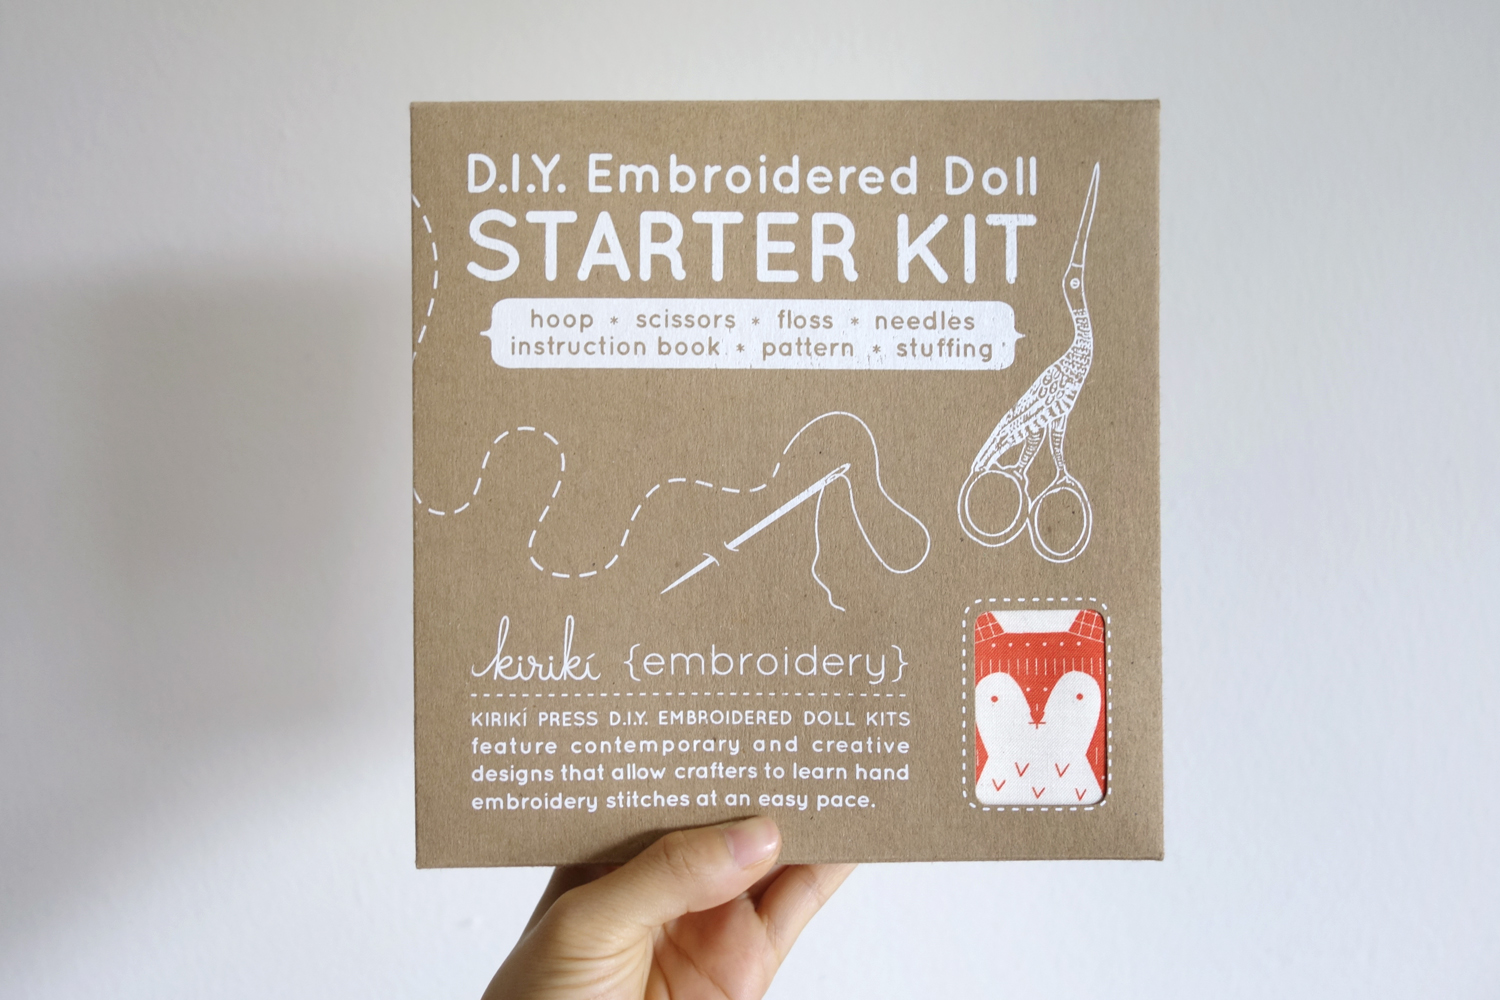
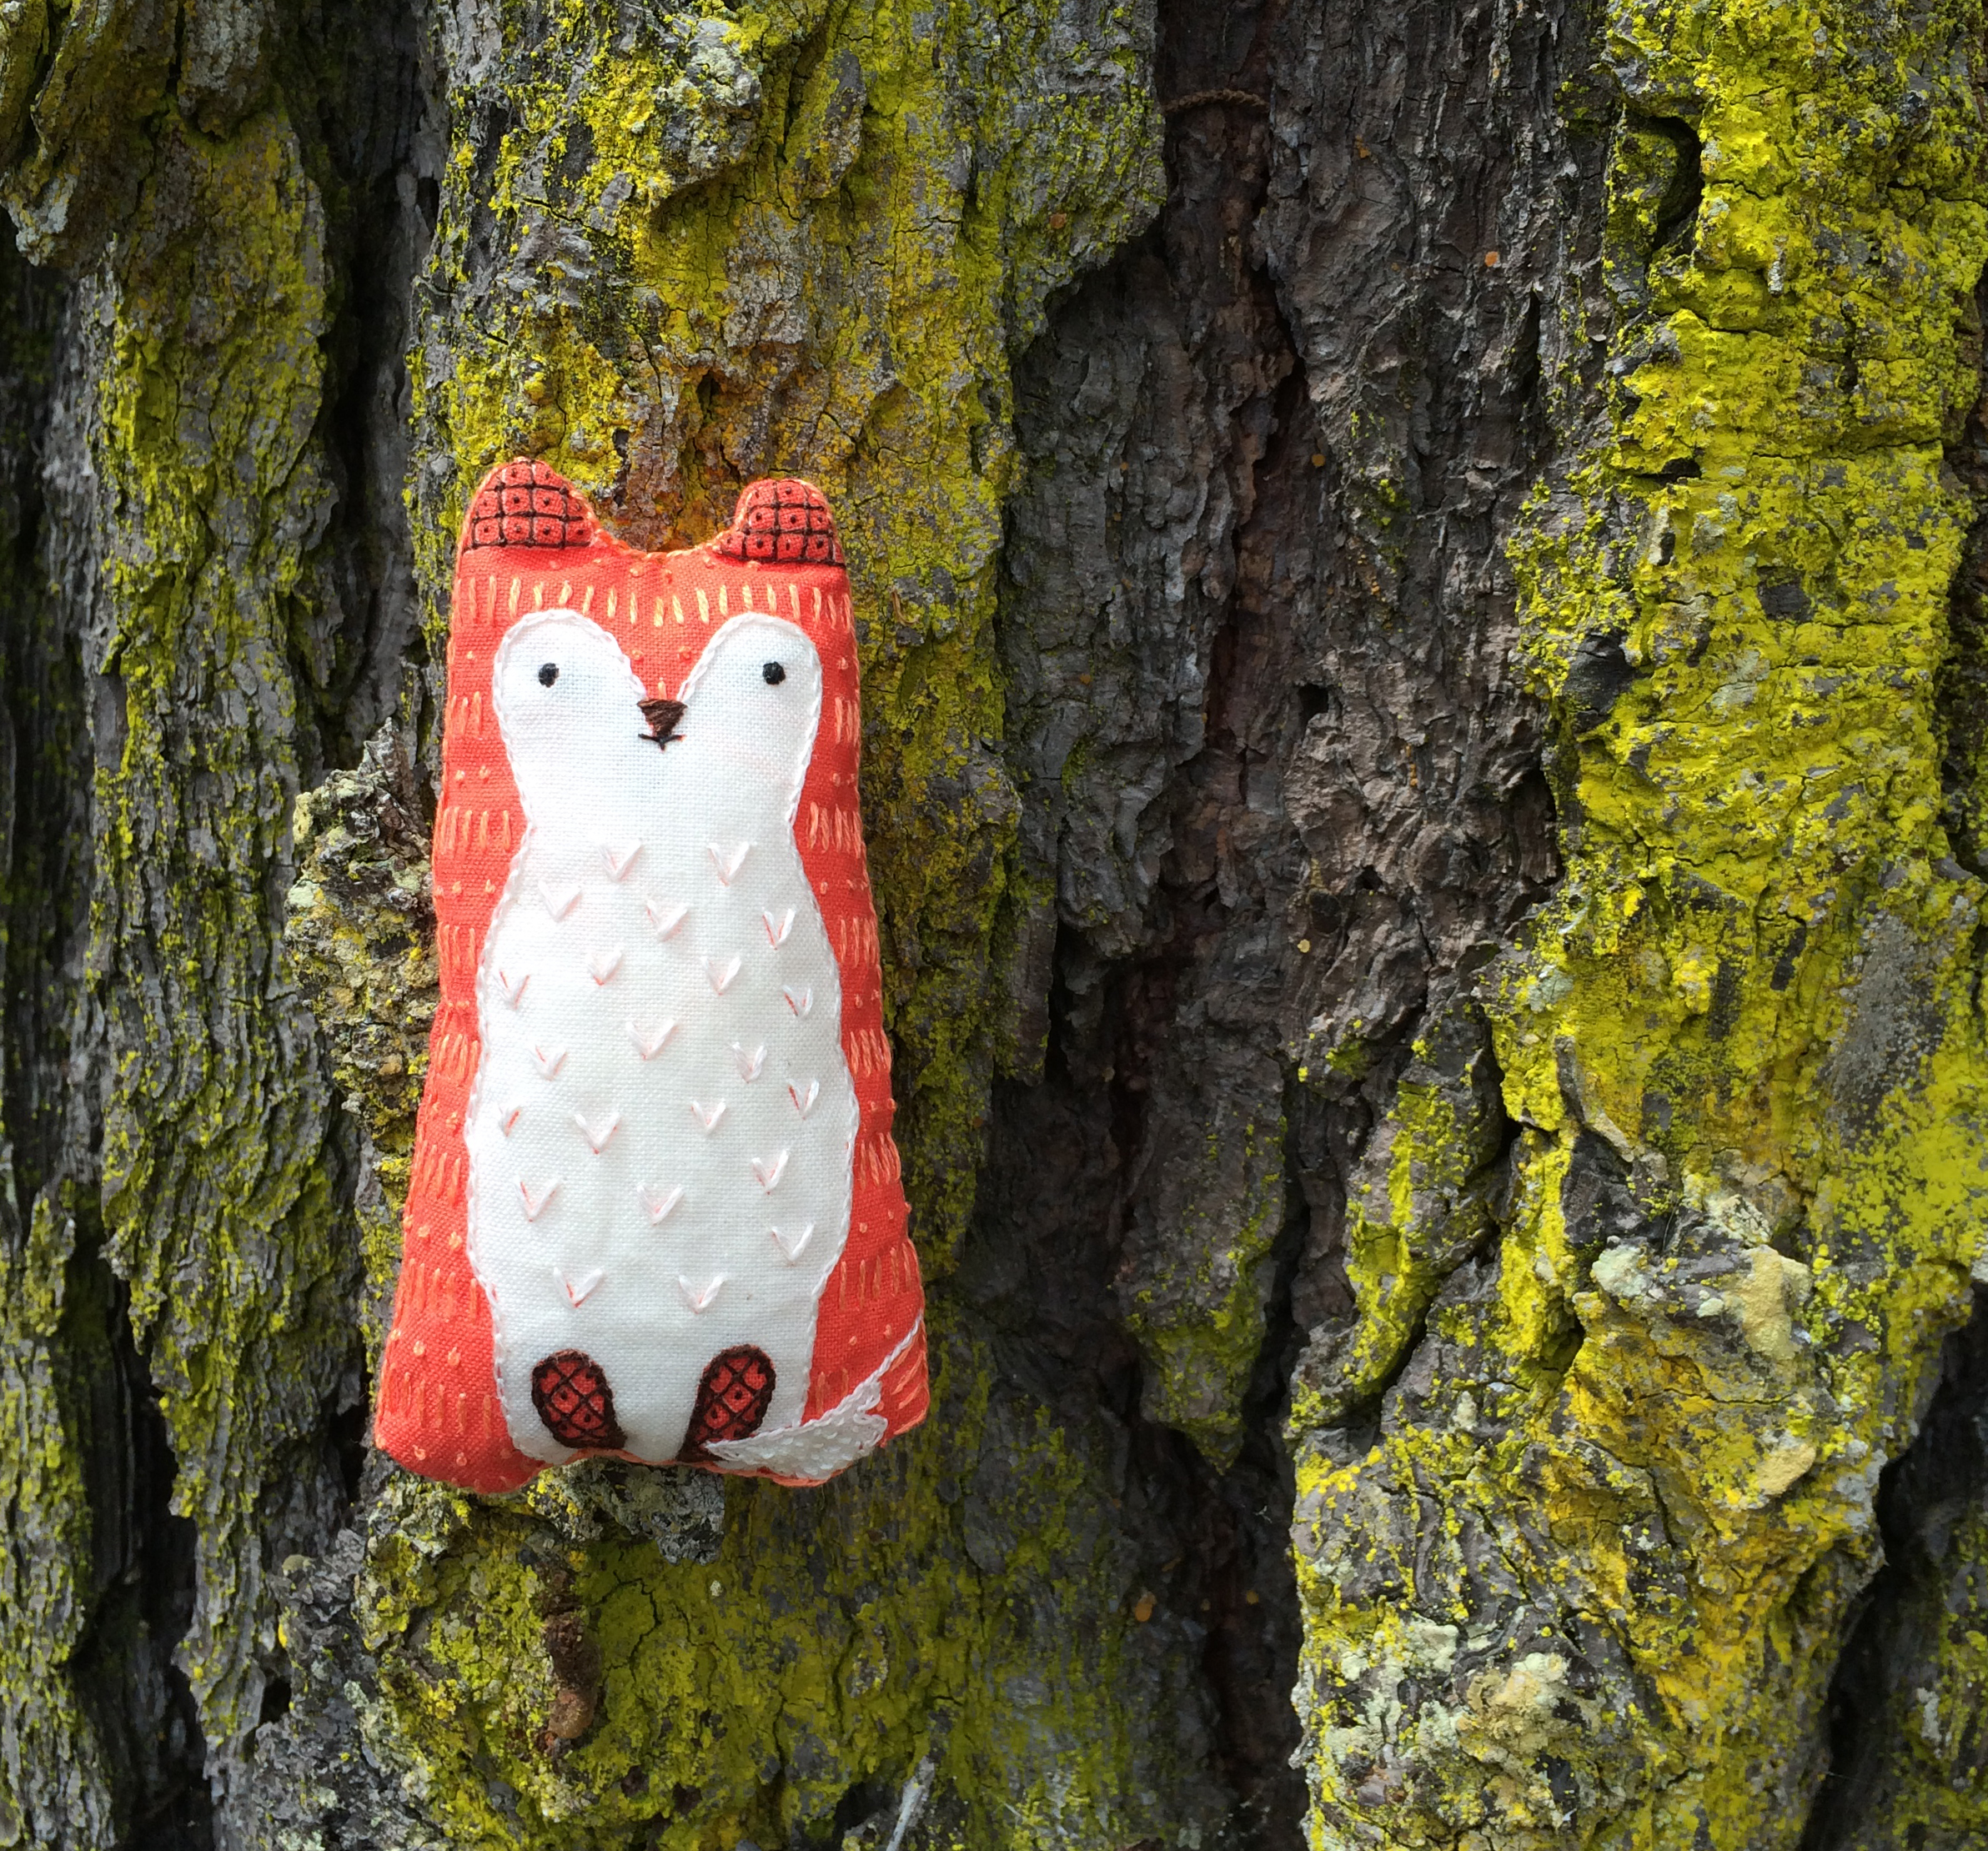
I literally felt like I was in heaven, combing through booths filled with beautiful jewelry, totes, and artwork I wanted to stuff my purse with but had to painfully refrain as I am on bit of a spending freeze these days. My friend was debating on these darling DIY embroidered doll kits by Michelle Galletta of Kiriki Press and somehow managed to tempt me to get one as well. I have been wanting to learn how to embroider for awhile now and thought this would be the perfect starter's kit. After going back and forth between the bear and fox, I settled on the latter. I guess I am not the only who thought the fox was cutest of the bunch as it is Kiriki Press' No. 1 bestseller.

ThenComesColor_KirikiPress_DIY_Embroidered_FoxDoll_Dolls.jpg
ThenComesColor_KirikiPress_DIY_Embroidered_FoxDoll_Box.jpg

The kit includes everything you need: 

  • screen printed pattern on unbleached cotton

  • stitch booklet and instruction sheet

  • 6" embroidery hoop

  • scissors

  • No. 10 and No. 9 needles

  • DMC embroidery floss

  • stuffing

Although I love the process of hunting for and gathering materials for a project (this makes me sound like a prehistoric cave person), sometimes it is just nice to have everything you need provided for so you can really focus on the creating.

ThenComesColor_KirikiPress_DIY_Embroidered_FoxDoll_Box_Items.jpg

I think I would have bought the kit solely for this charming pair of bird scissors. Ahhh!

ThenComesColor_KirikiPress_DIY_Embroidered_FoxDoll_Scissors.jpg
ThenComesColor_KirikiPress_DIY_Embroidered_FoxDoll_Box_Items_Closeup.jpg

I carefully secured the pattern into the hoop then gently pulling the fabric taut until the fabric had a nice firm bounce when I flicked it with my fingers.

ThenComesColor_KirikiPress_DIY_Embroidered_FoxDoll_hoop.jpg

Time to sew!

I got to try my hand at several different types of stitches, all beautifully explained in the instructional booklet. For the more difficult ones, including the chain stitch, satin stitch, and the French knot stitch, I turned to my good-old Youtube to make sure I was doing them correctly.

ThenComesColor_KirikiPress_DIY_Embroidered_FoxDoll_1.jpg
ThenComesColor_KirikiPress_DIY_Embroidered_FoxDoll_3.jpg
ThenComesColor_KirikiPress_DIY_Embroidered_FoxDoll_2.jpg

Once the embroidery was completed, I carefully matched the printed side of the backing piece to the finished embroidery and sewed around the outline of the fox. I made sure to leave a 1.25" gap at the bottom so I could reverse it inside-out.

ThenComesColor_KirikiPress_DIY_Embroidered_FoxDoll_Pattern.jpg

Snip, snip, snip!

ThenComesColor_KirikiPress_DIY_Embroidered_FoxDoll_Pattern.jpg

Now turning the pattern inside out was the most nerve-racking part as I was afraid I would distort the embroidery in the process. Slowly but surely, I managed to pull the front-facing fabric out and reveal my new furry friend, embroidery unscathed.

ThenComesColor_KirikiPress_DIY_Embroidered_FoxDoll_flip.jpg

He seems to be a bit malnourished right? Time to plump him right up with some eco-friendly stuffing. How healthy!

ThenComesColor_KirikiPress_DIY_Embroidered_FoxDoll_Sew_Complete.jpg
ThenComesColor_KirikiPress_DIY_Embroidered_FoxDoll_Stuffing.jpg

Last step! I finished him up with the last bit of sewing with a ladder stitch.

ThenComesColor_KirikiPress_DIY_Embroidered_FoxDoll_Sew_Bottom.jpg

All done

What a sweet sweet little project that gave me my first taste of hand-embroidery. Practice definitely makes perfect. I am tempted to create a friend for my fox. We shall see. *wink*

ThenComesColor_KirikiPress_DIY_Embroidered_FoxDoll_Box_Items_Complete2.jpg
ThenComesColor_KirikiPress_DIY_Embroidered_FoxDoll_Box_Items_Complete.jpg

This fox kit and kits for all the other critters are available on Kiriki Press' Etsy page.