DIY Pressed Flower Phone Case

My mom is as old school as it gets when it comes to technology, but a few weeks ago she finally upgraded to her first ever smart phone. To mark this momentous occasion, I wanted to make her a customized phone case and thought a pressed flower one would be perfect. I first saw these cases on the Etsy blog and thought they were absolutely charming. And there are so many variations!

ThenComesColor_DIY_PressedFlower_PhoneCase_Complete1.jpg

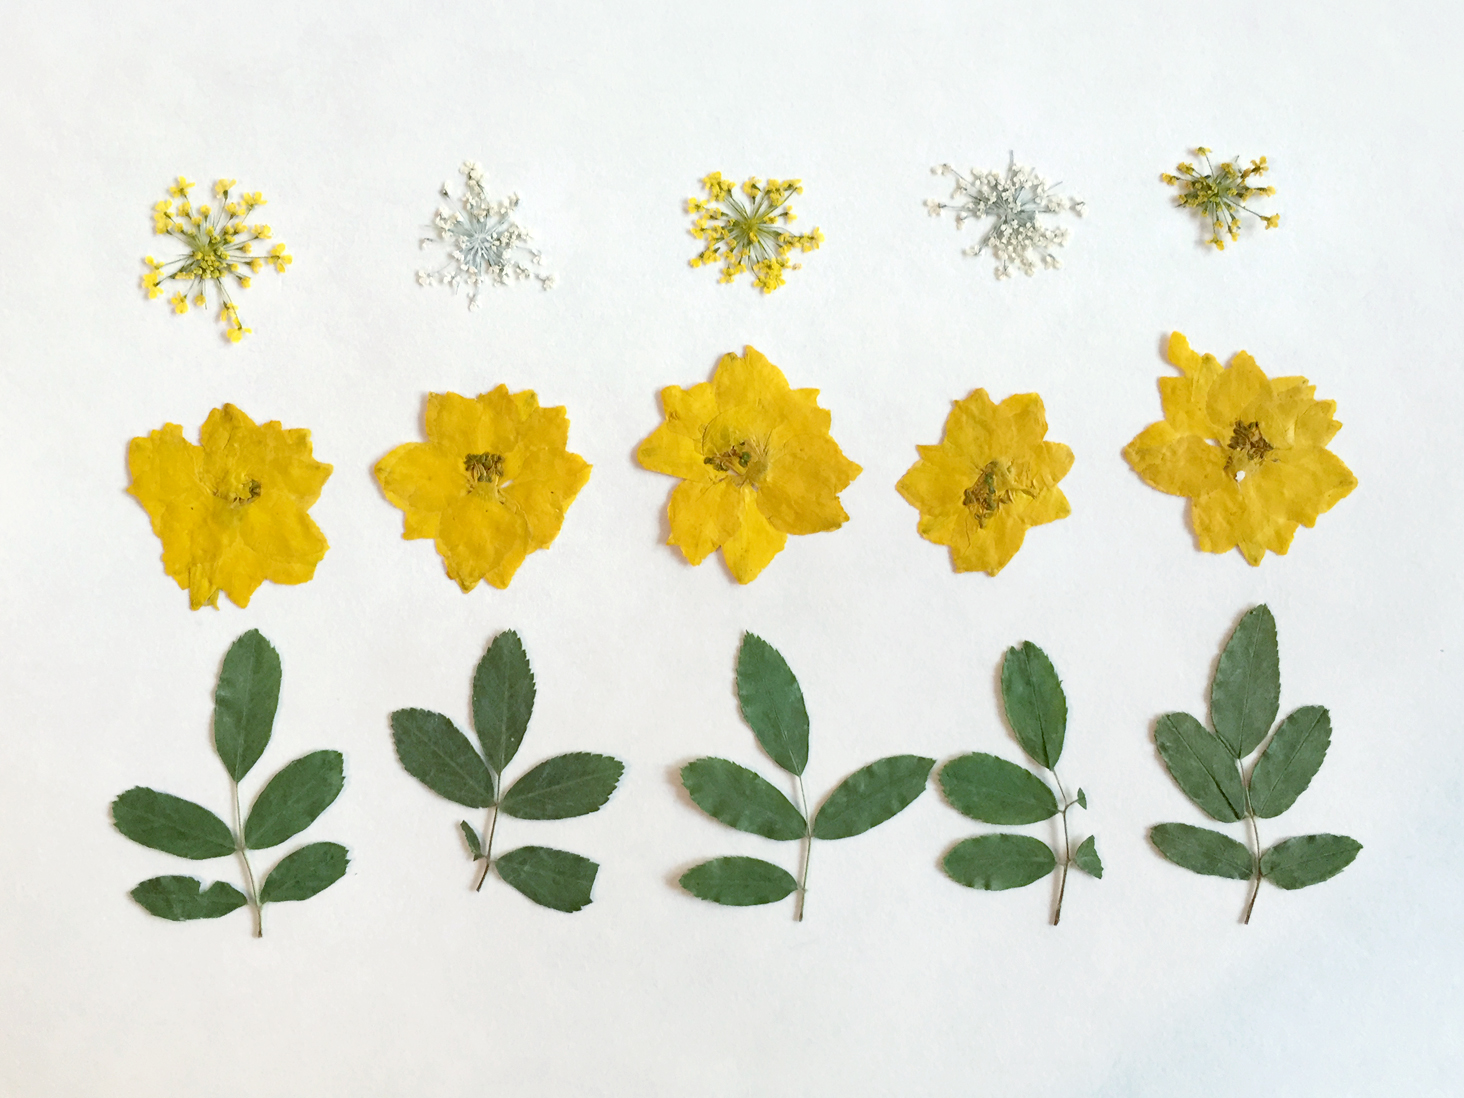
My mom loves flowers of all kinds, from lush purple orchids to blushing pink roses. She especially loves yellow flowers so I decided on with these beautiful sunshine-happy larkspurs and Queen Anne's laces from Nature's Pressed Flowers. I also got a few rose leaves to add a little bit of green.

ThenComesColor_DIY_PressedFlower_PhoneCase_flowers1.jpg

Aren't they pretty!?

ThenComesColor_DIY_PressedFlower_PhoneCase_flowers2.jpg

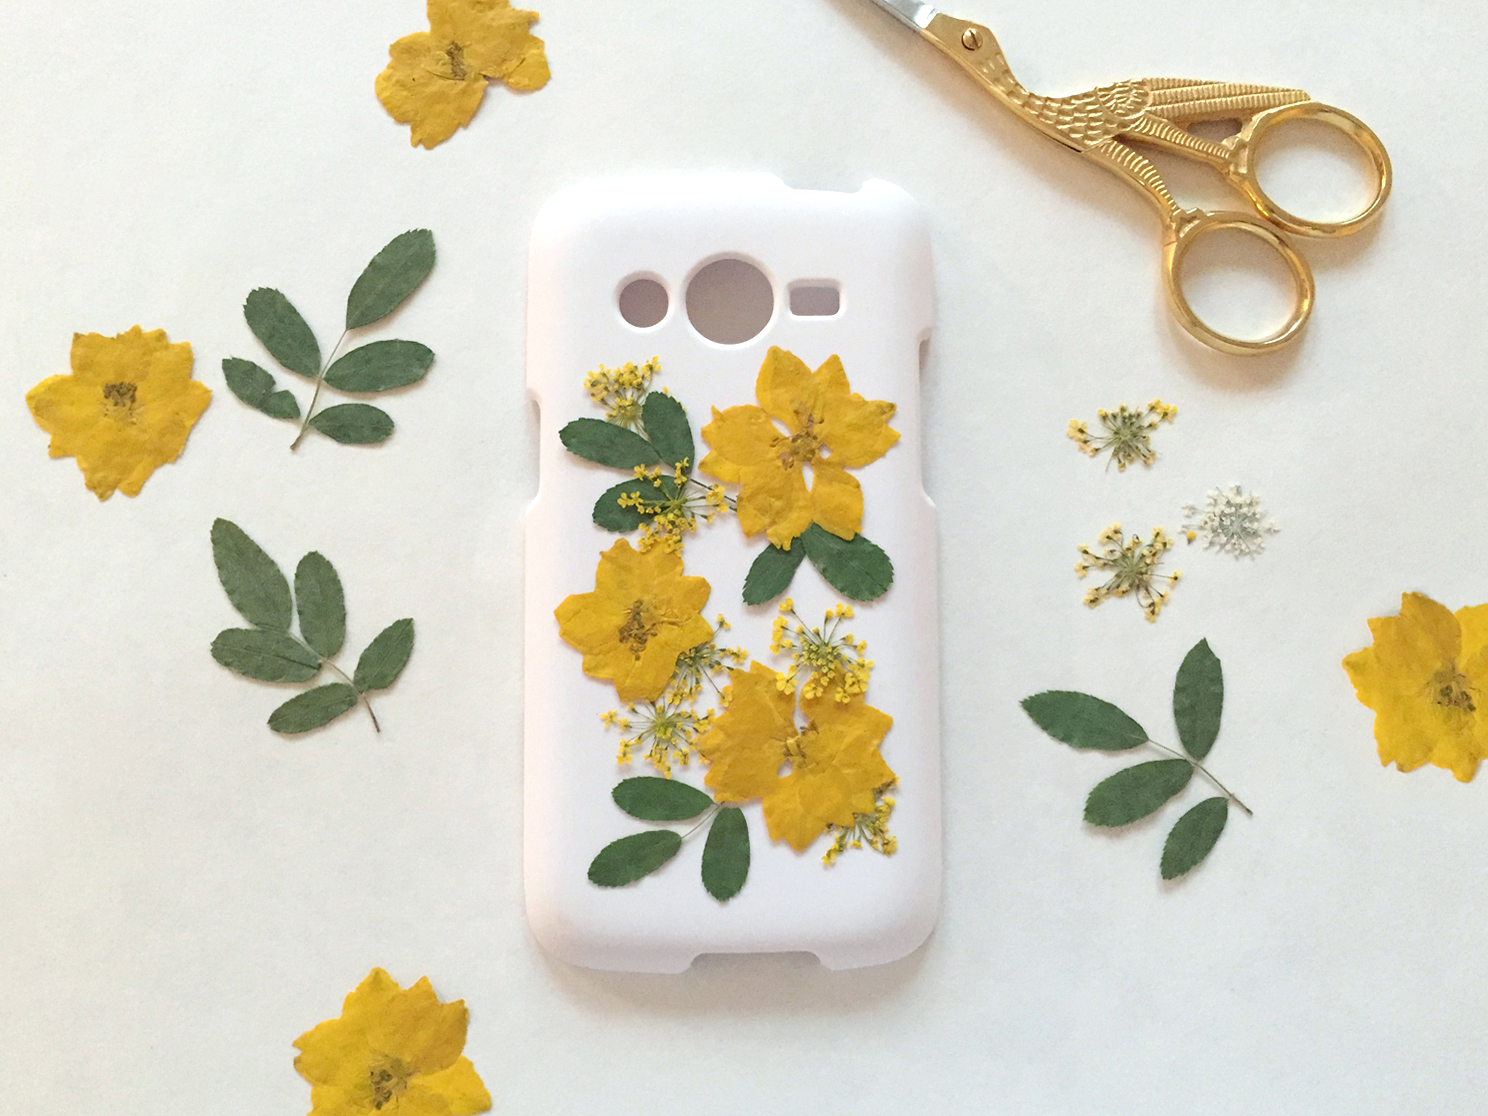
First, I arranged the flowers and leaves onto a plain white phone case. They were very delicate so handle your flowers gently, ideally with tweezers.

ThenComesColor_DIY_PressedFlower_PhoneCase_1.jpg

Once you are satisfied with your arrangement, take a picture of it so that you can remember what it looks like when you are gluing everything in place.

ThenComesColor_DIY_PressedFlower_PhoneCase_2.jpg

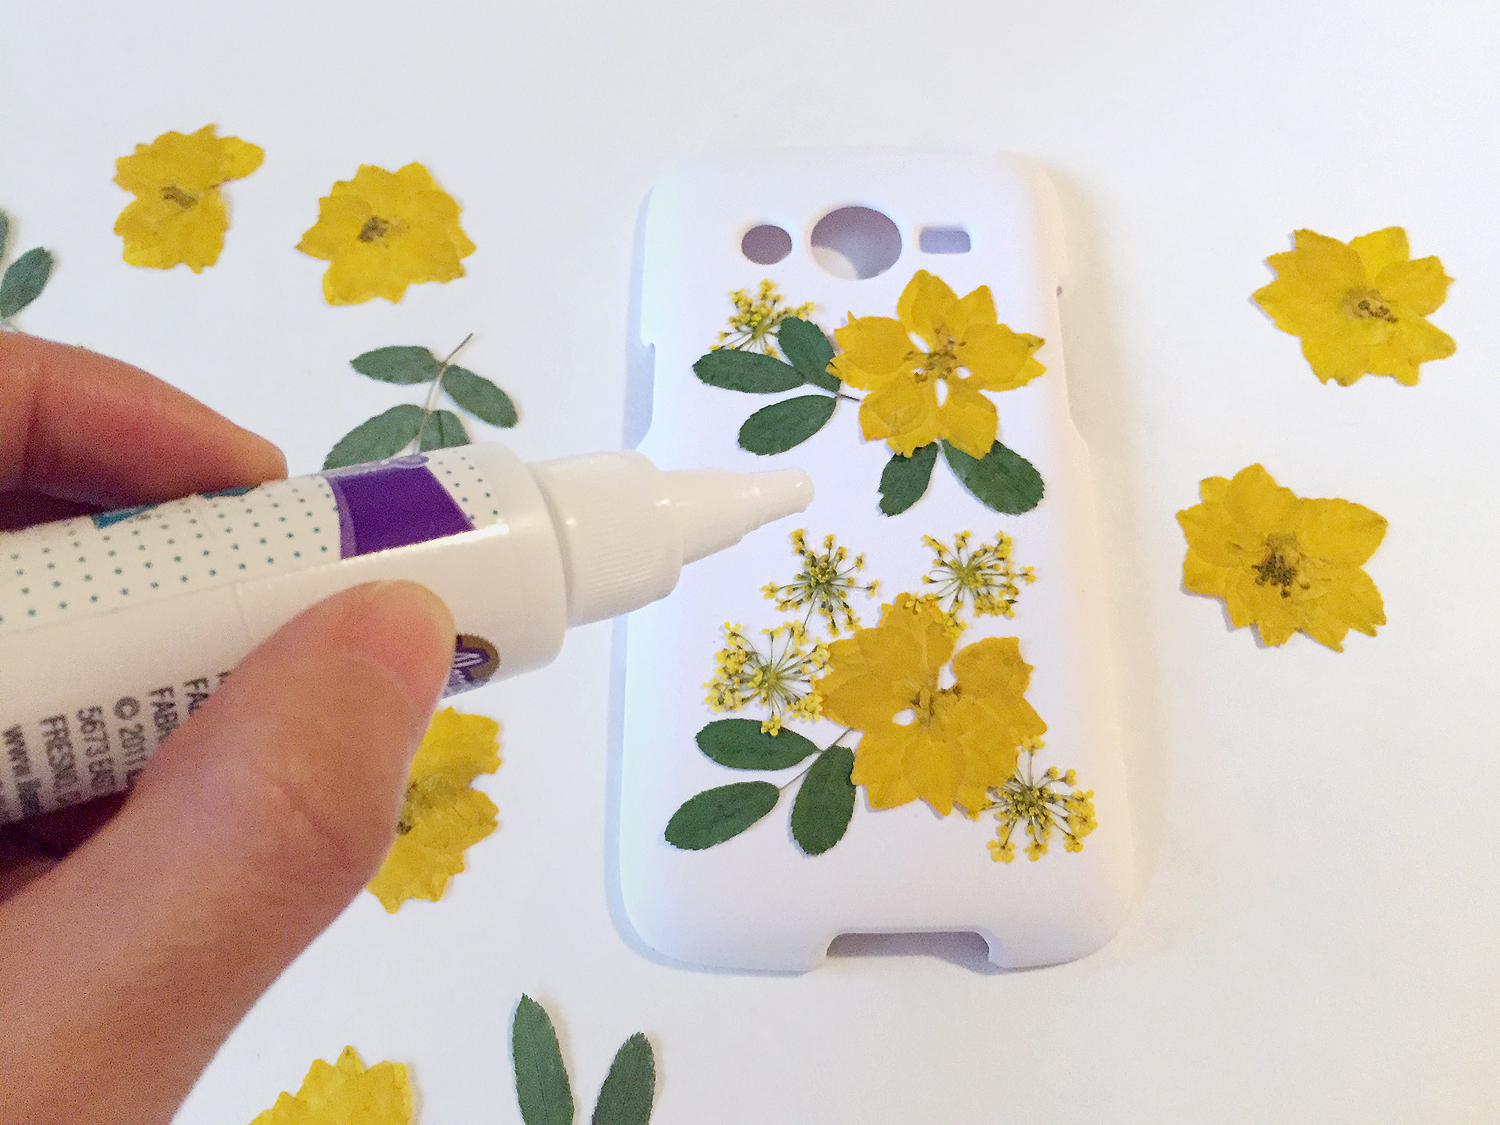
Remove all the foliage from the phone case and start gluing each piece down, using your picture as a guide. I did not have craft glue that the Etsy blog suggested and used fabric glue that I had instead. A rebel, I know! I would suggest sticking with craft glue as you will see why later.

ThenComesColor_DIY_PressedFlower_PhoneCase_Gluing.jpg

Now for the resin! I have never used casting epoxy before so I was quite excited but scared to try. Glue is the most adventurous thing I use when it comes to 'chemicals' so you can understand why. I used the same Easy Cast as the Etsy blog and followed their directions exactly. It is best if the hardener and resin bottles are slightly warm to the touch. If they are cold, put the bottles in a bowl of warm (not hot) water while you prepare your cups.

ThenComesColor_DIY_PressedFlower_PhoneCase_ResinCastingSupplies.jpg

Make sure your working surface is covered. First, take a plastic cup and measure the 3/8 inch and 3/4 inch mark from the base. You can also trim your cups so that they are not so tall. Pour the resin up to the 3/8 inch mark, then the hardener up to the 3/4 inch mark. It is really important that you putting equals part of each. If not, the final resin will not harden properly and be sticky.

ThenComesColor_DIY_PressedFlower_PhoneCase_CupMarking.jpg
ThenComesColor_DIY_PressedFlower_PhoneCase_Pouring.jpg

Mix the two liquids together with a wooden stick for 2 minutes, scrapping down the sides as you would when mixing your favorite cake batter. Do not freak out if you see tiny bubbles as they will disappear. Next, pour the mixture into your second cup and continue mixing for another minute. I am not really sure why the Etsy blog called for transferring into the second cup but I did it anyways. Once the 60 seconds are up, let the resin rest for 5 minutes. 

ThenComesColor_DIY_PressedFlower_PhoneCase_Mixing.jpg

As you can see my case is curved around the edges. I wanted to make sure the resin would spread evenly around the curves so I cut an old toothpaste box to size and placed the case on top of it for the excess resin to drip down from. If your case has straight edges, you do not need to elevate your case because you can just pour the resin over the top. Make sure to tape the box to the case's underside and your papered surface (I used an old shopping bag) so that nothing moves.

ThenComesColor_DIY_PressedFlower_PhoneCase_Elevated.jpg

Slowly pour the resin over the case, then spread evenly all over the case with your wooden stick. You can gently tap any bubbles to make them pop and disappear. I am super glad I elevated the case because as you can see there was a good amount that dripped down. I would periodically scrape any drippings with a wooden stick as the resin dried.

ThenComesColor_DIY_PressedFlower_PhoneCase_Spreading.jpg

The completed PHONE case

Let your case dry overnight and voilΓ  your prettified case is ready. Earlier I mentioned that I used fabric glue I had around the apartment instead of craft glue. The former caused the green leaves to discolor. Oddly, the yellow flowers remain vibrant yellow. So do not be like me and use any kind of glue and make sure to use the proper kind that will not alter your flowers' pretty colors.

Anyways, I really hope my mom likes this case. She is one hard cookie to impress, so fingers crossed!

ThenComesColor_DIY_PressedFlower_PhoneCase_Complete1.jpg
ThenComesColor_DIY_PressedFlower_PhoneCase_Complete2.jpg
ThenComesColor_DIY_PressedFlower_PhoneCase_Complete3.jpg

Charlotte Olympia Inspired Perspex Clutch

I am a huge fan of Charlotte Olympia and really wanted to try making one of her signature Pandora clutches. This is a quick and easy high-fashion inspired project that requires just a few items to recreate.  

ThenComesColor_CharlotteOlympia_Clutch_complete2.jpg

If you are not familiar with Charlotte Olympia, you must do a Google search. The British luxury shoe and accessories brand makes some of the world's wittiest fashion pieces, each a masterful work of art.

ThenComesColor_CharlotteOlympia_Croissant_Clutch.jpg
ThenComesColor_CharlotteOlympia_Panda_BaoBao_Clutch.jpg
ThenComesColor_CharlotteOlympia_Taco_Clutch.jpg

This particular safety-pin adorned Punk Pandora perspex clutch is the inspiration for this project. It is the perfect mix of punk rock and sophisticated glamour.

ThenComesColor_CharlotteOlympia_TomBinns_Clutch_Pink.jpg
ThenComesColor_CharlotteOlympia_TomBinns_Clutch_Black.jpg

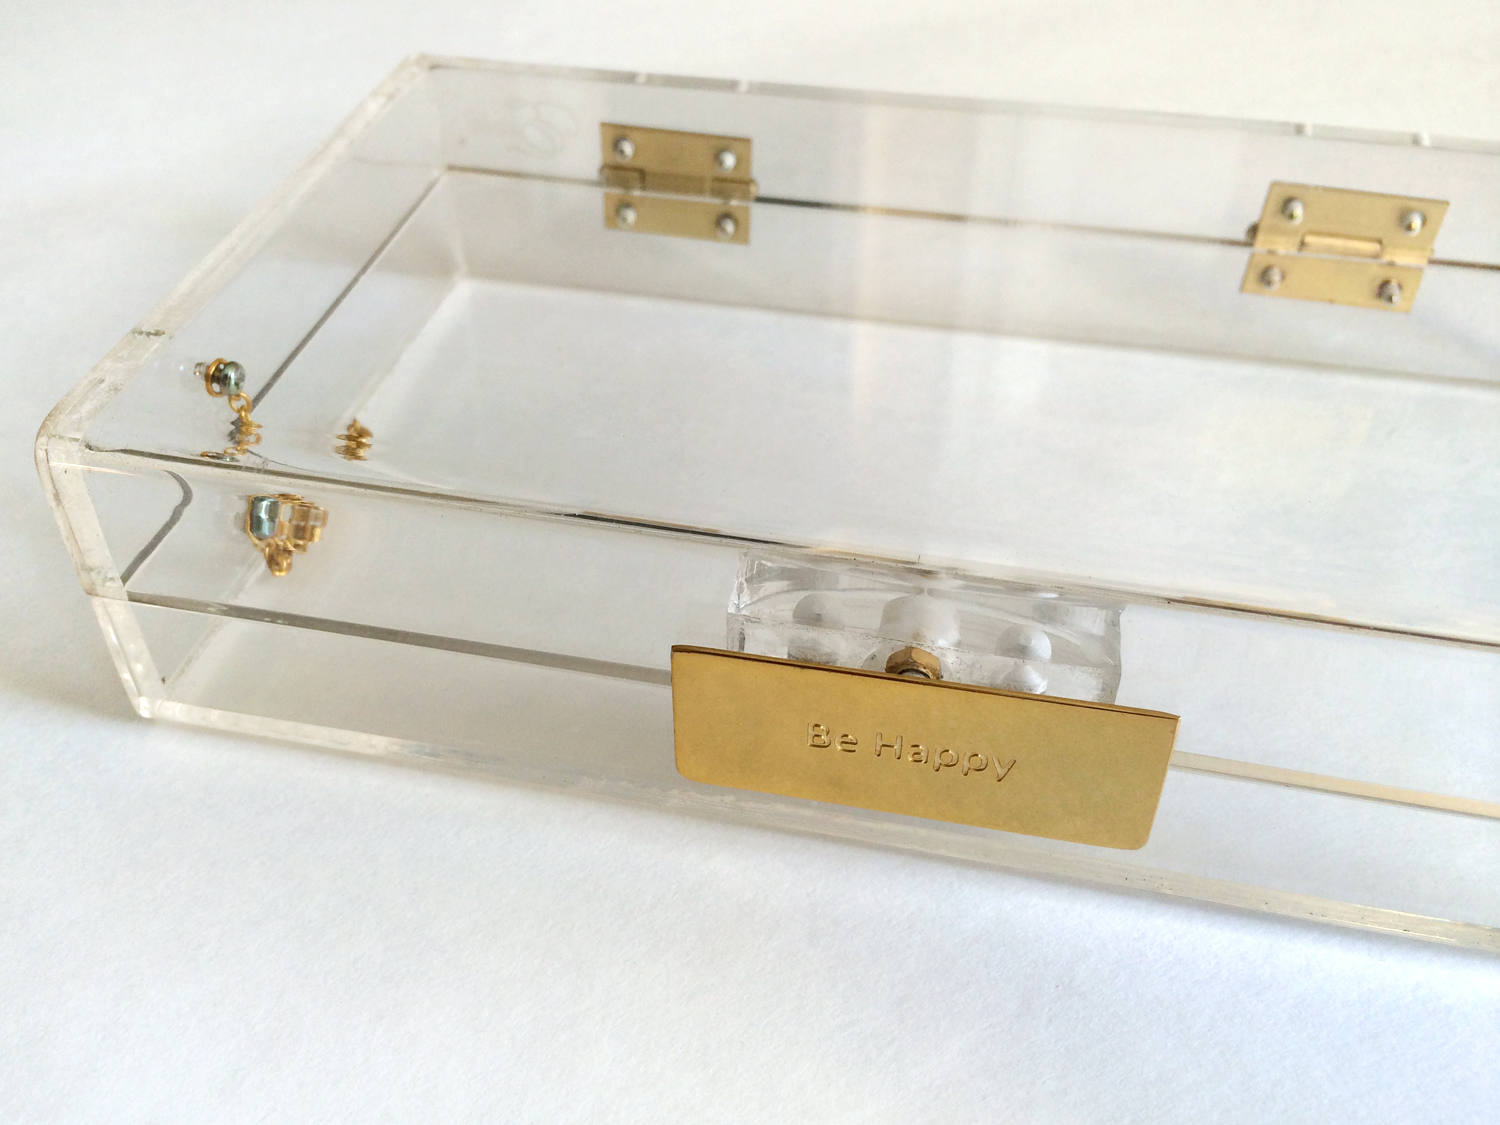
Begin with a clear perspex clutch and fabric pouch. You can make yours from scratch or be like me and get a set from Etsy.

ThenComesColor_CharlotteOlympia_Clutch1.jpg
ThenComesColor_CharlotteOlympia_Clutch_open.jpg
ThenComesColor_CharlotteOlympia_Clutch_closeup.jpg

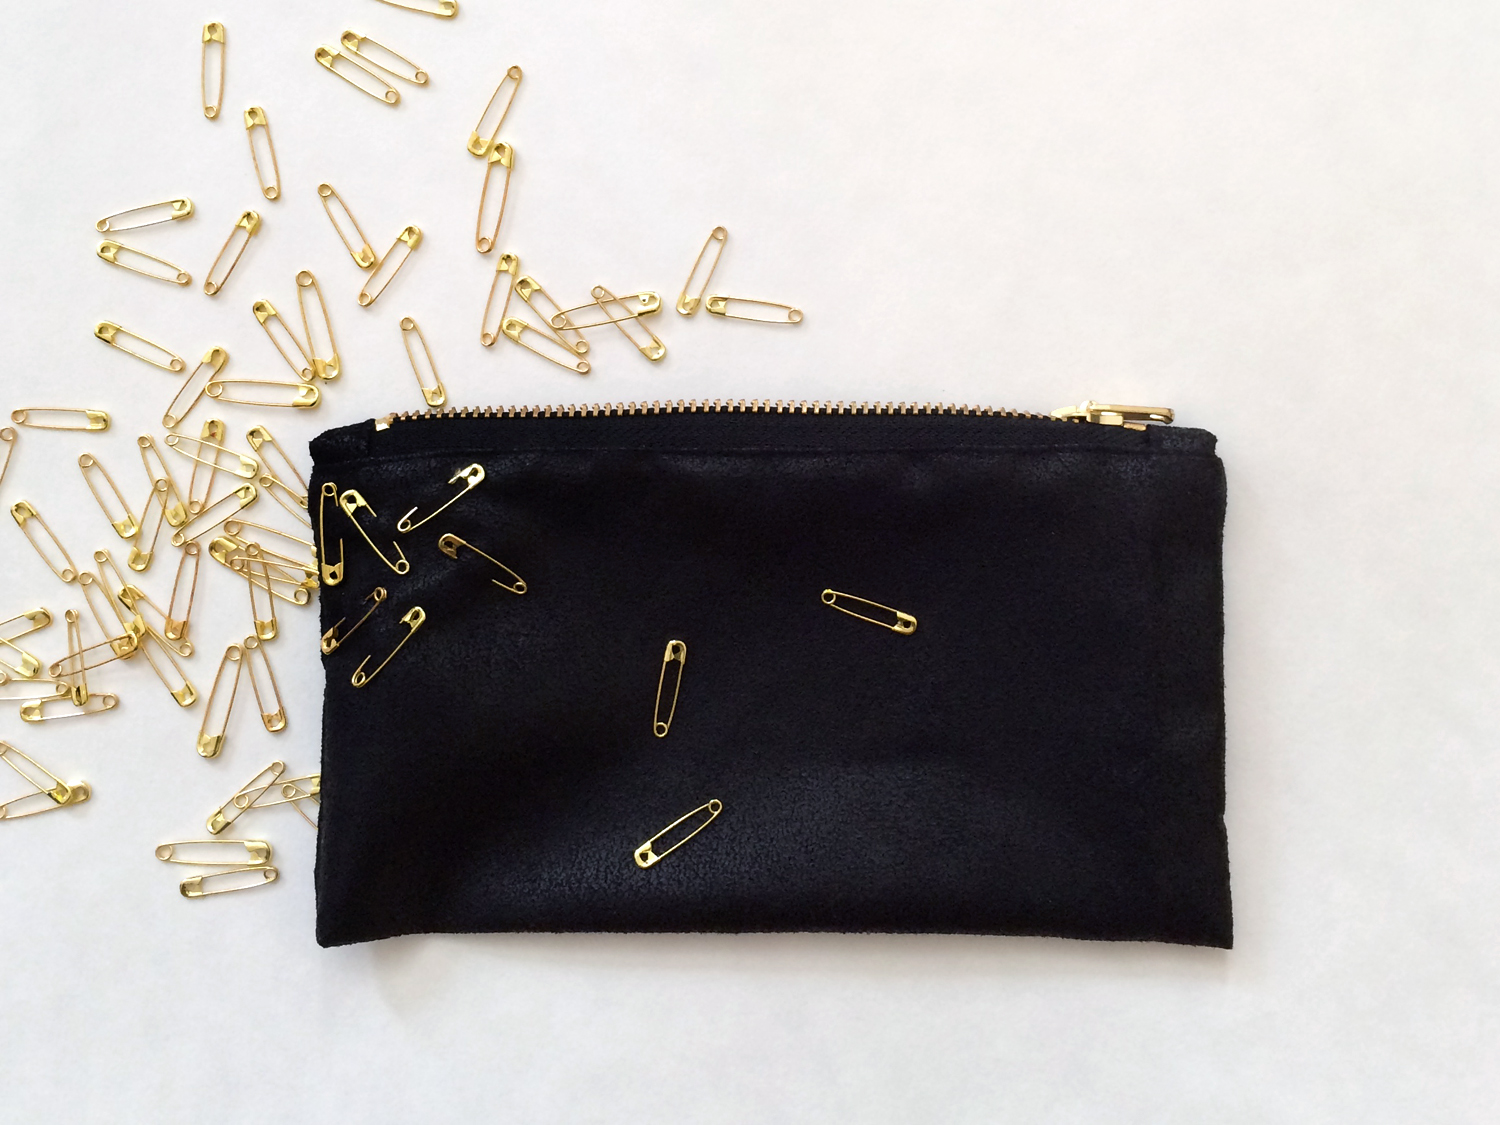
Decide on what colored safety pins you would like to use. They come in literally any color and finishing. I looked for the most vibrant colored gold ones I could find, each measuring in at about 7/8 inch long.

ThenComesColor_CharlotteOlympia_Clutch2.jpg
ThenComesColor_CharlotteOlympia_pinning1.jpg

The pinning process requires some strategic thinking. You want to make sure that the pins are facing different directions so that the overall look is random. The closer the pins are to each other, the more dramatic the finished clutch will look.

ThenComesColor_CharlotteOlympia_pinning2.jpg

And just like that, voila! This eye-catching clutch will be the perfect accessory for your next outing at a fraction of the cost. Definitely give it a try. Happy pinning!

ThenComesColor_CharlotteOlympia_Clutch_complete1.jpg
ThenComesColor_CharlotteOlympia_Clutch_complete3.jpg
ThenComesColor_CharlotteOlympia_Clutch_complete2.jpg

Message in a Bottle, Valentine's Day Pop Quiz

There is a running joke about Pinterest, that it is where you collect pretty images of things that you will never EVER make, do, try, buy, or wear. This may be true, but I see nothing wrong with surrounding yourself with aspirational and inspirational things that drive you to do better. Well, I pinned this sweet DIY message-in-a-bottle project awhile ago and decided that this year's Valentine's Day would be the perfect time to try making it.

Credit: Camille Styles

Credit: Camille Styles

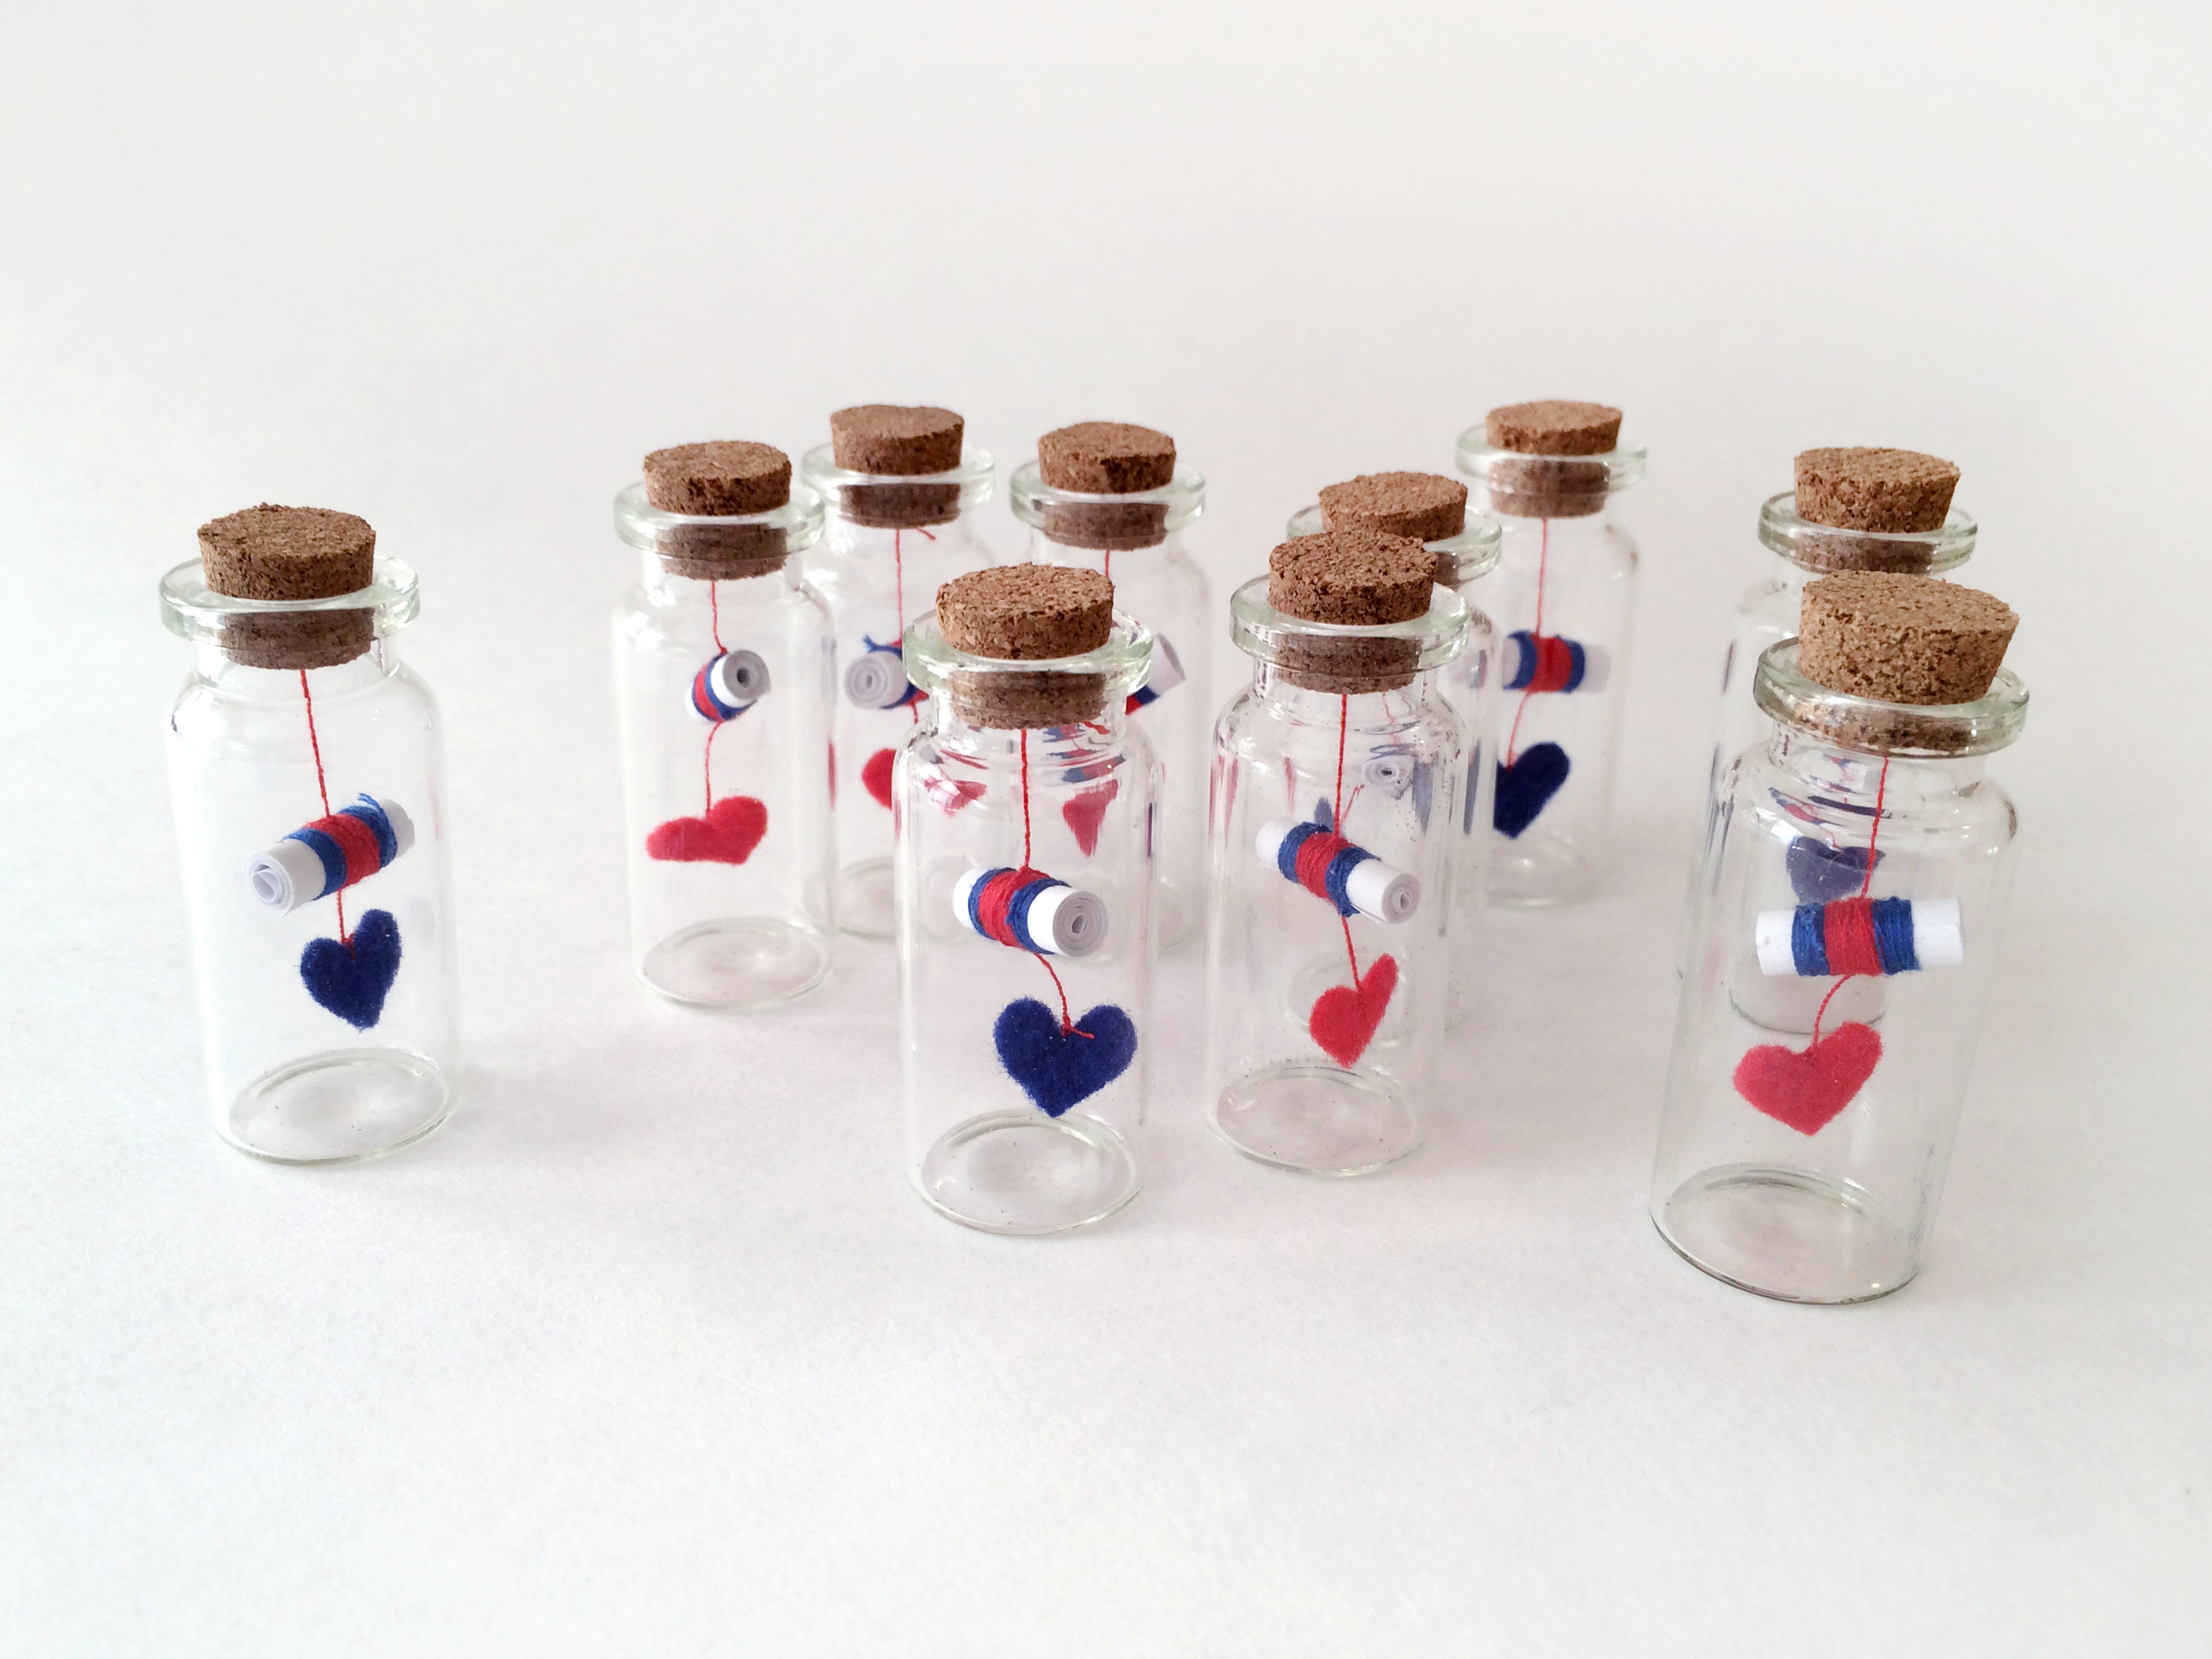
Here is how mine turned out. Of course one bottle was not enough so I decided to make ten for my boyfriend. The more the merrier, right?

ThenComesColor_MessageInABottle_ValentinesDay_1.jpg

To begin, you will need some mini glass bottles. They can be any size but the ones I ordered were 30mm x 50mm (not including the cork) from giftsDIY.

ThenComesColor_MessageInABottle_ValentinesDay_Bottles.jpg

Cut strips of paper for your messages. Trying to be environmentally-conscious, I used the blank parts of old scratch paper widthwise (8.5") and cut them into 3/4" strips.

ThenComesColor_MessageInABottle_ValentinesDay_Notes.jpg

Originally, I was planning to write sweet messages of love to my main squeeze, JB. But I wanted something a bit more challenging. So, I decided that each strip would have a question related to our relationship that JB would have to answer. I forewent the easy questions like "when did I first say love you?" or "where was our first date?" and drafted a set of tough questions that would force JB to delve deep into the archives of our relationship.

ThenComesColor_MessageInABottle_ValentinesDay_Notes2.jpg

I think JB will have a hard time answering some of these questions correctly! I only thought of some after combing through our old photos and reading through my notebook of all the sweet things JB has done for me over the years. Of course, what you write on yours is entirely up to you. I just thought a pop-quiz version would be more fun and a nice opportunity to take a stroll down memory lane.

ThenComesColor_MessageInABottle_ValentinesDay_Notes3.jpg

After all the messages are written, roll up the strips as tightly as possible.

ThenComesColor_MessageInABottle_ValentinesDay_Rolling.jpg

Wrap these rolls with thread (can be any color), looping about 16 times then knotting them. Trim so that there is about 3-5" of thread.

ThenComesColor_MessageInABottle_ValentinesDay_Thread.jpg

You can stop at one color, but I decided to frame the red with a contrasting blue so that they would have a touch of masculinity. I was inspired by beautiful thread-wrapped rings I saw in Seoul that had a similar look. Of course sticking to one color will make it easier for your recipient to unravel.

ThenComesColor_MessageInABottle_ValentinesDay_Thread2.jpg
ThenComesColor_MessageInABottle_ValentinesDay_Thread3.jpg

Thread the red string through the opposite side of the roll. This will help the hearts hang nicely, as you will see shortly.

ThenComesColor_MessageInABottle_ValentinesDay_Thread4.jpg

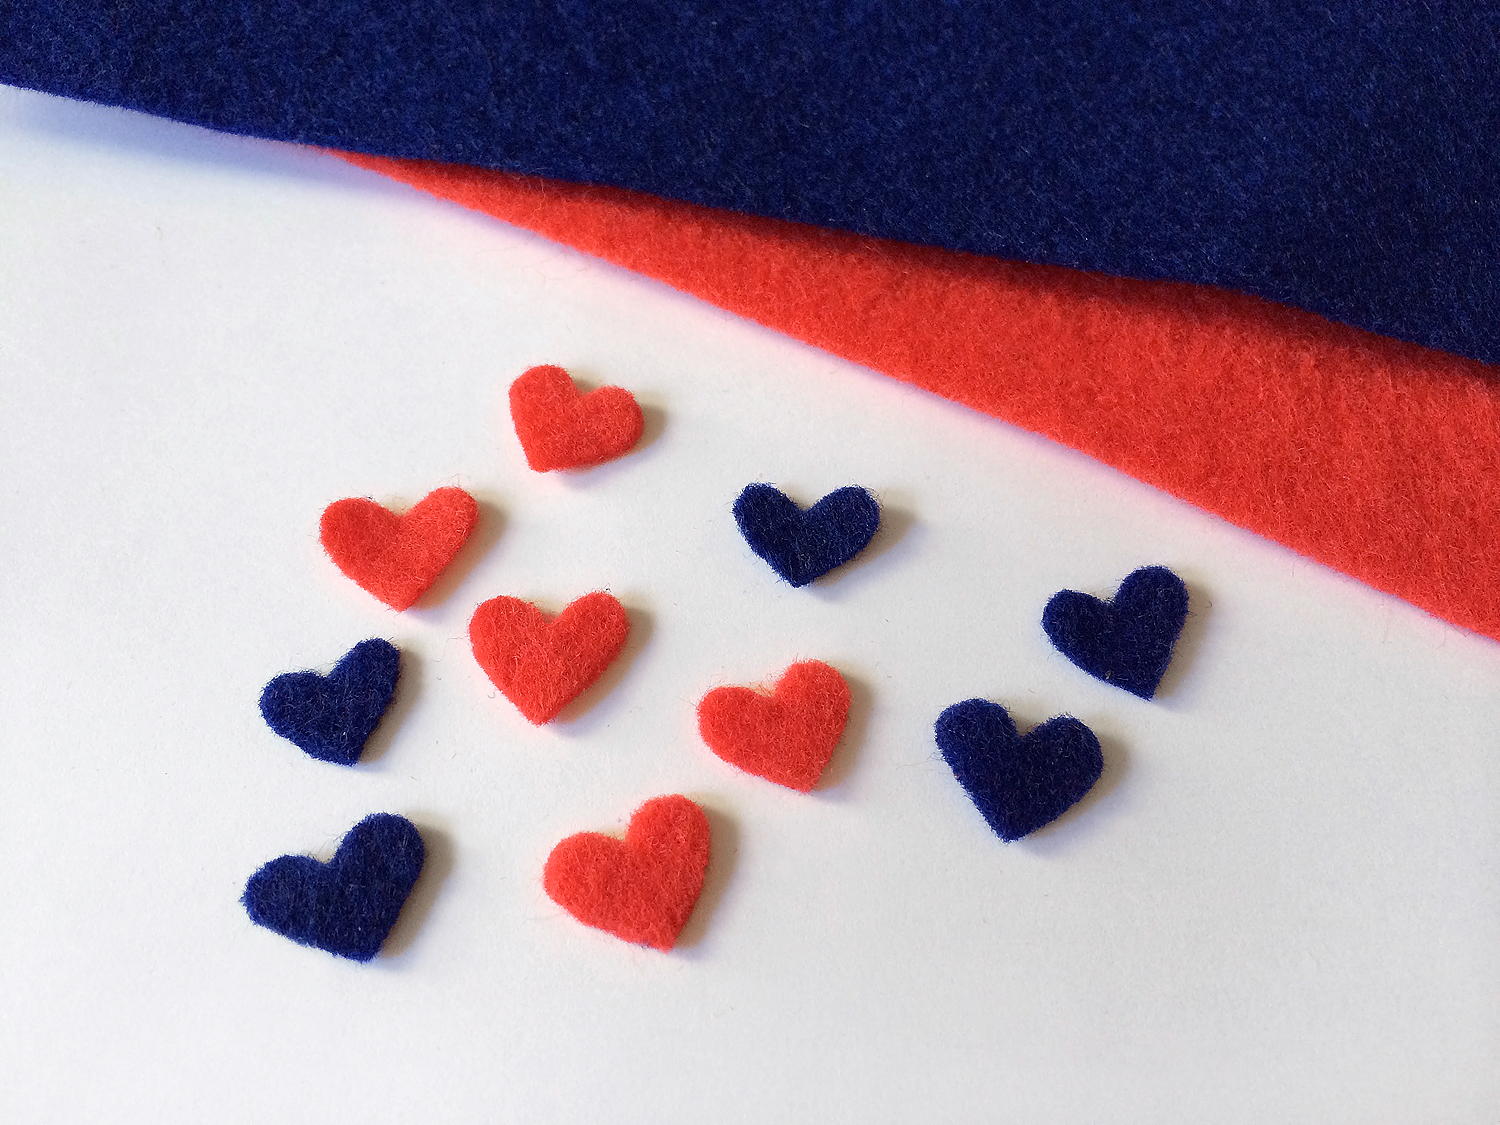
Cut tiny hearts that are about a 3/8" wide. You can use a thick card stock that is a solid color or printed with a fun pattern. Since I had a lot of felt left over from my Pac Man Baby Mobile project, I opted to use that.

ThenComesColor_MessageInABottle_ValentinesDay_Hearts.jpg

Thread the hearts and knot securely. As you can see, threading the red string to the other side of the roll enables each heart to hang more nicely.

ThenComesColor_MessageInABottle_ValentinesDay_Hearts2.jpg

To hang the messages, cut staples in half and hammer each gently into the center of the cork top's underside. Before you hammer completely down, loop the thread through the eye of the staple and triple-knot. Then continue hammering so the staples are securely inside the cork tops.

ThenComesColor_MessageInABottle_ValentinesDay_Cork.jpg

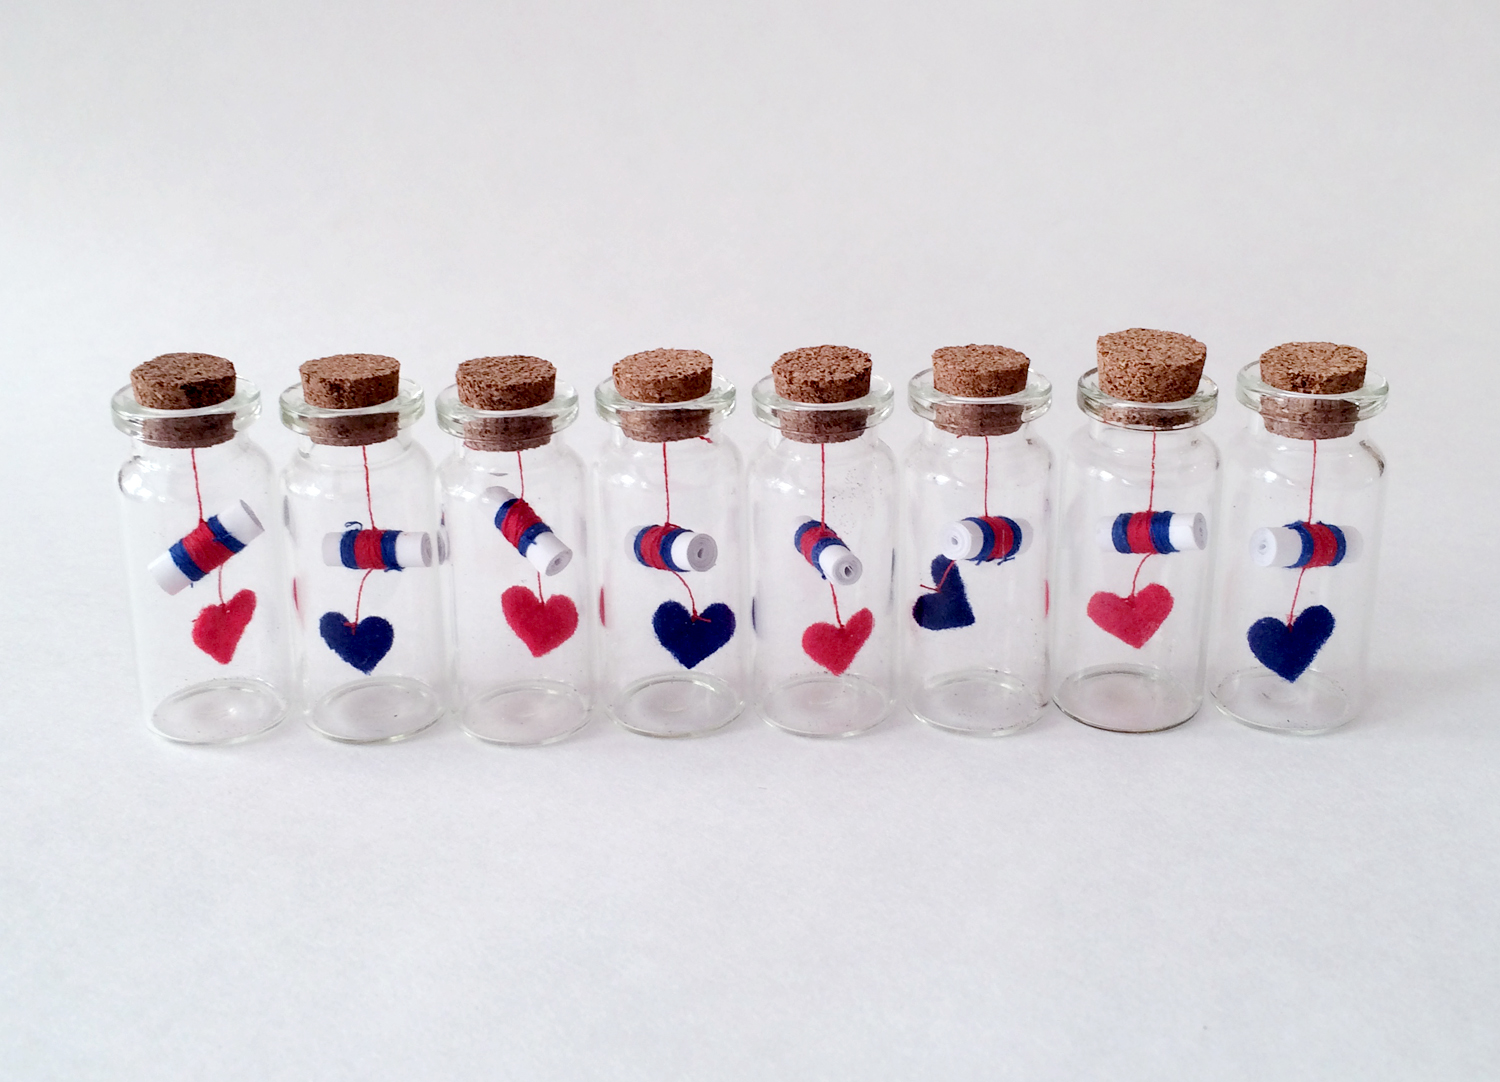
Close each glass bottle and your messages eagerly await to be read. In my case, each question awaits to be answered. This is an inexpensive yet uber sweet gift to make for your special someone - hope you are inspired to make them!

ThenComesColor_MessageInABottle_ValentinesDay_complete1.jpg
ThenComesColor_MessageInABottle_ValentinesDay_complete2.jpg
ThenComesColor_MessageInABottle_ValentinesDay_complete3.jpg

My Sushi Love Affair

I love me a delicious sushi set. It is probably one of my favorite things to eat. Then again, there is not much I will say no to when it comes to food. I previously designed several fruits in the shape of hearts and wanted to do the same for a few of Japan's most simple yet meticulously crafted dishes. I should mention though, that the California Roll is actually an American invention. Anyways, let the love fest begin!

ThenComesColor_MySushiLoveAffair_complete.jpg
ThenComesColor_MySushiLoveAffair_group.jpg
ThenComesColor_MySushiLoveAffair_closeup2.jpg
ThenComesColor_MySushiLoveAffair_closeup.jpg

If you are not craving Japanese food now then I may have failed in my design. But if you are, Sushi Yasaka is a fantastic casual joint I recently went to here in New York. I highly recommend it. Also, Sushi Mori Tomoaki in Hong Kong is a sweet gem to go to.