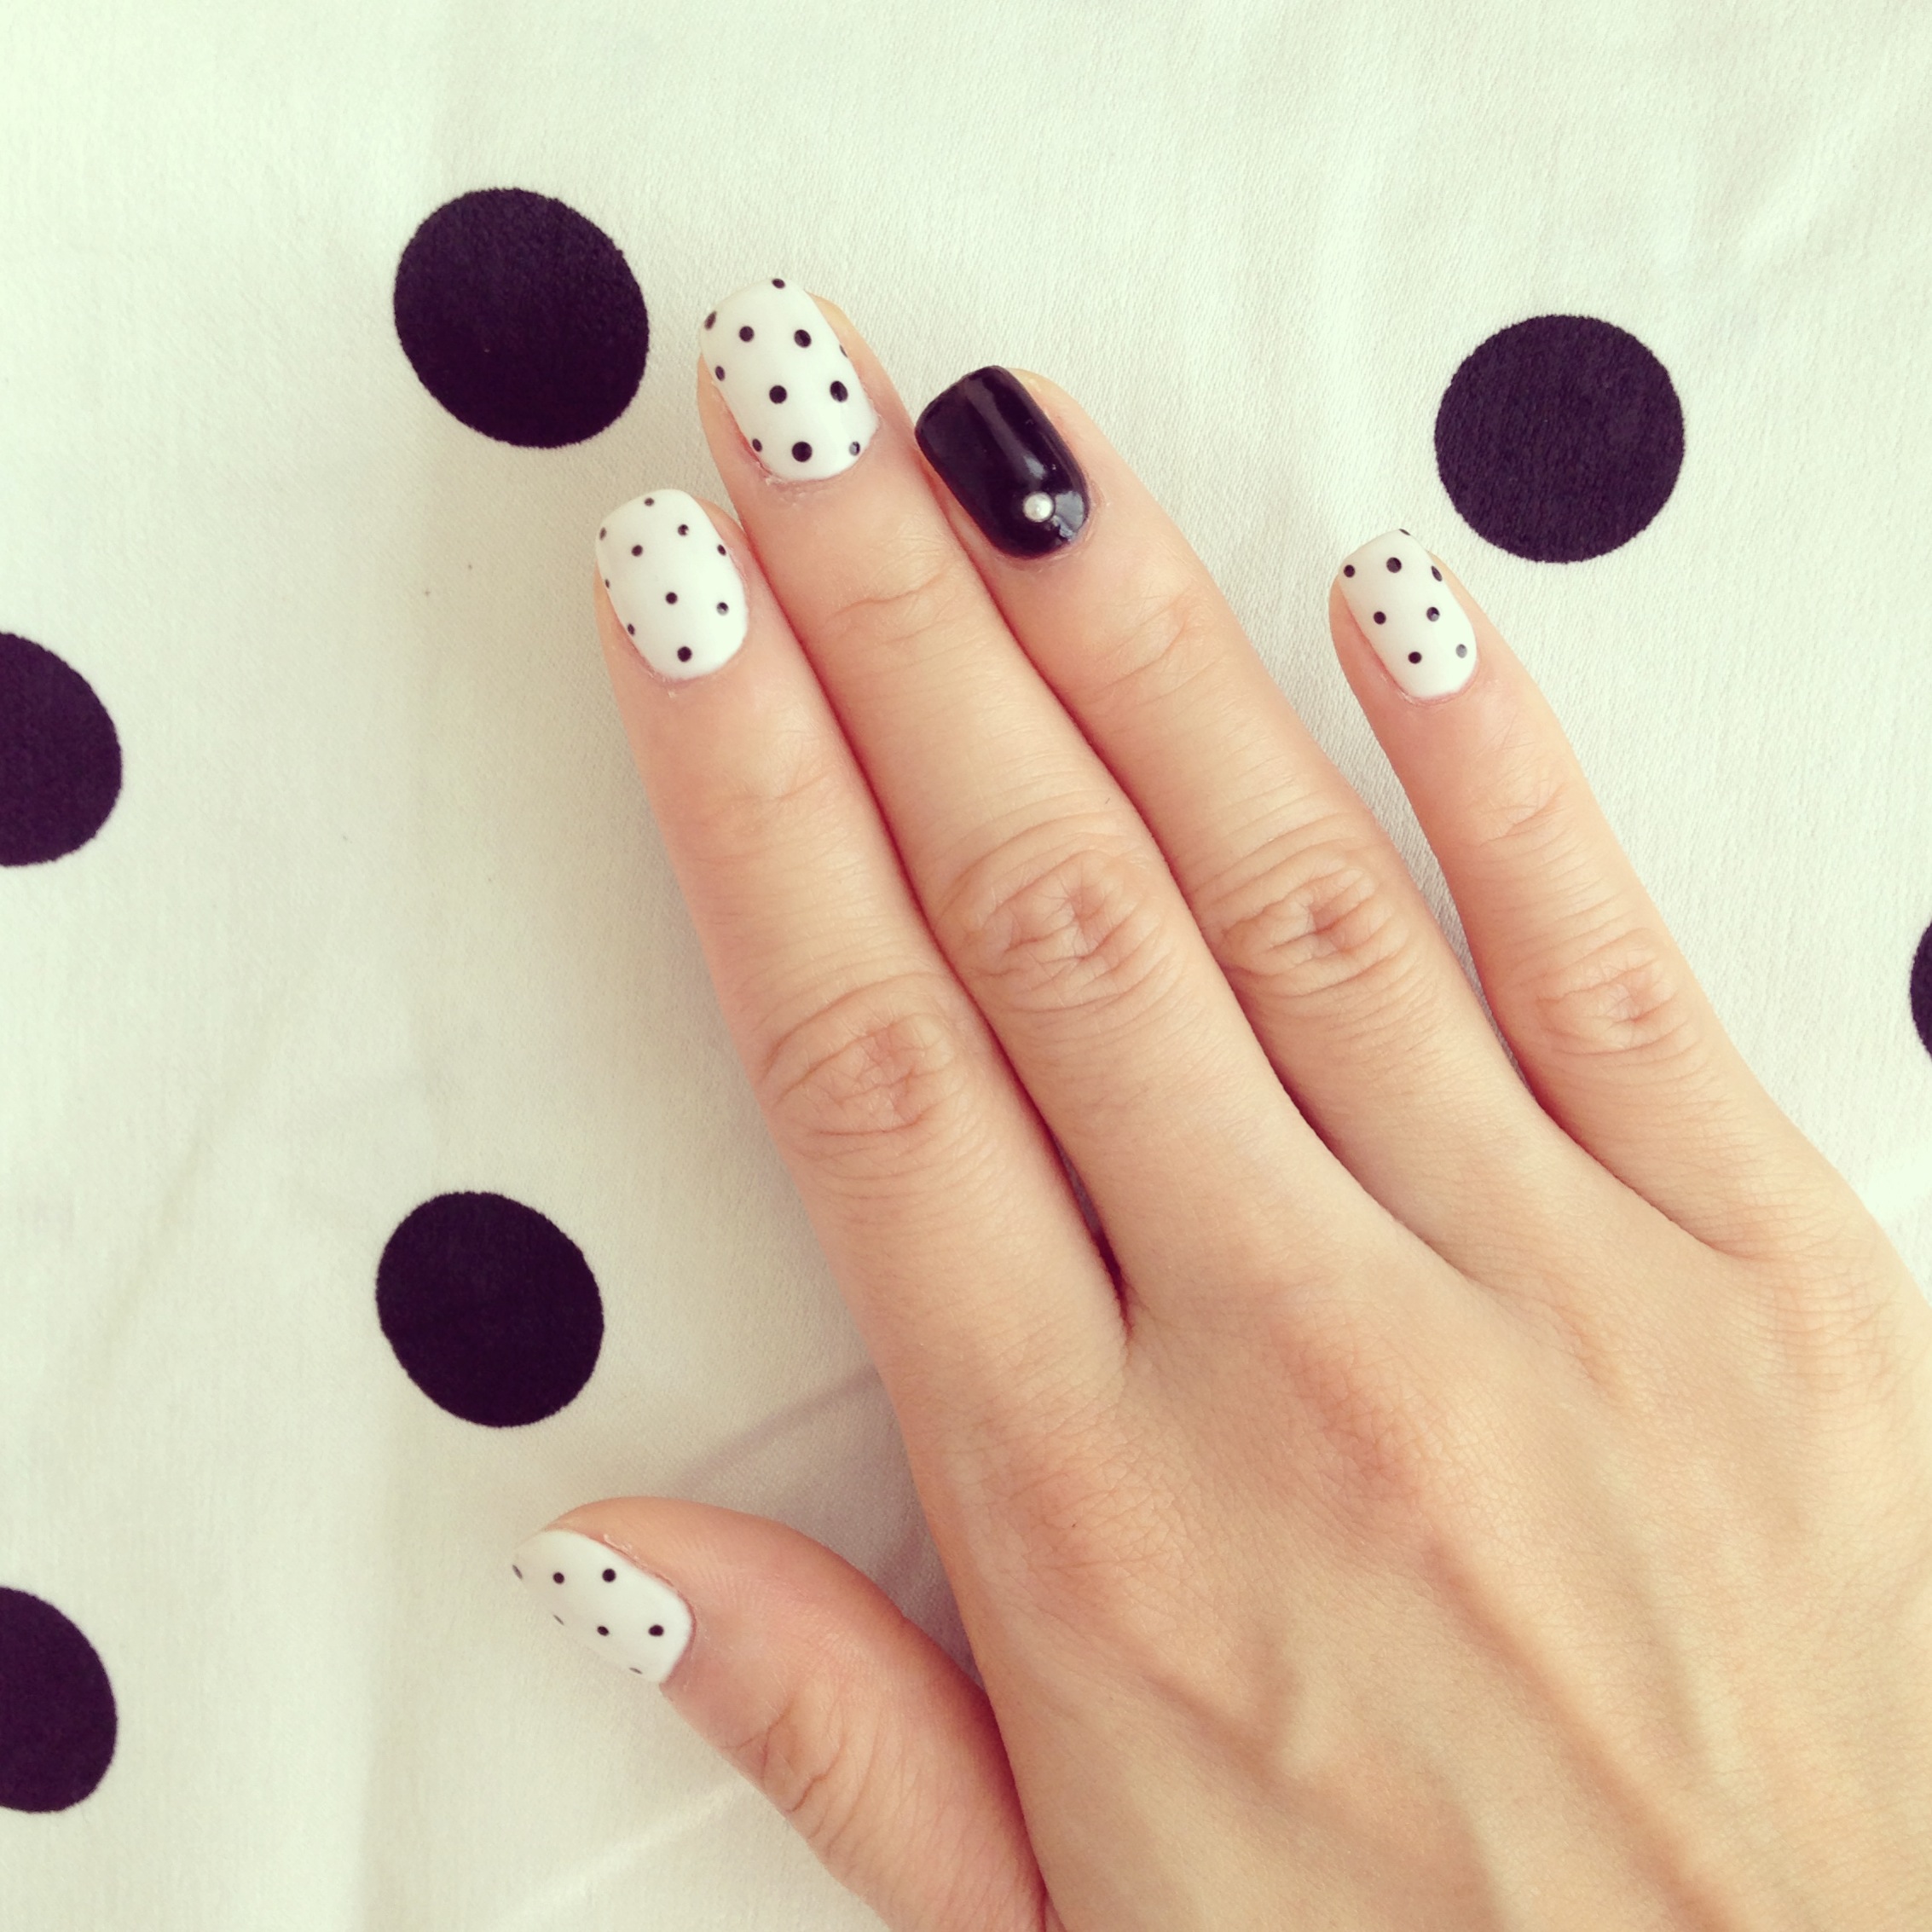
Nails: Big dots, small dots
Hard to beat a classic black and white combination like this.
Hard to beat a classic black and white combination like this.
I brought back several beautifully made snacks from my last visit to Tokyo. Feeling guilty for eating them so unceremoniously while watching an episode of 'The Walking Dead' I thought why not do a Japanese style afternoon tea that would showcase the fine artistry of these treats. I never formally had Japanese afternoon tea but drew from inspirations online as well as from the time I had tea and sweets at New York's charming Cha-An Tea House.

This project also gave me the opportunity to put to good use several colorful dishes I bought in Tokyo in an area called Kappabashi. Also known as Kitchen Town, Kappabashi is lined with shop after shop selling everything from plates, cups, knives, and decorations to plastic display food and ramen lanterns. My biggest regret is that I did not buy more to cook and eat with but also to store jewelry. Next time.
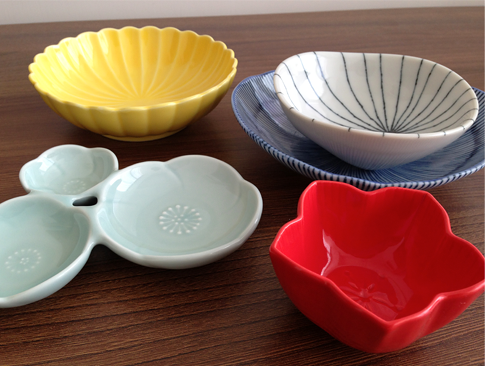


Back in Hong Kong I happened to be at FrancFranc, a Japanese contemporary home furnishing shop, and discovered these lovely plates that would be an perfect addition to my afternoon tea. They are by Mio Matsumoto, an talented illustrator whose work is simple and delicate but infectiously fun and free-spirited.


Preliminary sketch mapping out where all the treats would be
Instead of real flowers, I thought that a couple of nature-inspired origami decorations would be a nice touch. Not having any traditional origami paper on hand, I took old paper samples and folded this carambola flower and butterfly following the expert instructions of two origami masters on Youtube.


After picking up a few additional snacks and ingredients for some mini tea sandwiches all that was left to do was assembling everything together.


I have a dear friend who absolutely loves matryoshka dolls, or more commonly known as Russian or nesting dolls. So for Vivia's birthday, I knew I wanted to give her something that centered around these whimsical figurines. After toying with the usual ideas of an Russian doll iPhone case or necklace, it quickly became clear that nothing would be better than a set of mini Vivias in her very own outfits.

I ordered a set of blank wooden dolls for a mere US$10 on eBay and began the awkwardly creepy but necessary process of observing what Vivia wore, committing to memory potential outfits to paint and feverishly sketching them out in a notebook before I forgot any of the details.
I have seen my share of traditional Matryoshka dolls but was amazed at all the modern and contemporary interpretations out there. People are so creative.
Paintbrush in hand, I dressed each doll with my favorite outfits that represented Vivia's youthful indie-hipster style. And just like that, with some acrylic paint, black and red pens for the eyes and lips and a touch of M.A.C. blush for rosy cheeks, each little doll beautifully came to life. They turned out SO cute!


After much brainstorming and heartache, I came up with my Halloween costume idea that I knew was THE ONE. It was a bit of an “Eureka” moment when I thought of it and I cannot wait to show you my creative journey in bringing it to life. So you may be asking me what I was. Well, I was Facebook Fairy.
“Uh what?”
Yup, that is the typical response I got when I told people what I was planning to be. Just utter confusion and skepticism, but I REFUSED to be a sexy nurse, school girl, or a cheerleader. I was going to be . . . Facebook Fairy.
As with many things, it started with a sketch. I was very inspired by Katy Perry’s outrageous but always fun and whimsical costumes that have made her so iconic. I envisioned the top of the dress to be blue resembling the Facebook logo, while the skirt would be made up of the various Facebook icons.

I went to a recommended seamstress and found the perfect two shades of blue for the bodice. I asked for the skirt to be lined with tulle to give it a more of a ballerina feel. After a couple fittings and alternations, the dress was ready to be taken home to add all the the embellishments.

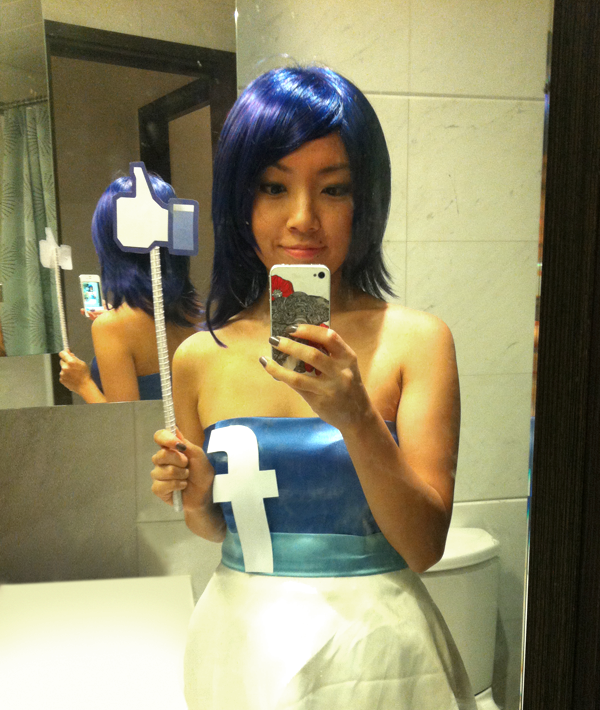
Me seen here in 'dress rehearsal.'
I combed through (no pun intended) literally ever wig shop in Hong Kong to find a blue wig that matched the Facebook blue. I did not realize how much of a challenge this would be. Mong Kok, Sham Shui Po, Central, you name it, I was there.
Getting desperate, I tried my luck and asked the lady who usually does my eyebrows if she knew of any wig shops. She, being a makeup artist and knowing many people in the beauty industry, suggested a very small wig shop that many of her hairstylist friends would go to. Luck would finally be on my side.
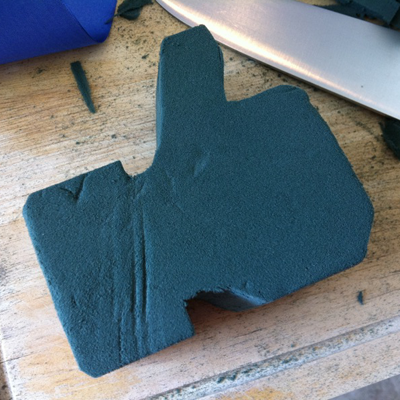
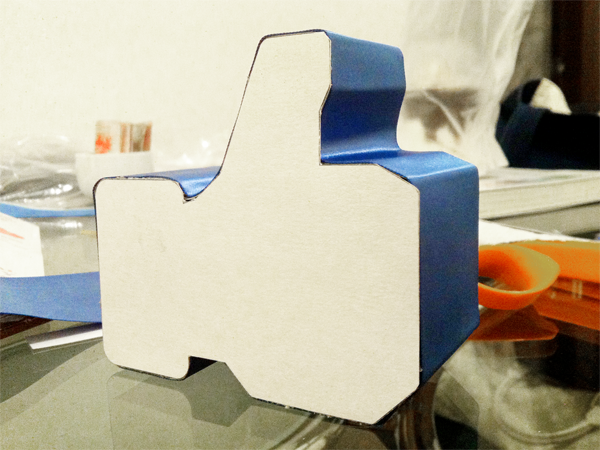
Initial ideas were to have a “Like” button headpiece, but that would prove to be more difficult to execute and instead I came up with the idea of a “Like” wand. After all, what fairy does not have a magic wand? Floral oasis, being soft and lightweight, was the easiest way of creating this icon. I carved away until I had the perfect silhouette and then wrapped the hand shape with blue ribbon and two print-outs of the icon. To complete the wand, I simply inserted a ribbon-wrapped stick, made from an old calendar rod.



Pearl buttons were glued onto the bust of the dress to add a wonderful textural element to the otherwise flat dress.

I spent a lot of time on these icons. Some I were able to easily find the vector versions online while others I had to draw. I never spent so much time on Facebook not stalking an old crush, but rather studying the different icons on the various pages.


Having no mannequin, I hung the dress on my living room's curtain rod to attach the icon print-outs. As Tim Gunn would say "Make it work!"

After adding a simple white headband, white flats with blue detailing, ribbon cuffs and some blue eye shadow and nail polish my look was complete. It could not have turned out better. And Facebook Fairy put her "Like" wand to good use, gracing well-dressed Halloween goers with her wand in approval.
